Users with global access can now view all VM instances provisioned across labs within the tenant. The Lab Instances tab, available under Global Level Settings, offers a comprehensive and centralized view of all virtual machine instances across the entire tenant. This section allows administrators to view VM instance details from all labs in one place, eliminating the need to navigate individual labs to track resources.
With built-in interactive filters, we can quickly narrow down results based on relevant criteria, making it easier to analyze usage, identify active or inactive instances, and take informed actions. This provides centralized visibility that simplifies large-scale monitoring and management, streamlines VM oversight, and enables effective lab and resource management across the tenant.
Login to https://portal.cloudlabs.ai/.
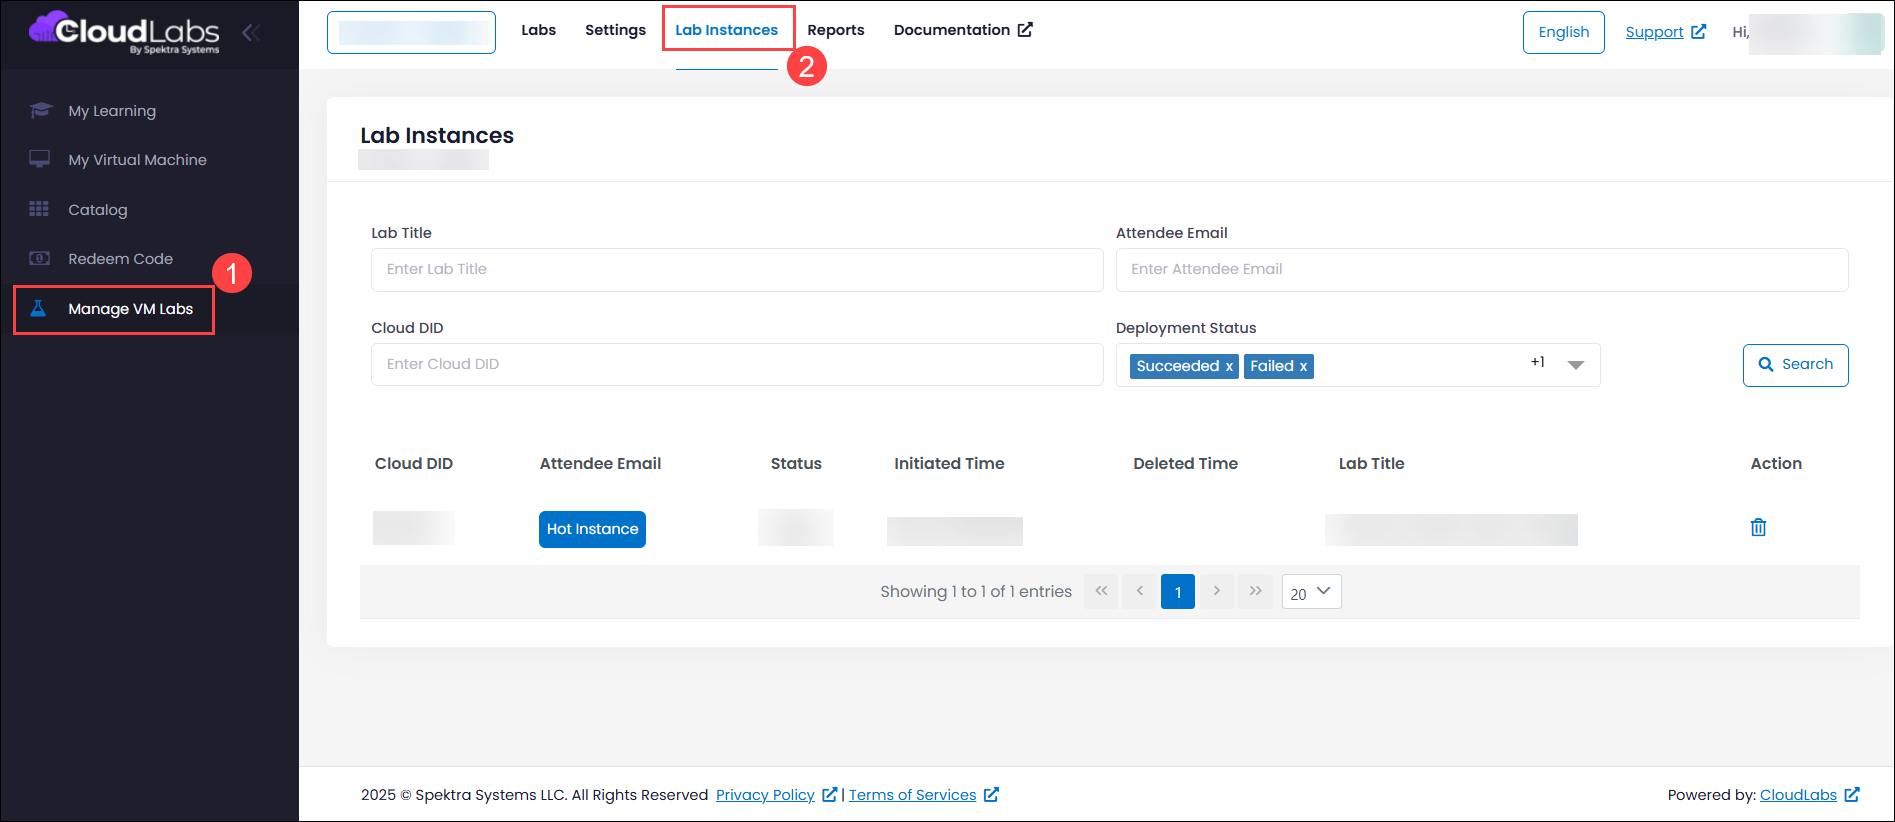
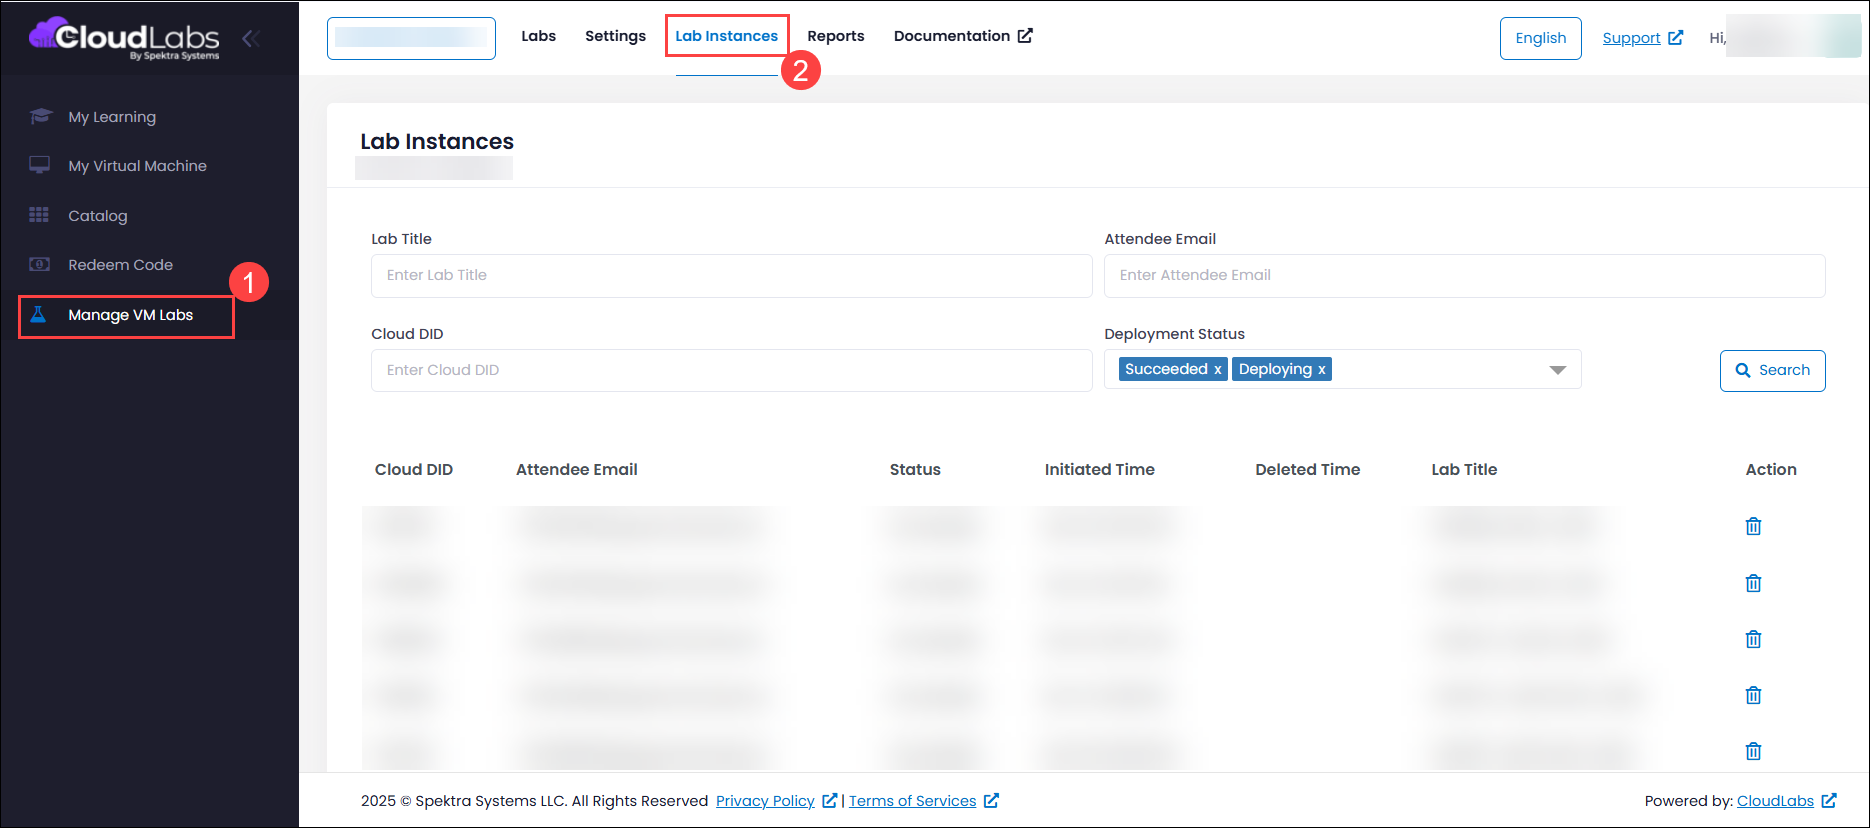
Navigate to Manage VM Labs (1) > Lab Instances (2). You can view all VM instances across every lab within the tenant in a single place, making it easier to monitor, manage, and review resources efficiently.
Key Capabilities
Unified Instance Visibility
Provides a single, consolidated interface to view every VM instance across all lab deployments within the tenant. This centralized view eliminates the need to navigate individual labs, making it easier to monitor resource usage and instance status. It enables faster oversight, improved operational control, and more efficient lab management.Flexible Filtering Options
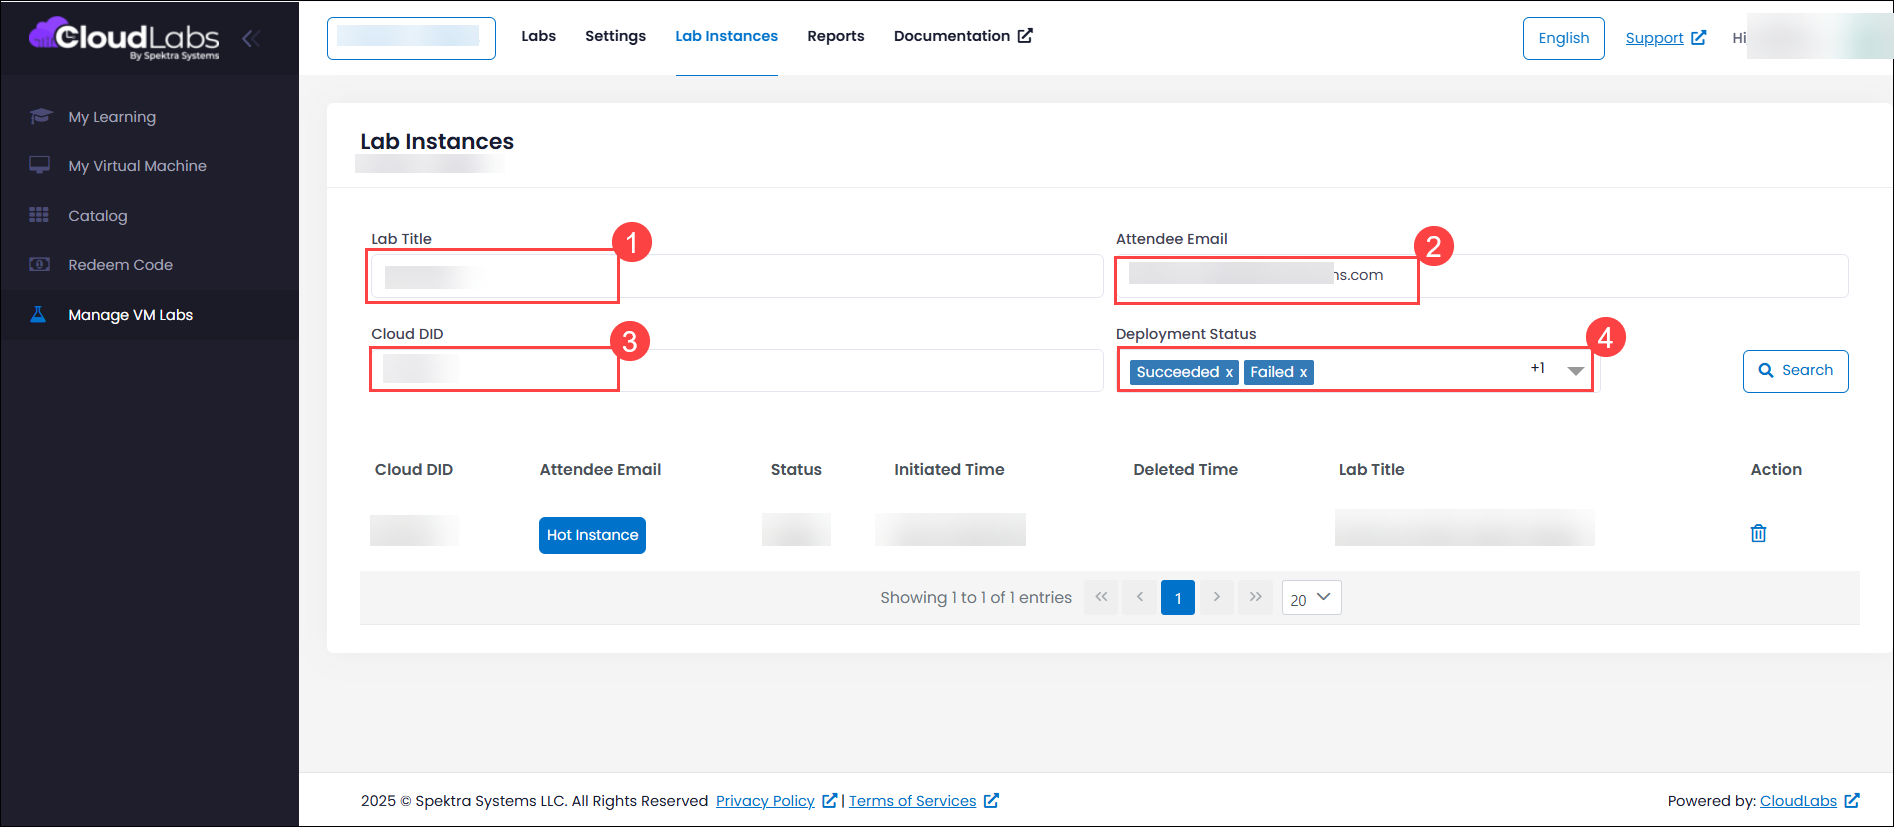
Filter and search instances using criteria such as:Lab Title (1) - The name of the lab you choose to view the details.
Attendee Email (2) - The email ID of the user.
Cloud DID (3) - A unique 6-digit identifier assigned to each VM instance, used to uniquely track, reference, and manage the VM within the CloudLabs platform.
Deployment status (4) - View deployments by status (e.g., Succeeded, Deleted).
Status-Based Tracking
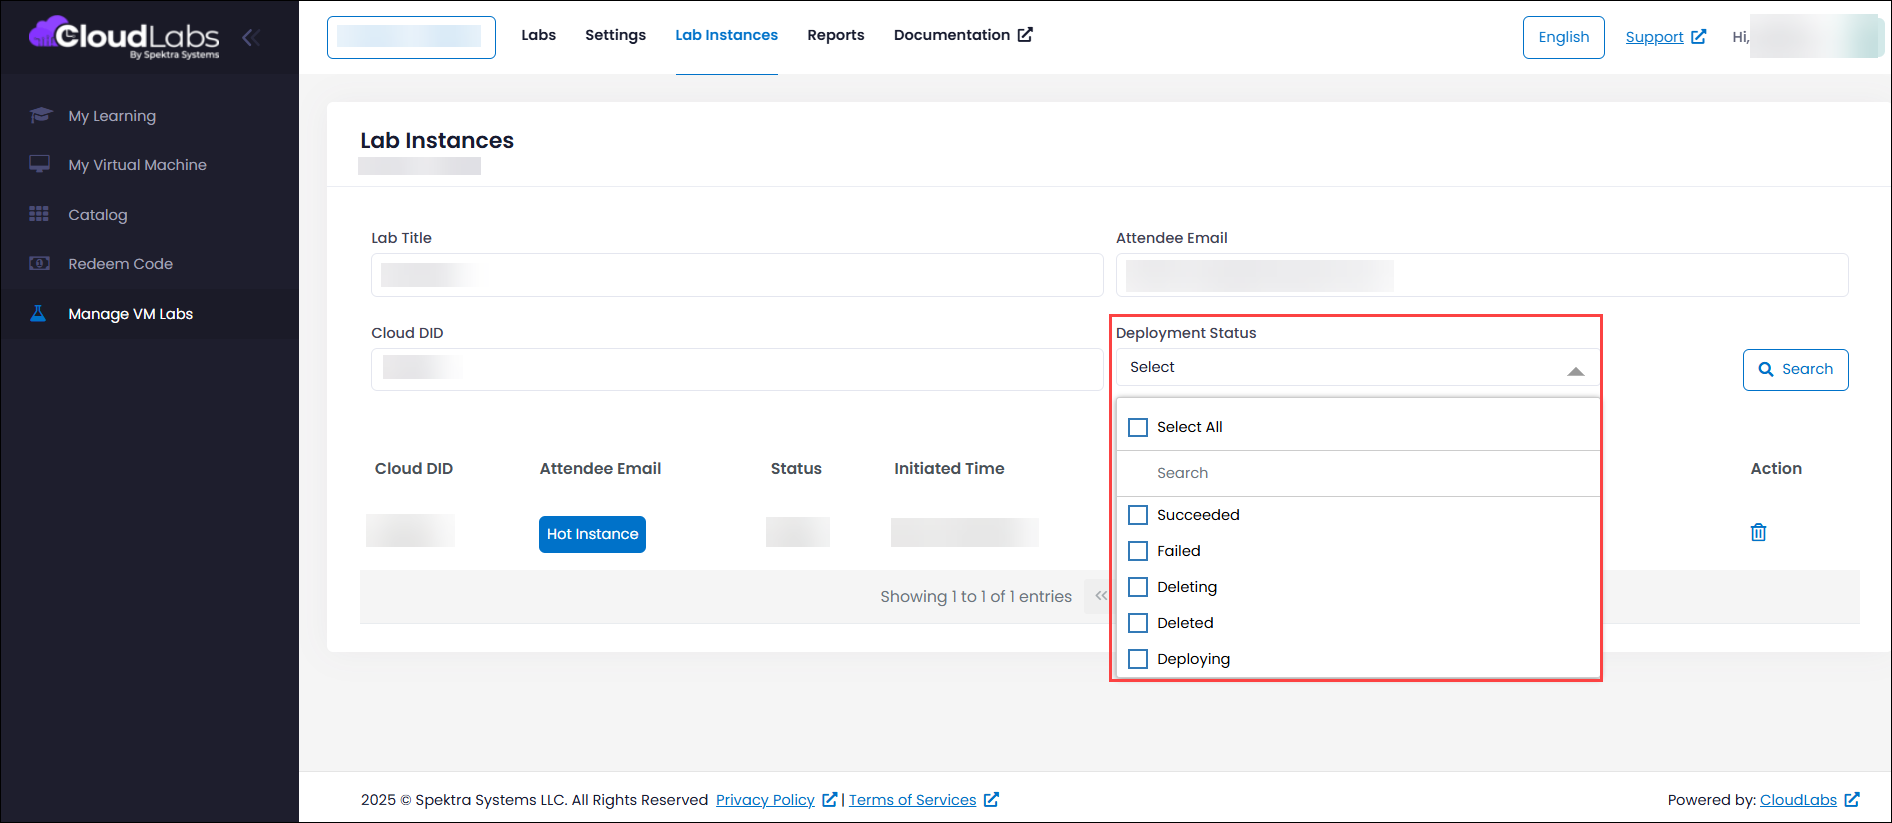
Track VM status with granular filters, including:Succeeded - The VM deployment completed successfully and the virtual machine is fully provisioned and available for use.
Failed - The VM deployment did not complete due to an error during provisioning or configuration.
Deleting - The VM or its associated resources are currently in the process of being removed.
Deleted - The VM and its related resources have been successfully removed and no longer exist.
Deploying - The VM is currently being created and resources are still in the provisioning process.
Instance-Level Management Actions
Take direct, targeted actions on specific VM instances such as deleting individual instances when they are no longer required helping optimize resource usage, reduce unnecessary costs, and maintain a clean and well-managed lab environment.
Operational Benefits
Enables efficient monitoring for large-scale lab rollouts across tenants.
Provides centralized visibility into VM instances across tenant, making it easier to monitor deployment status and resource usage at scale.
Helps identify unclaimed Hot Instances to review and clean up proactively.
Allows to easily spot pre-provisioned instances that have not been assigned to users. Proactive cleanup of these unused instances helps optimize resources and control costs.
Helps for auditing by displaying:
Initiated Time
Deleted Time
Unique cloud instance identifiers
Fetch Details Using Filters
Retrieve Instance Details Using the Lab Title
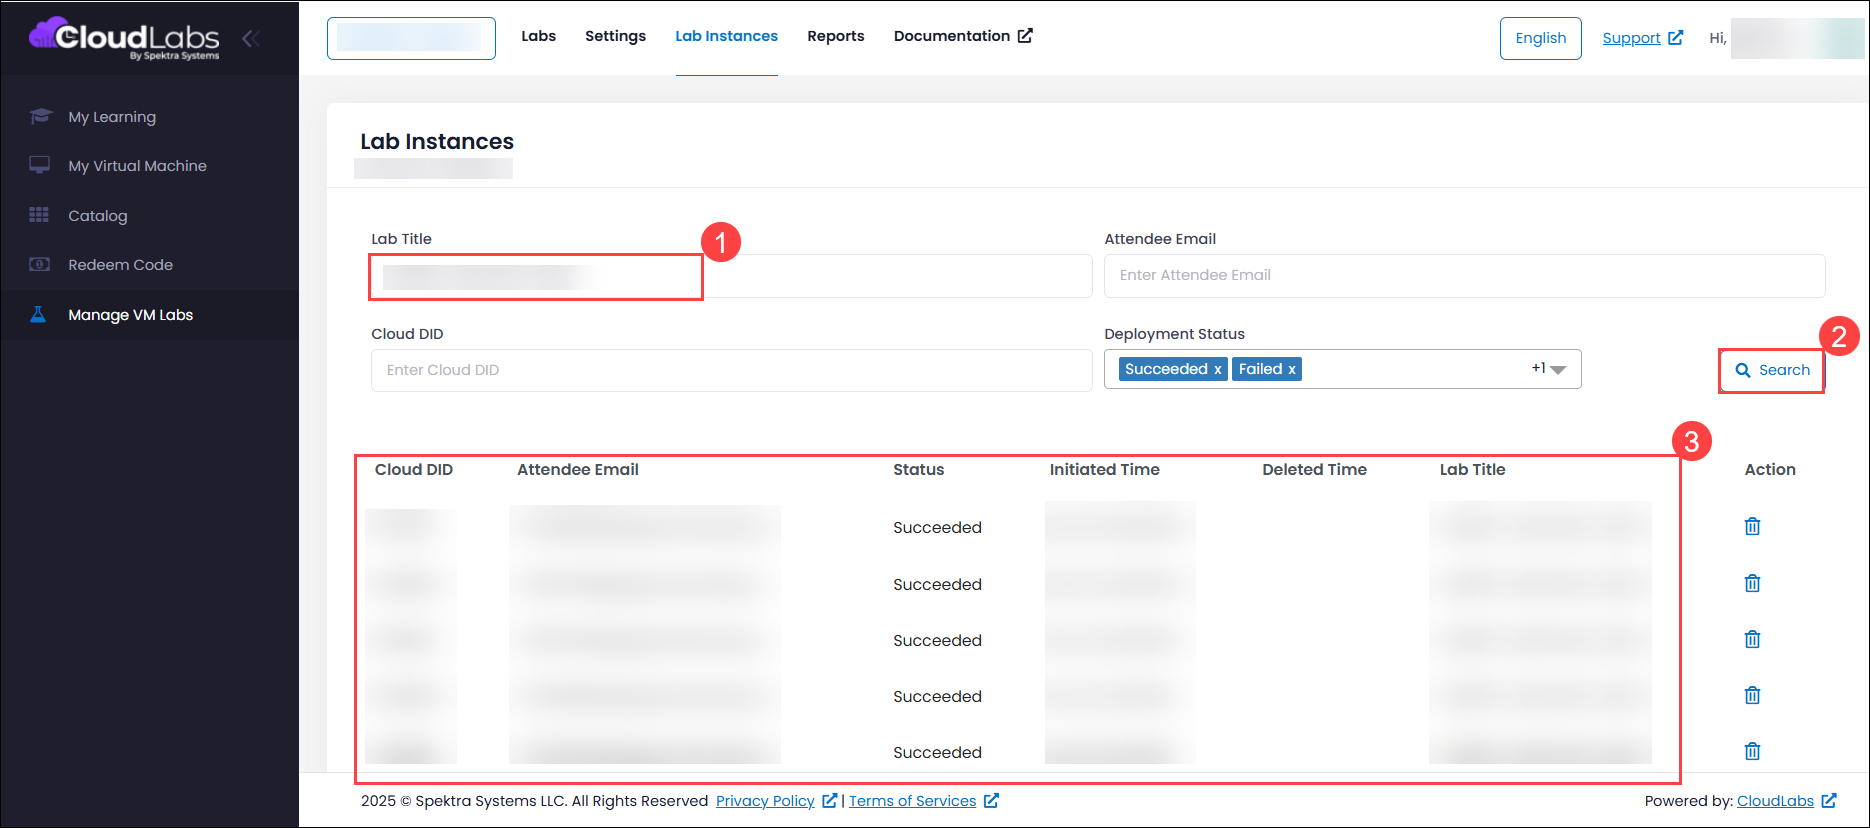
In the Lab Title (1) field enter the lab name you wish to view and click on Search (2), now you can view all instances details (3) of that particular lab with details like Cloud DID, Attendee Email, Status, Initiated Time, Deletion Time, Lab Title.
Retrieve Instance Details Using the Attendee Email
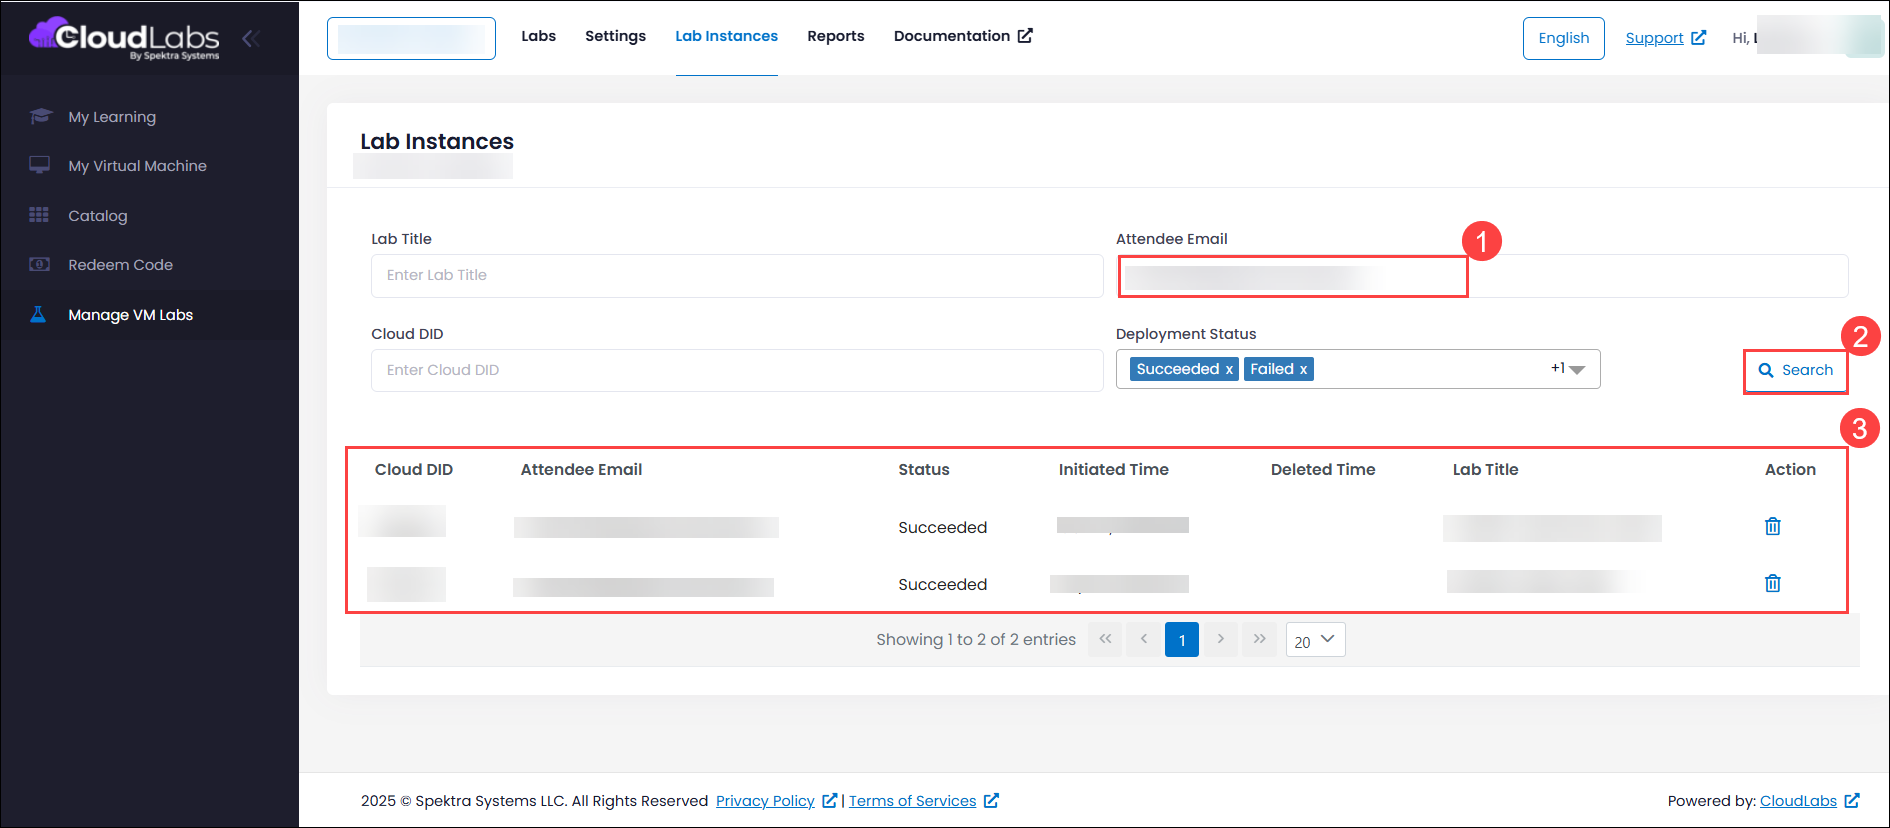
In the Attendee Email (1) field enter the mail of the user you want to fetch the details and click on Search (2). You can now view detailed information (3) for the selected user, including the Cloud DID, Attendee Email, Status, Initiated Time, Deletion Time, Lab Title.
Retrieve Instance Details Using Cloud DID
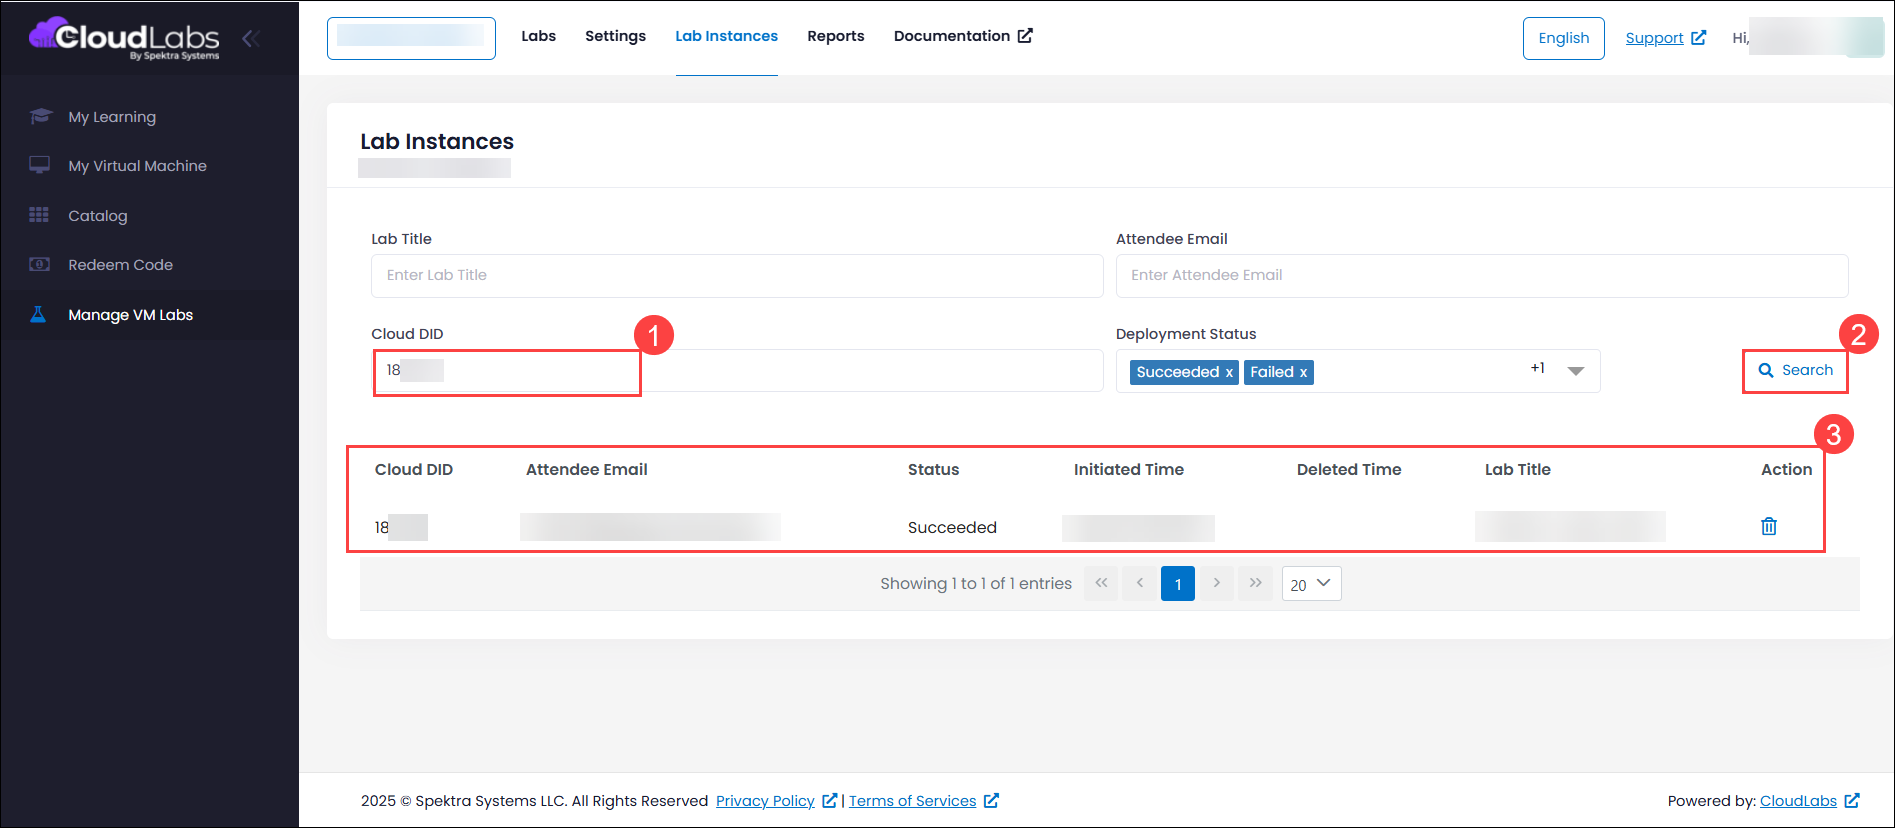
In the Cloud DID (1) field enter the DID of the user you want to fetch the details and click on Search (2). You can now view detailed information (3) for the selected DID user, including the Cloud DID, Attendee Email, Status, Initiated Time, Deletion Time, Lab Title.
Retrieve Instance Details Using Deployment Status
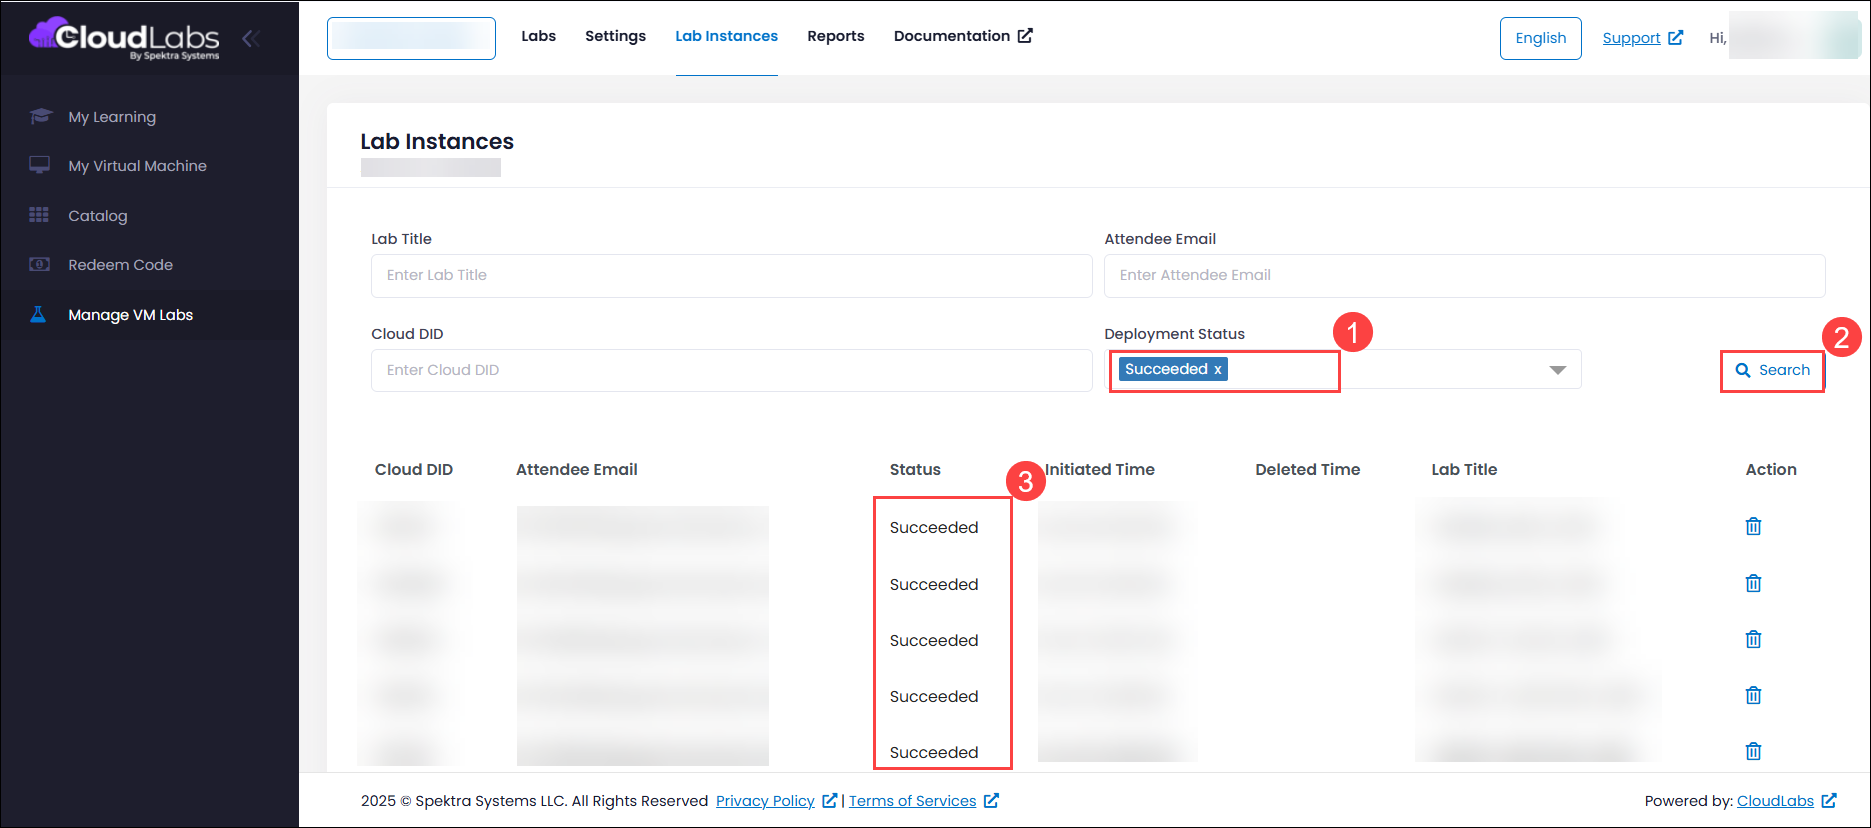
In the Deployment Status (1) drop-down select the type of status (eg: Succeeded) you want to fetch the details and click on Search (2). You can now view detailed information for the list of instances which are in Succeeded status (3), including the Cloud DID, Attendee Email, Status, Initiated Time, Deletion Time, Lab Title.
Instance Deletion
If there are VM instances that are no longer required or instances that have failed and may continue to incur costs, you can delete them to optimize resource usage and manage expenses effectively.
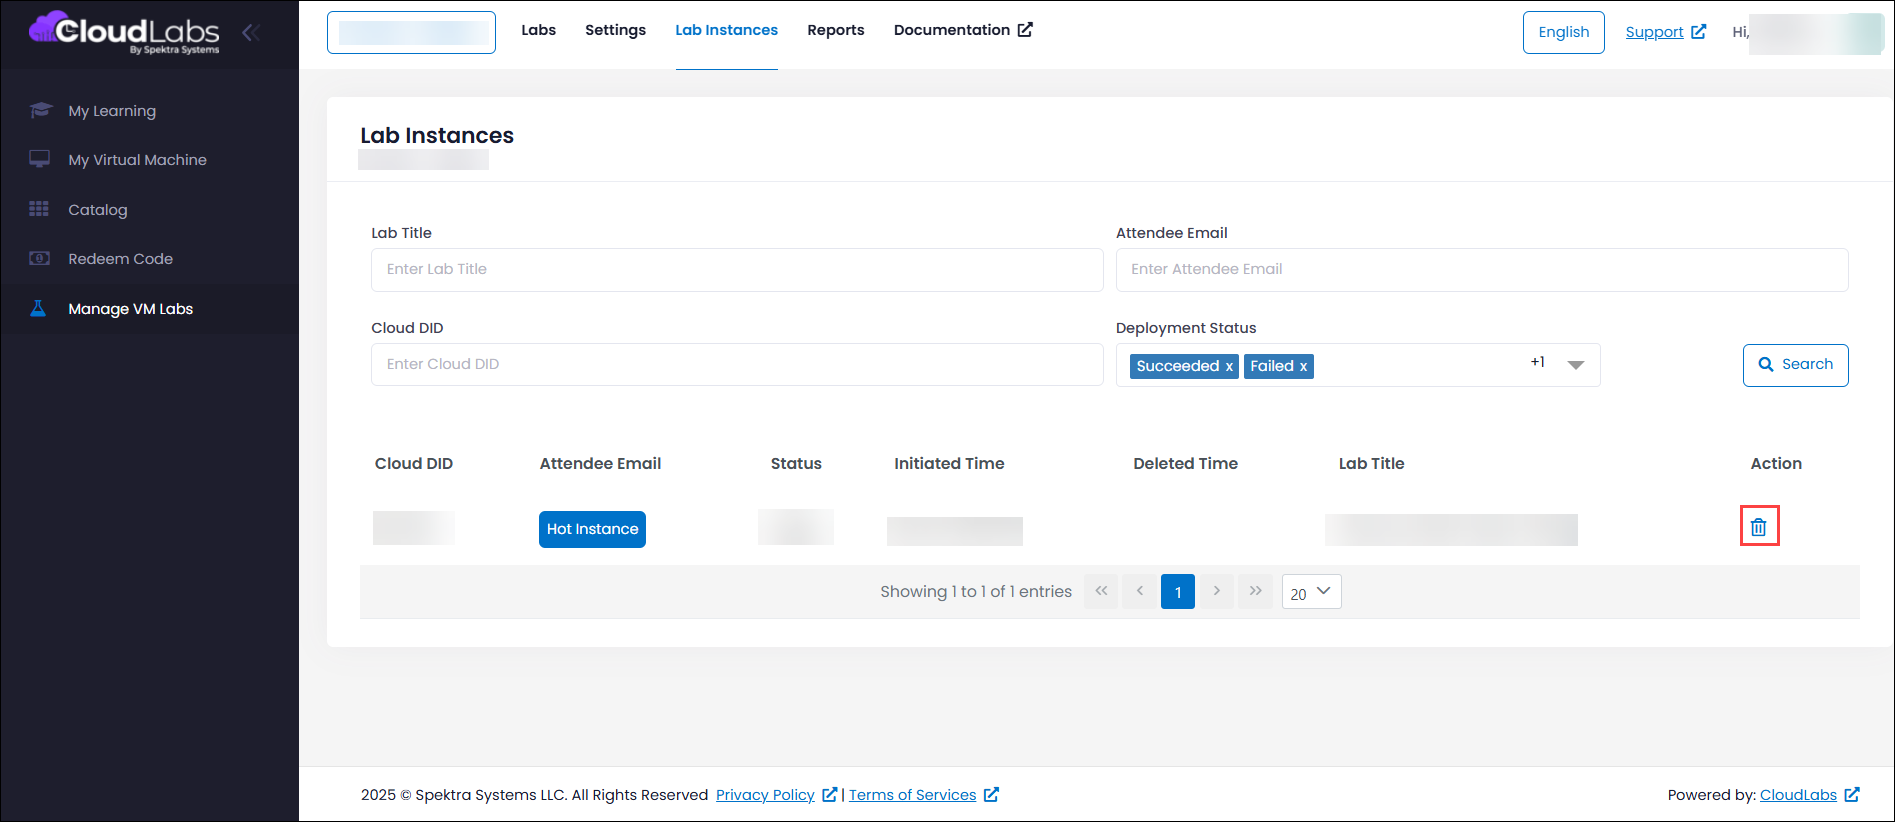
Navigate to Manage VM Labs (1)> Lab Instances (2) to view the details of the instances.
Choose any filter of you choice and retrieve the details of the instances that are to be deleted and click on Trash icon under Action column to delete the instances.
Next Steps
In this article, you learned how to view and understand Lab Instances, as well as how to use filters to refine instance data and gain meaningful insights across labs.
You can now use Lab Instances to monitor and manage VM instances across your tenant more effectively. For detailed steps on creating and managing labs, refer to the Create Labs article.