Overview
This article explains how to decommission a lab. Decommissioning a lab will make it inactive by deleting all active VM lab instances, closing registration and lab access, and keeping the lab in an inactive state.
By the end of this documentation, you should be able to:
Decommission a lab.
Decommission a Lab
Follow the below steps to decommission a lab.
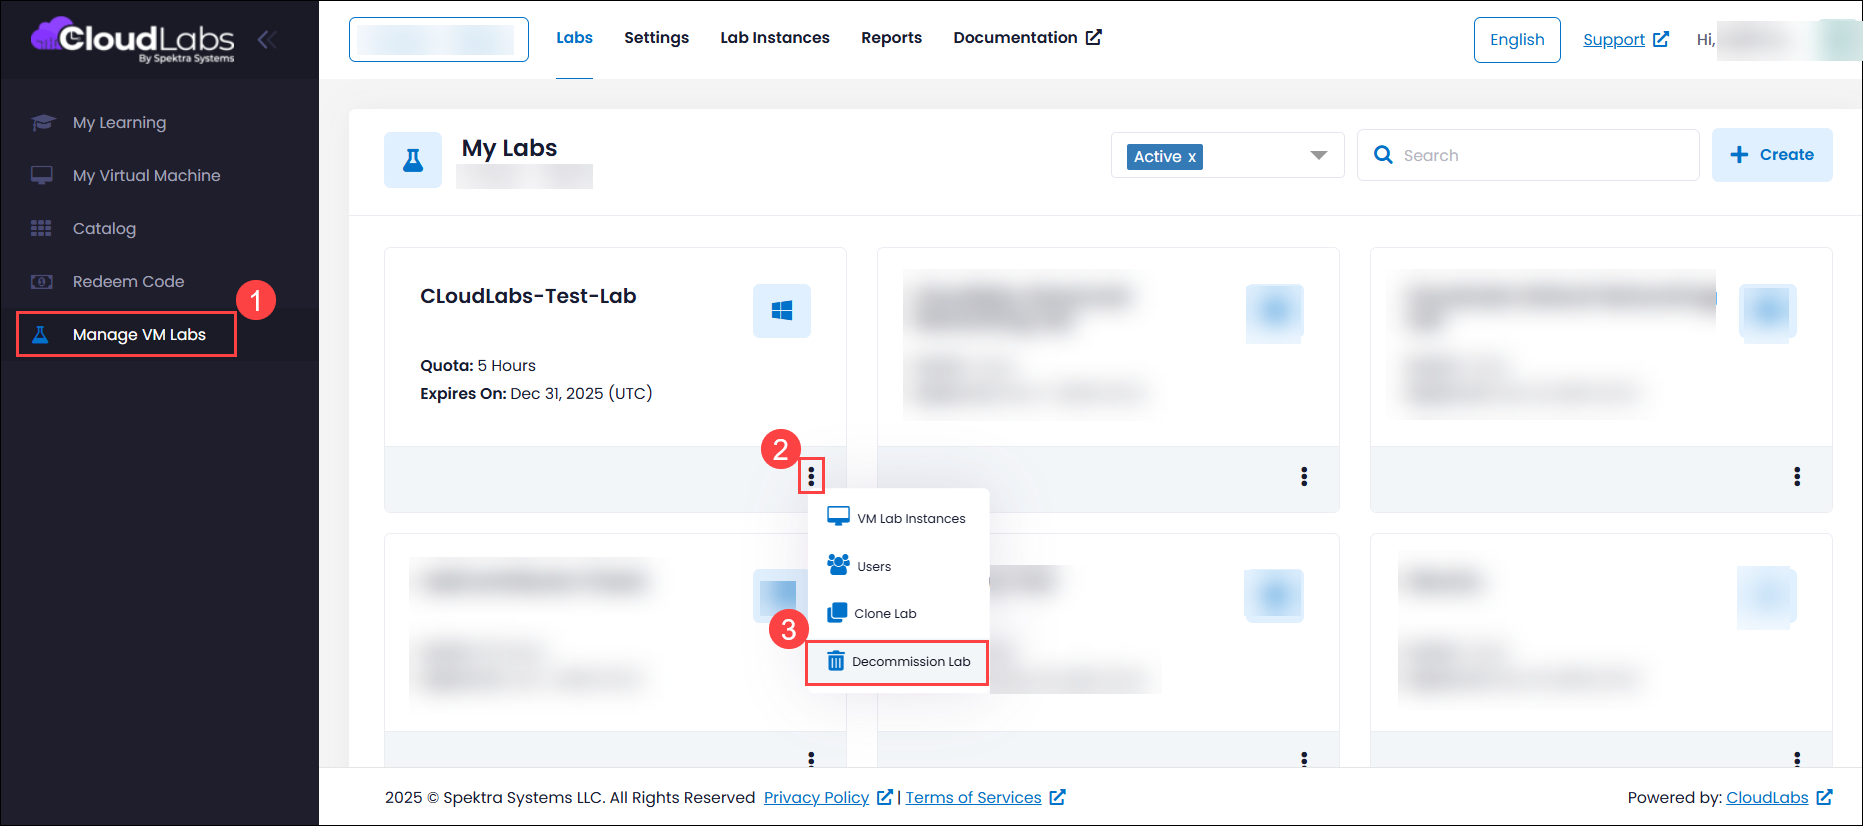
Log in to https://portal.cloudlabs.ai/ and select Manage VM Labs (1). Identify your lab, click on the ellipse (2) button, and select Decommission lab (3) from the list.
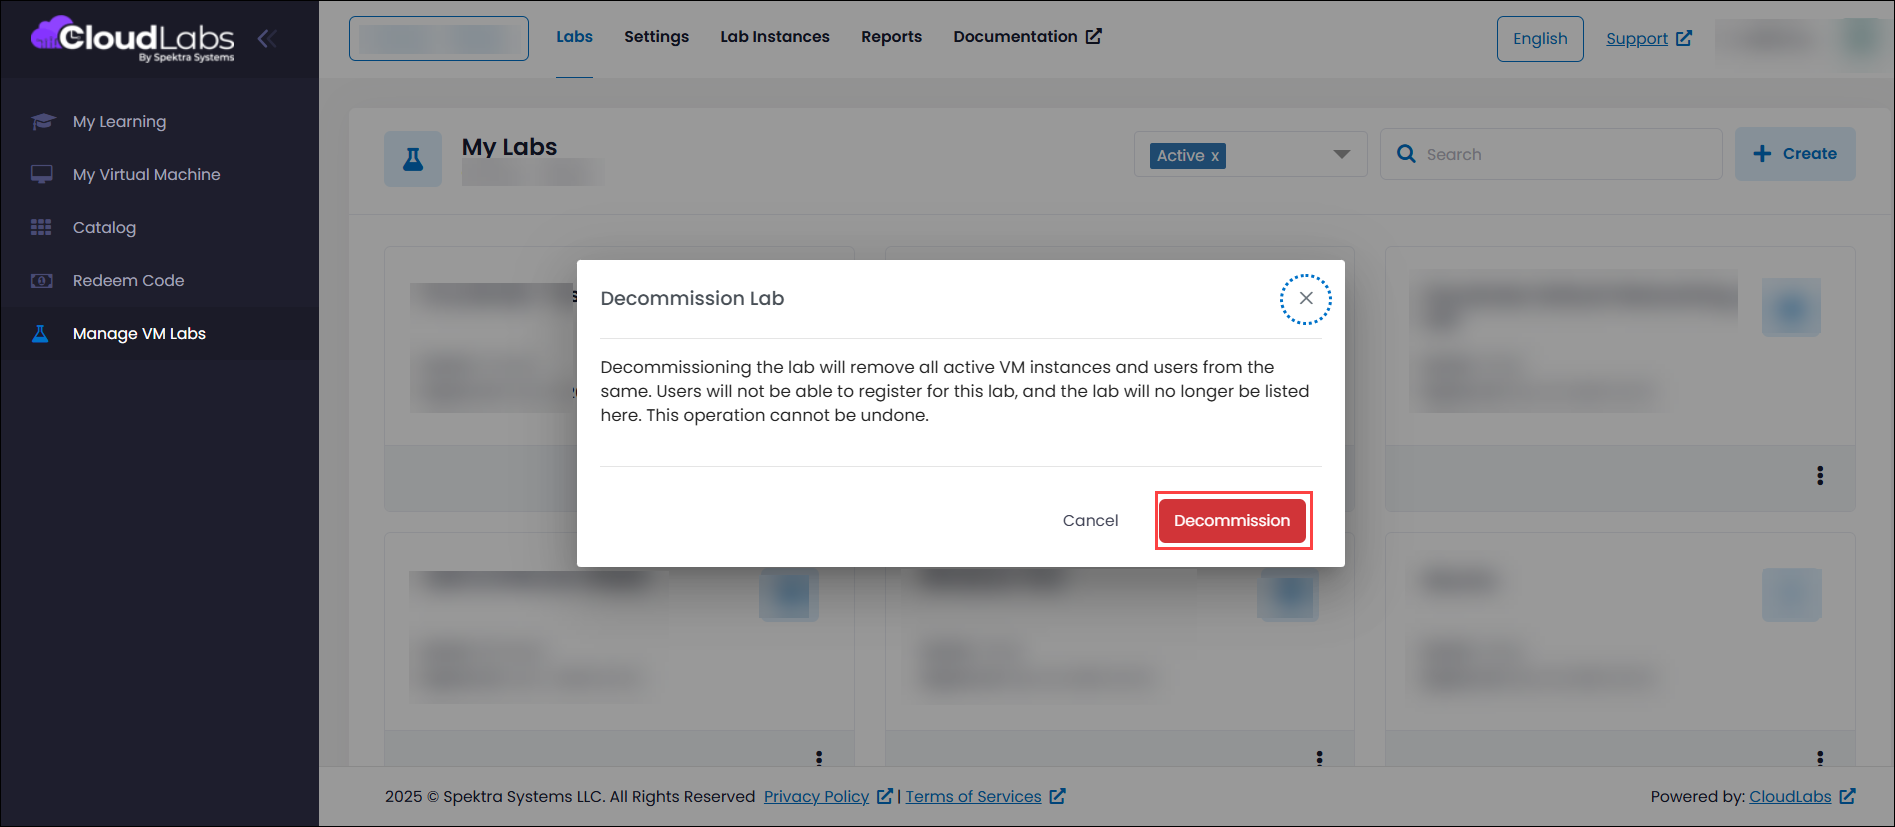
On the pop-up window, read the message carefully and click on Decommission.
Please note that Lab Decommission is an irreversible action that will permanently delete all active instances and make the lab inactive.
It is strongly not recommended to request retrieval or recommissioning of decommissioned labs, as this may result in Missing or incomplete backend configurations.
If business continuity requires lab restoration, please initiate a new lab creation rather than attempting to recommission a decommissioned lab. This ensures all configurations, agents, and monitoring tools are properly installed from the start.
Once the process is completed, your lab will be deleted successfully, and you won’t be able to see it in the My Labs tab.
Next Steps
Now that you have learned about all the actions involved in managing a VM lab, you can start by adding users and sharing a guide for lab users.