Overview
The users’ page allows you to add and manage lab users effectively. By logging into the CloudLabs portal, you can navigate to the Users tab within a specific lab. Users can be added via email, bulk upload, activation code, or using Sync Group members. The system provides options to invite users, adjust their quota, and delete users when necessary. Detailed user information, including email, status, and quota usage, is displayed in a user table. You can also manage lab capacity to control costs. Bulk actions, such as adding or deleting multiple users, streamline user management processes.
By the end of this documentation, you should be able to:
Add users using the activation code.
Add and invite users using emails.
Add users using Sync Group members
Delete any lab users.
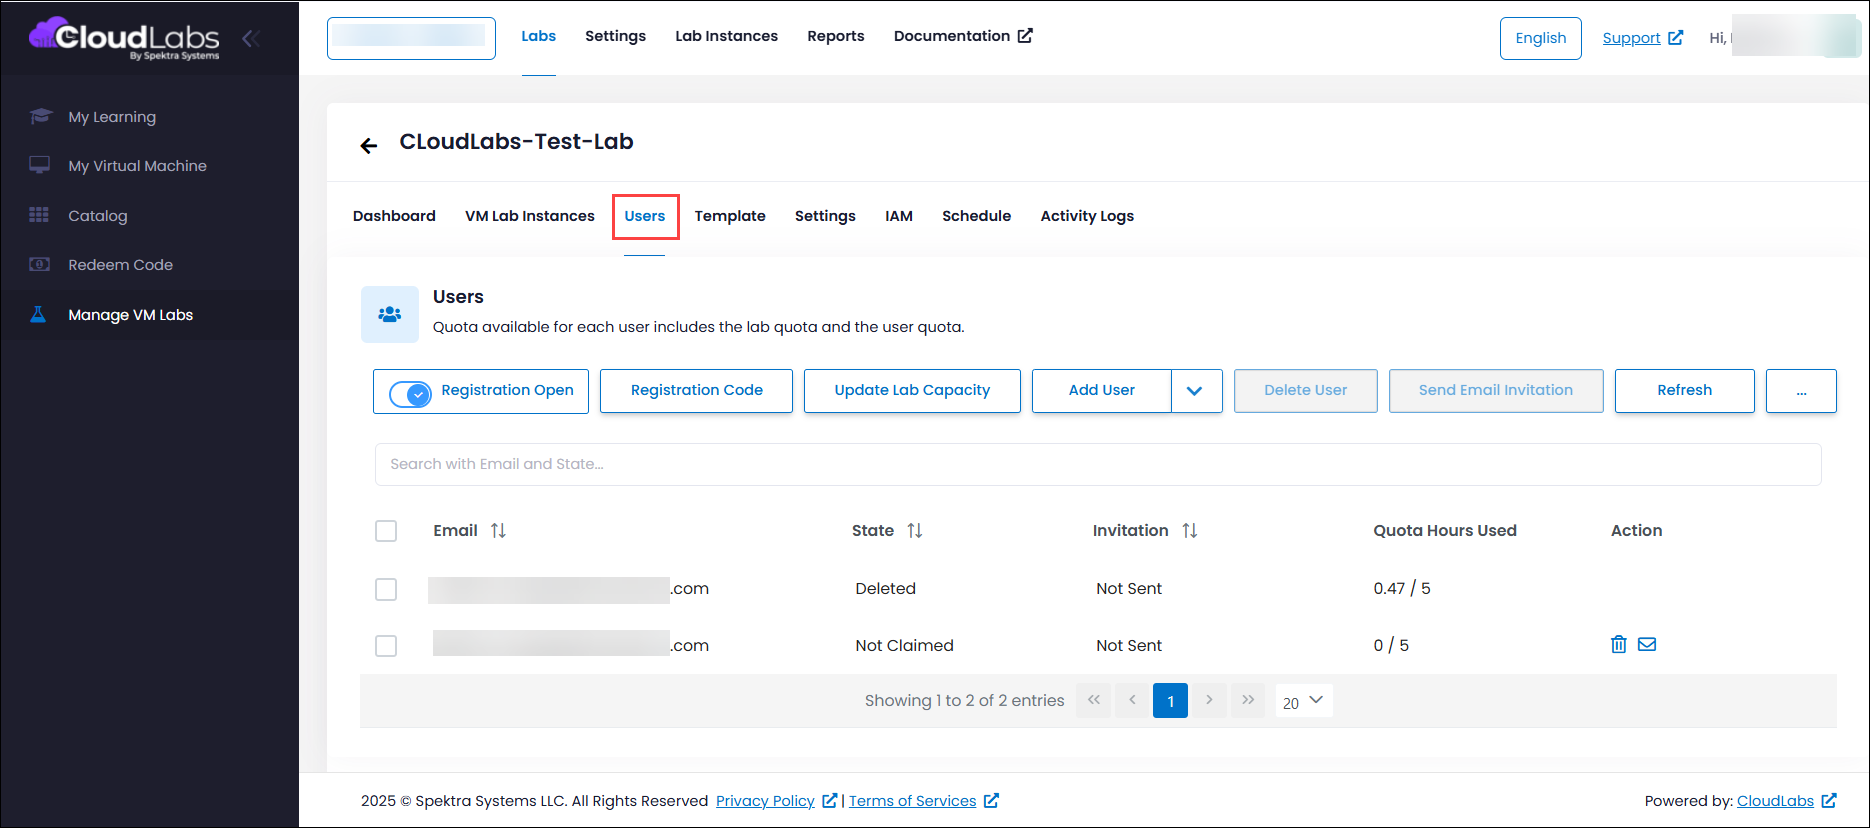
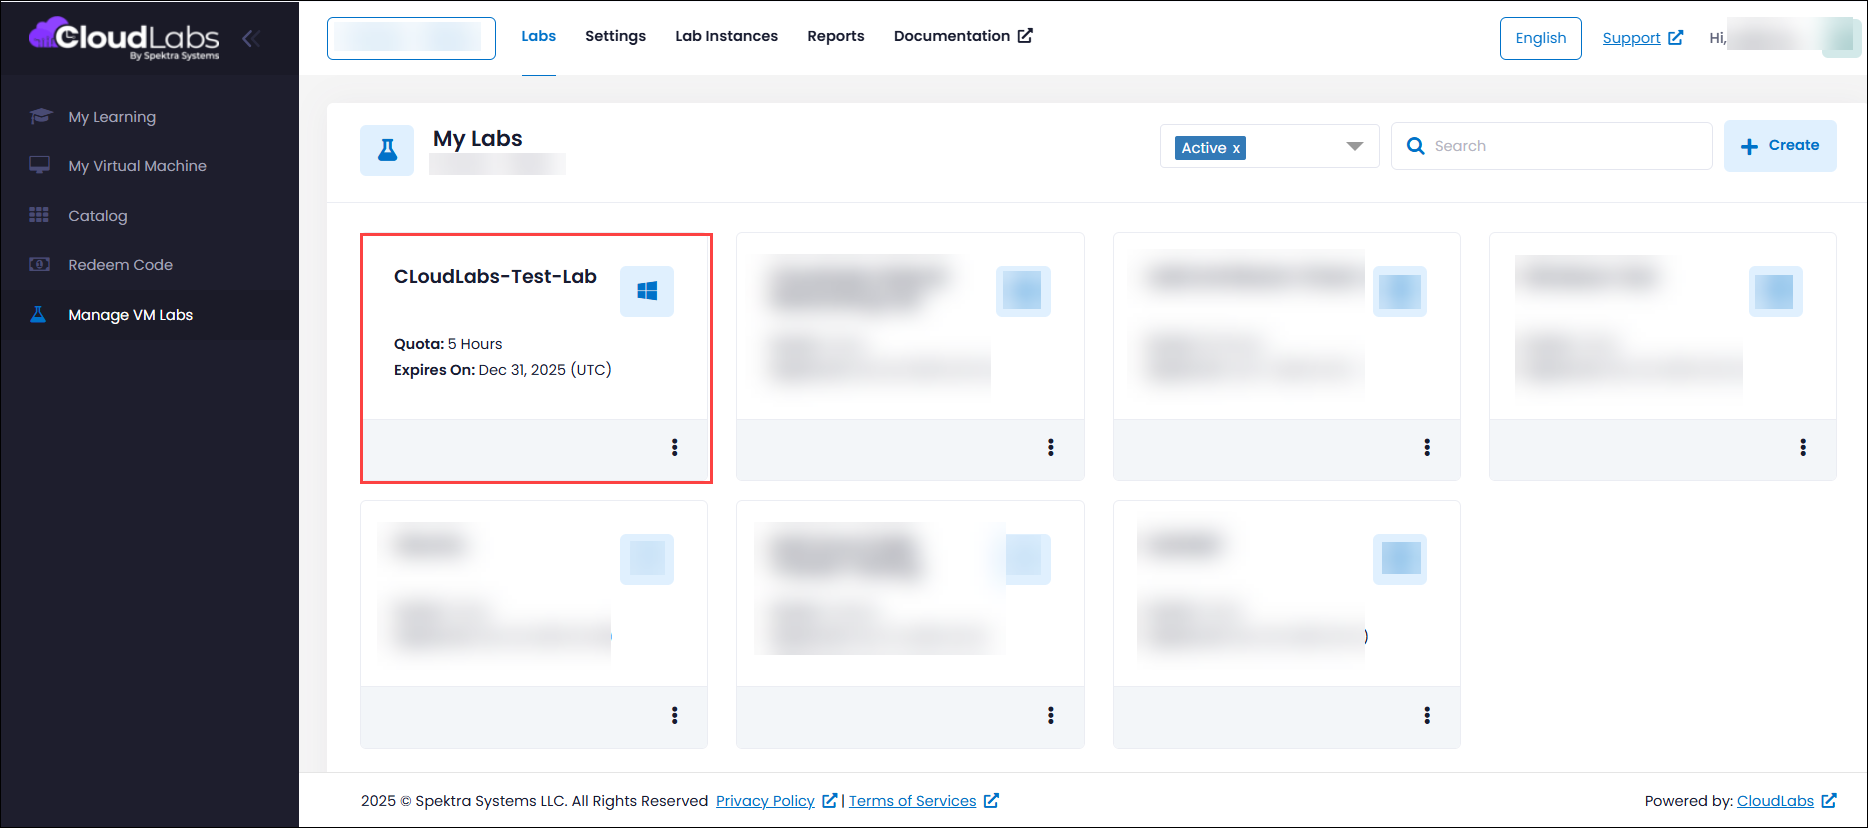
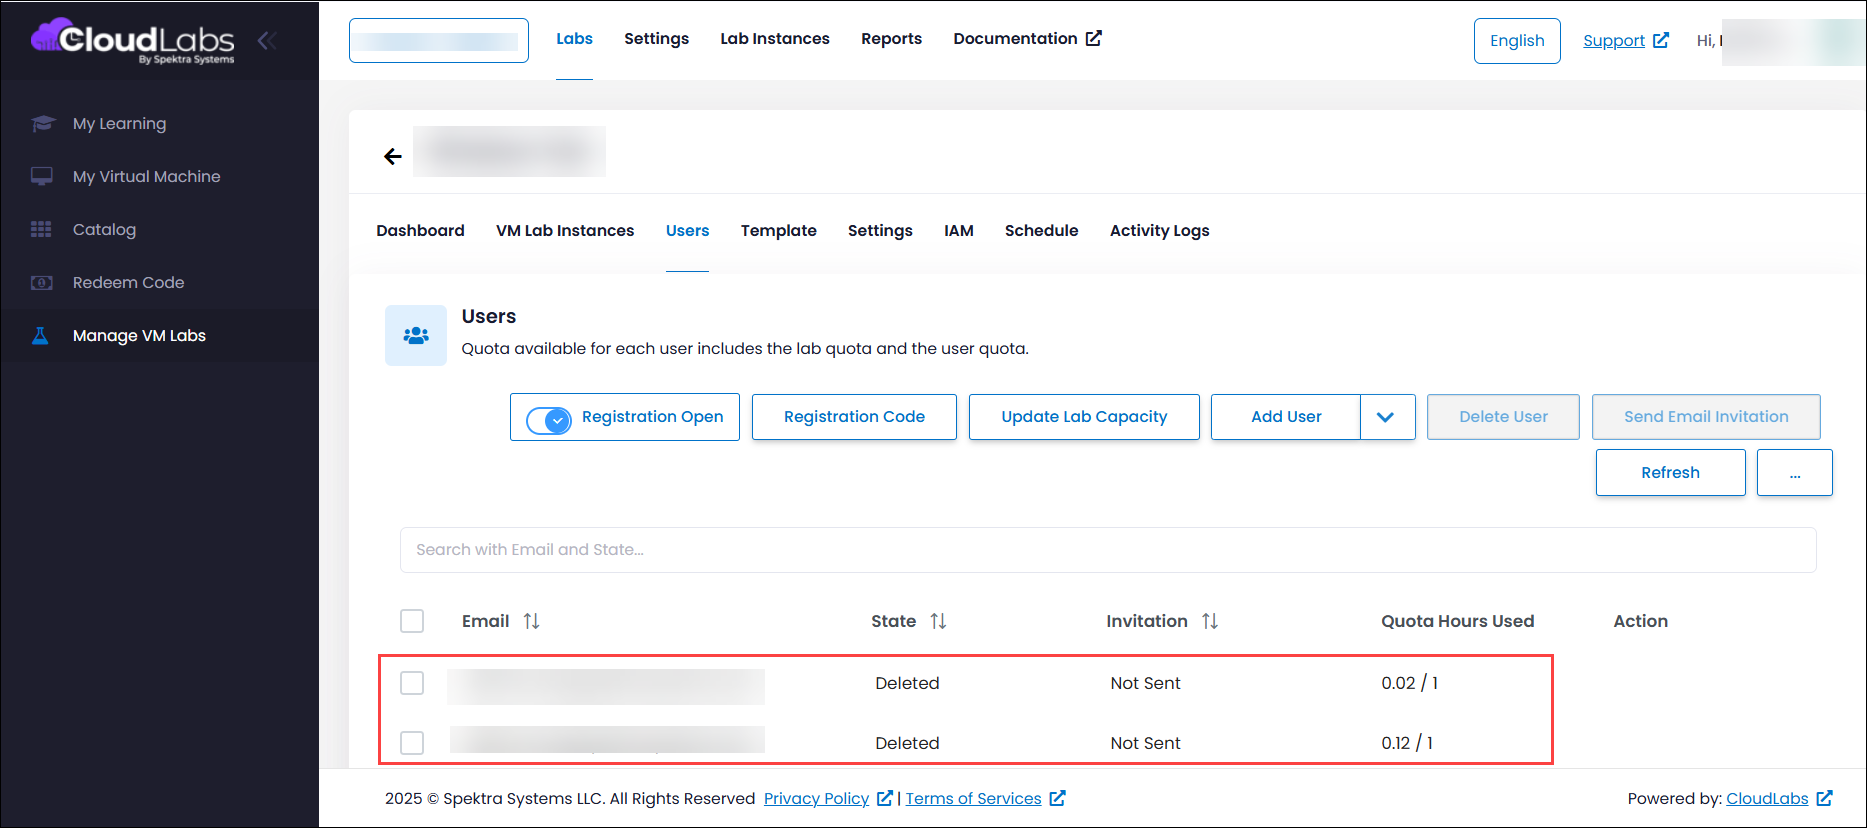
To manage lab users’ log into https://portal.cloudlabs.ai/ and navigate to the Users tab after clicking on your lab.
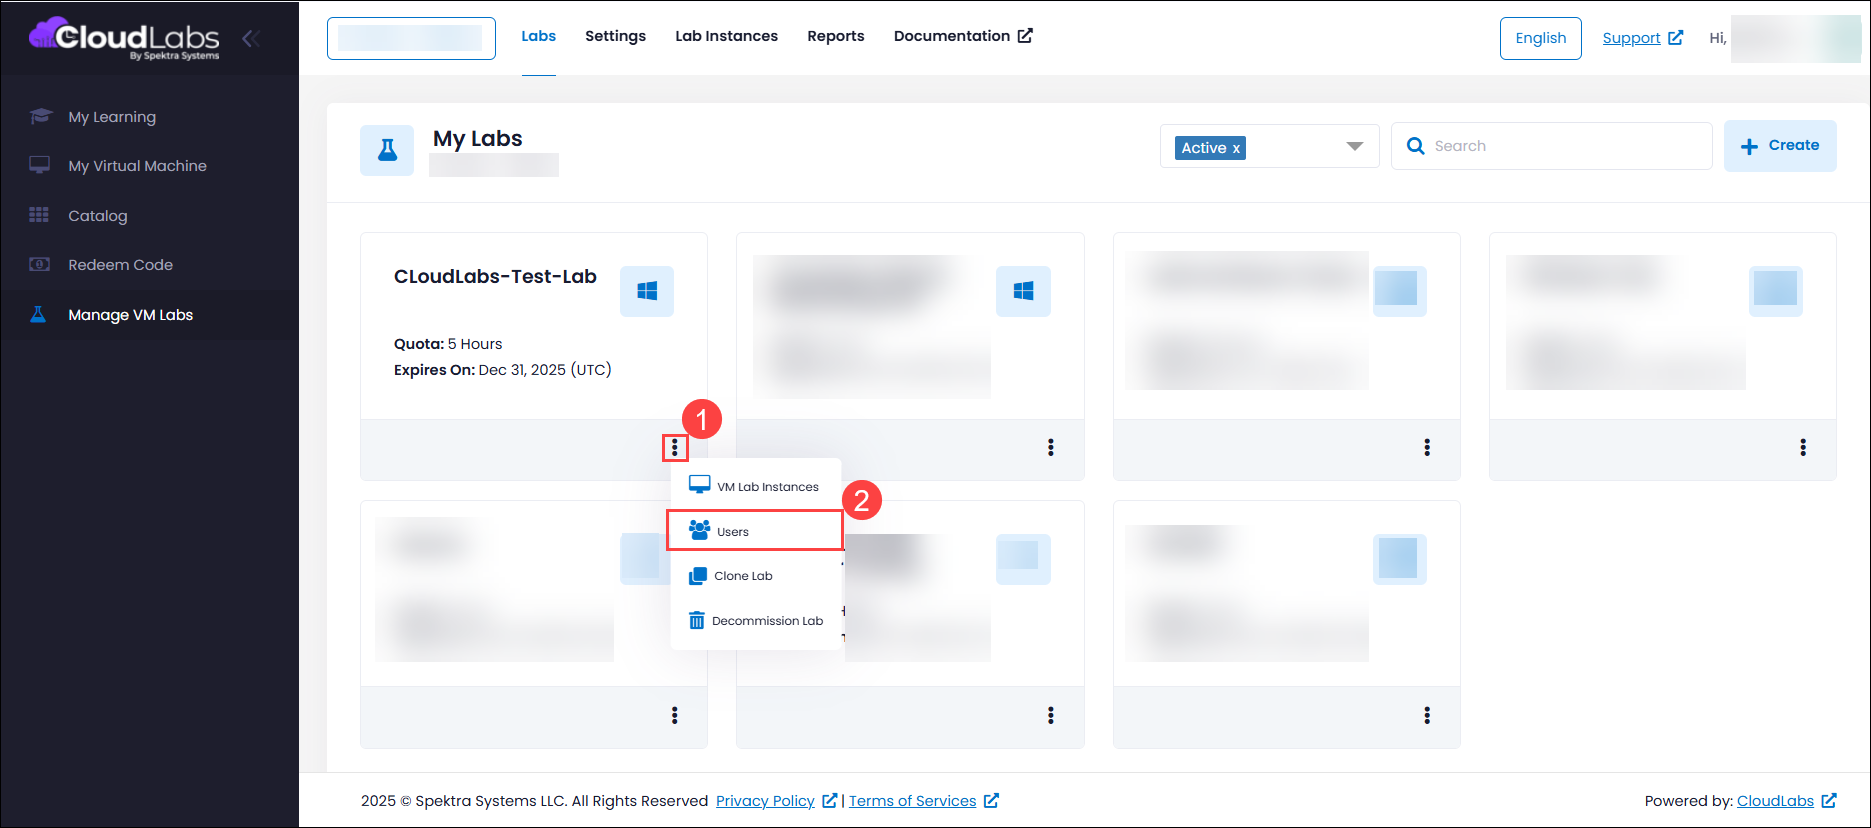
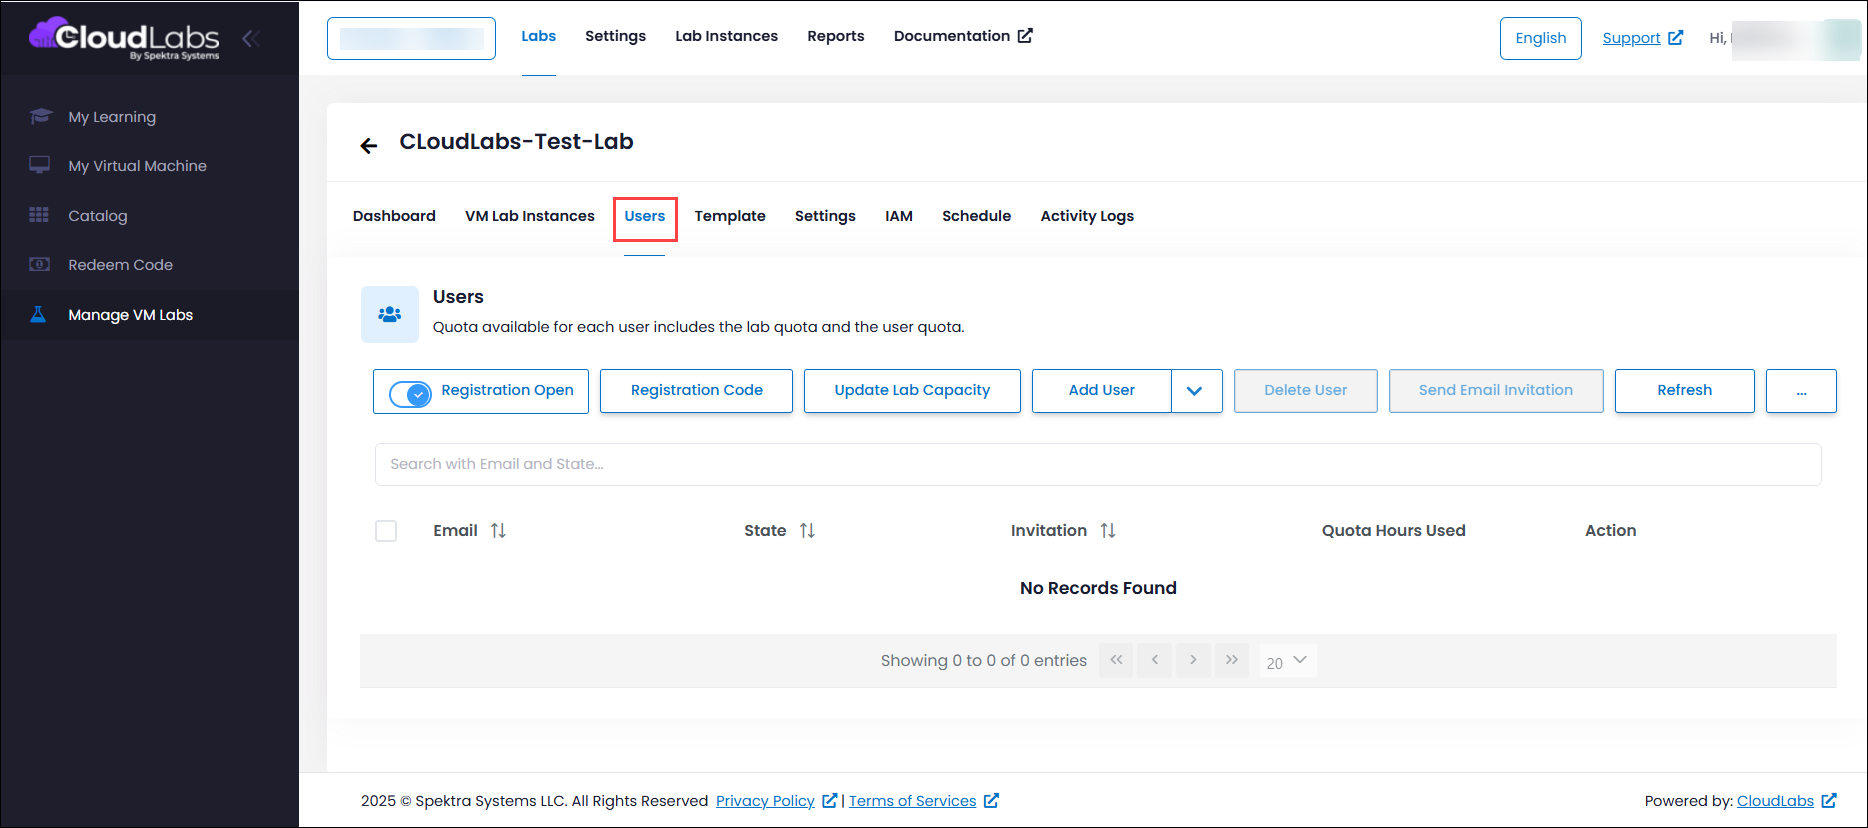
An alternative way to navigate to the Users tab is by clicking on the More Options (1) icon on the lab and selecting Users (2).
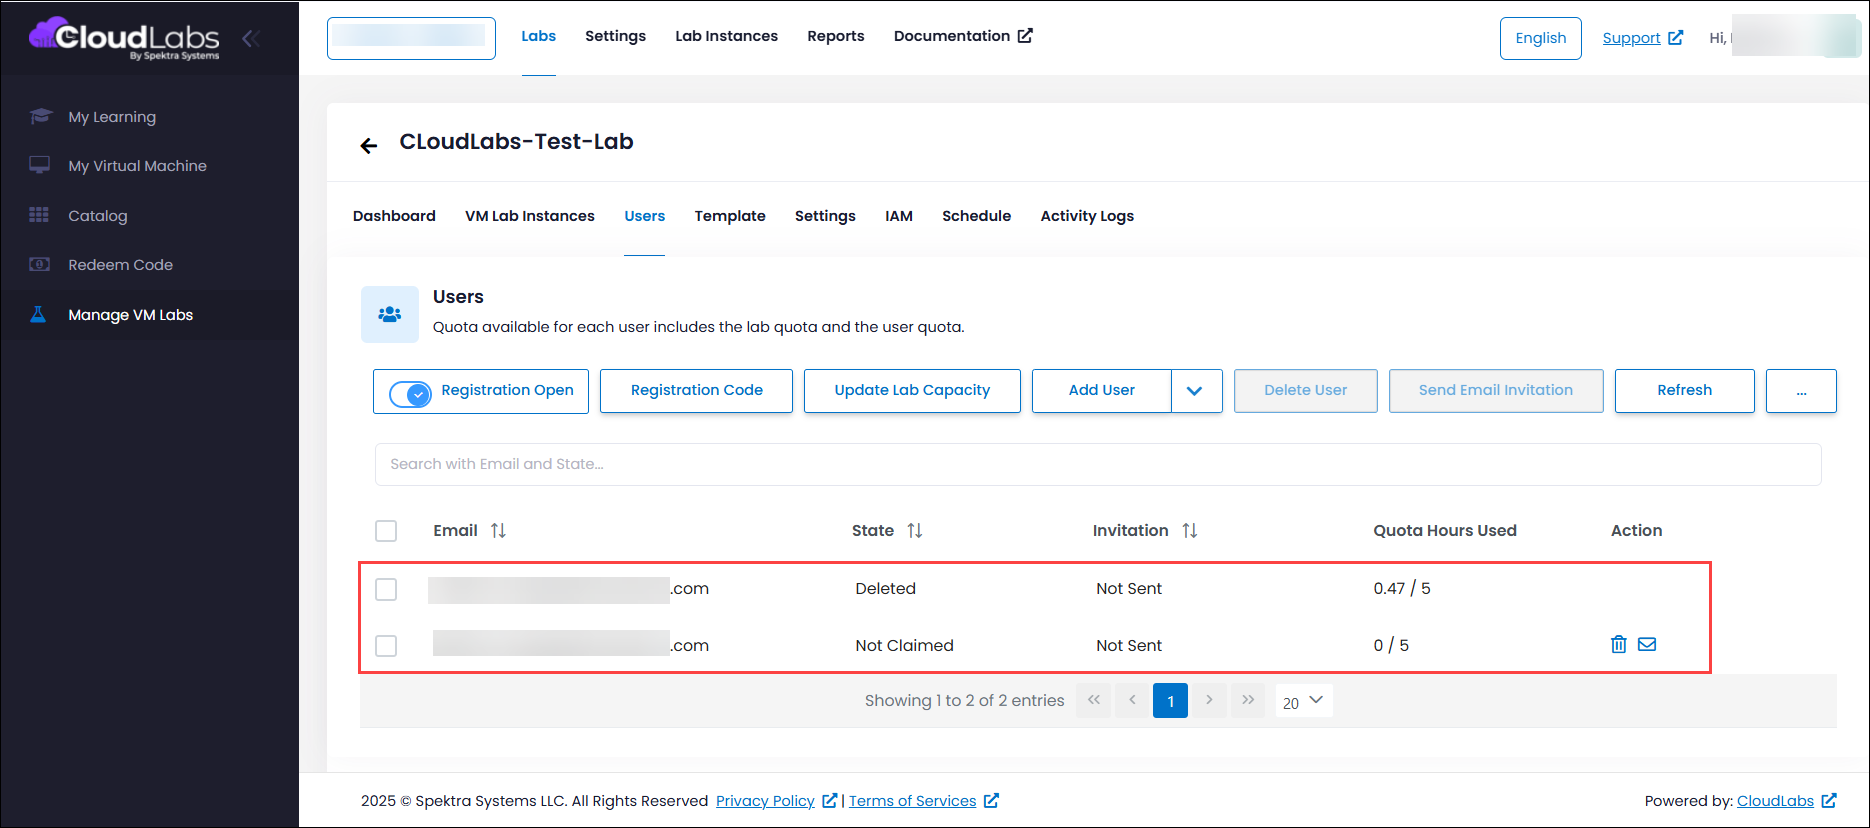
Users Table
The user table provides a detailed view of all users added, invited, and users with lab instances assigned. Each entry in this table represents a distinct user.
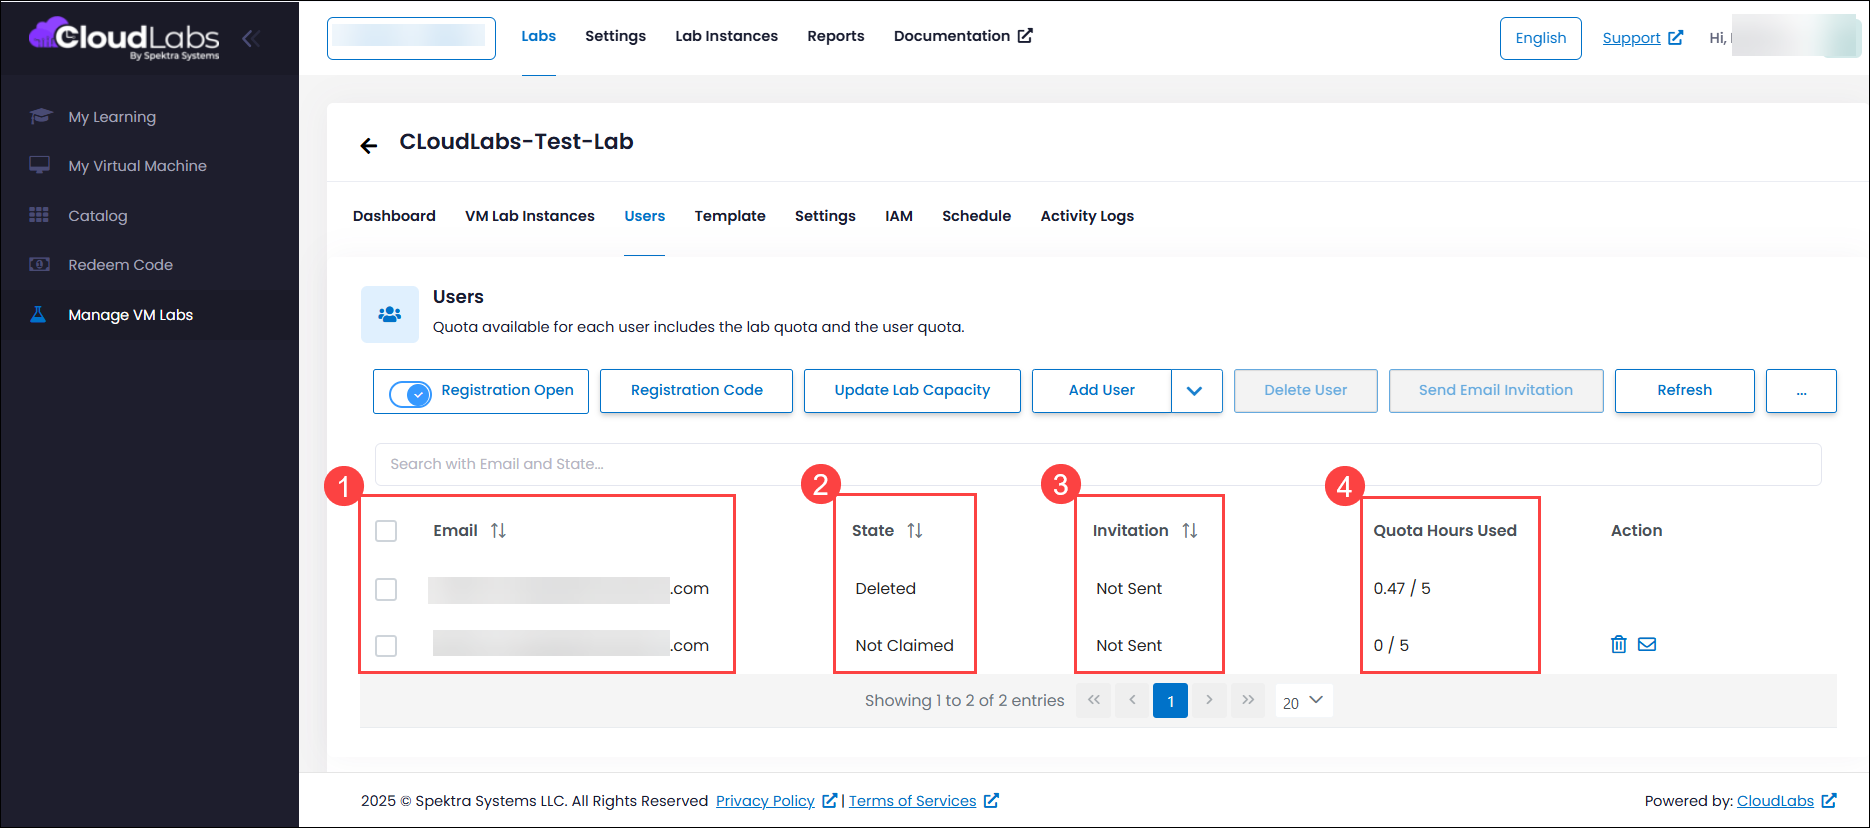
Email (1)
Email of the users. CloudLabs uses this email address for all communication and access for its users.
State (2)
Current status of user. Refer to the table below to see all the available user statuses.Status
Description
Not Claimed
Users are added via email. At this point, user can see their lab in the portal but only access their lab if lab access is enabled under the VM Lab Instance tab.
Claimed
Lab instance assigned/provisioned to the user.
Invitation (3)
Date when the invite was sent to the user. The status will show Not Sent if the invite is not sent.
Quota Hours Used (4)
You can keep an eye on the quota used by the user from here.
Actions
Adjust Quota
Easily increase the user’s VM quota by adding duration in hours. Note that you provide the additional hours required that need to be added to the total quota.
.png "image(314).png")
Invite
Send a lab invitation email to the user. The user will receive an email with the lab name and link to the CloudLabs portal to access the lab. You can also select multiple users and send invites to all the selected users by clicking on Send Email Invitation at the top.
Invited users won’t be able to access the lab until the Lab Access option is enabled.
.png "image(315).png")
Delete
Utilize the Delete action button to delete the lab instance. It permanently deletes the lab instance and all associated cloud resources.
This action is irreversible, and any user data on the VM will be permanently lost.
.png "image(316).png")
Adding Users to the Lab
Add via Email
Seamlessly add users to the lab by using their email addresses. All the added users can see their portal but won’t be able to access it until lab access is enabled.
Follow the below steps to add users to newly created or existing labs:
On the lab page, select Users from the tab.
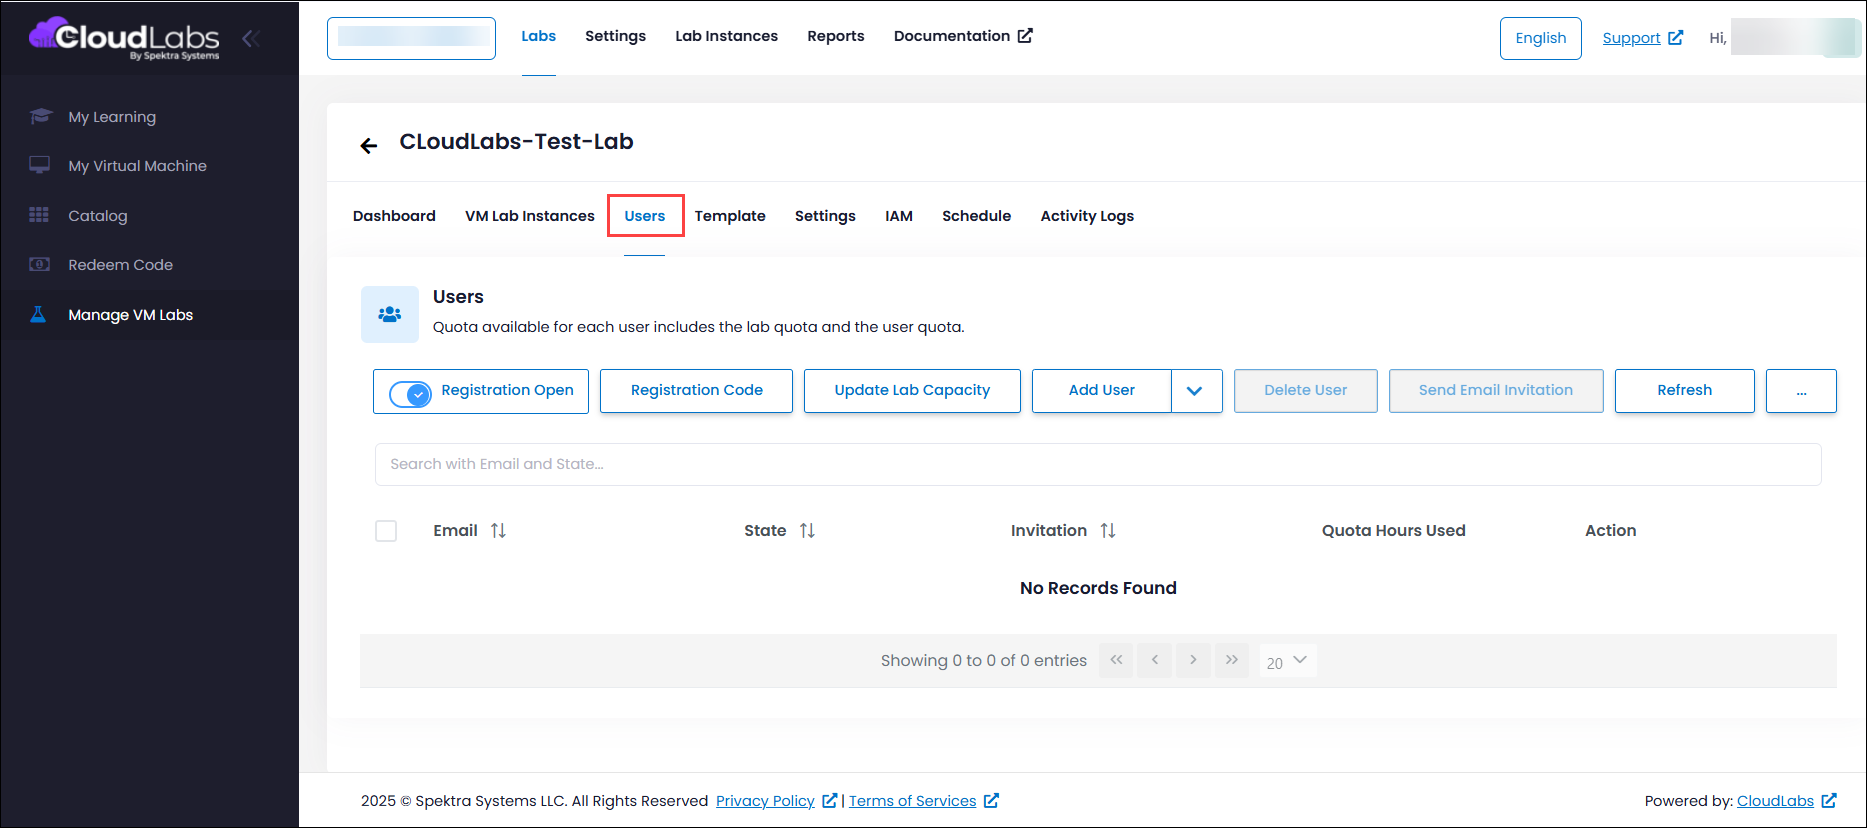
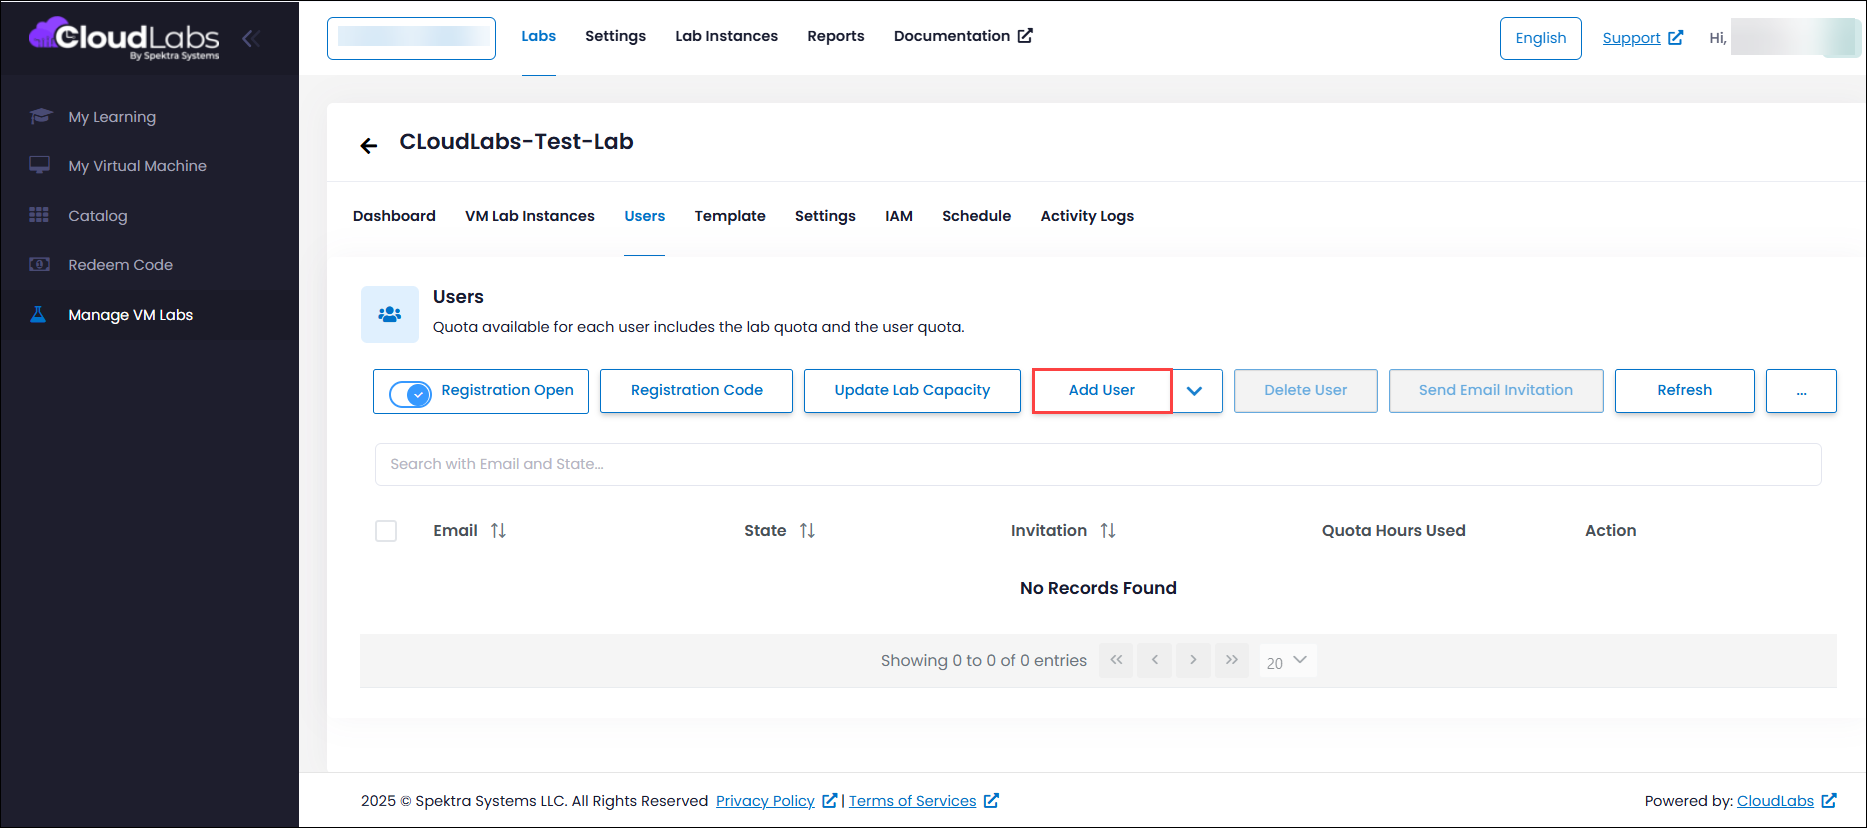
Select Add Users under the Users section in the Labs tab.
Provide the user details, like First Name (1), Last Name (2), and Email address (3), and click on Add (4).
.png "image(344).png")
The user will be added and displayed under the Users section in the Labs tab.

Additionally, you can send an invitation to the users, letting them know that they are invited to the lab. Click on the Send Email Invitation icon:
![]()
to send an email to all the added users containing the lab name and a link to the CloudLabs portal.
Add Users in Bulk via portal
You can also add users in bulk by adding multiple email addresses at a time. Continue by clicking on the Add Bulk Users option or by uploading a .CSV file. Follow the below steps to add users in bulk.
On the lab page, select Users from the tab.
.png "image(346).png")
Click on the drop-down (1) button next to the Add Users option and select Add Bulk Users (2).
.png "image(347).png")
You can provide multiple user details in the format of first name and email address (1). Once you have added the users, click on the Submit (2) button.
.png "image(348).png")
Once the users are added, you’ll be able to see the new users added in the Users’ table.
.png "image(350).png")
Add User in Bulk using CSV file
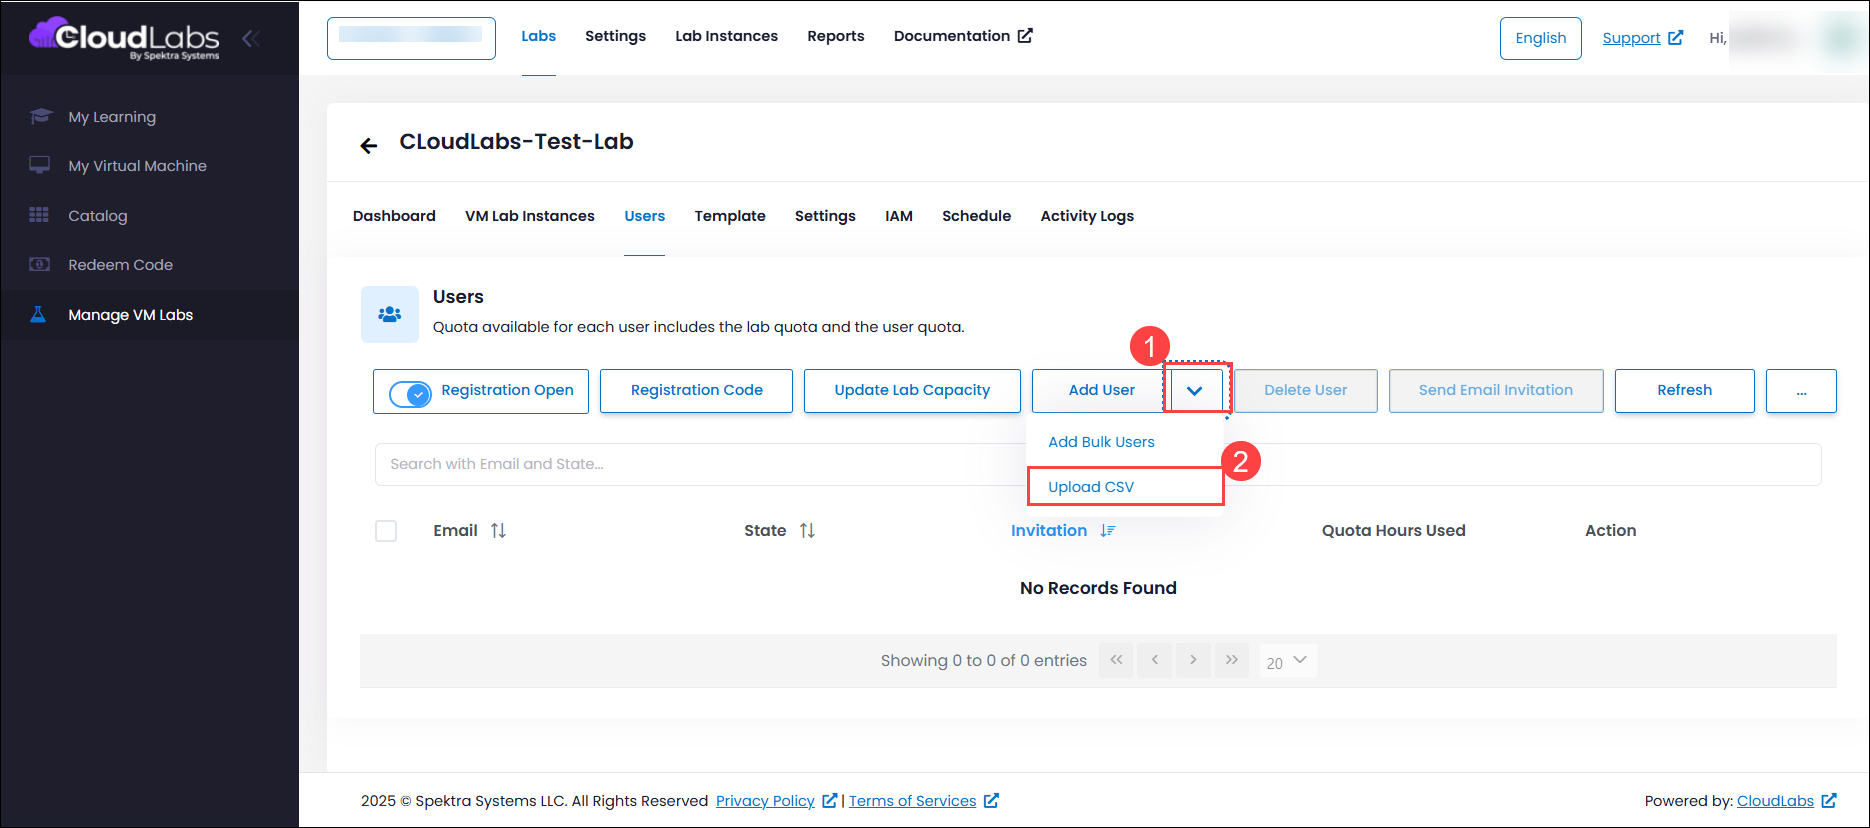
On the lab page, select Users from the tab.
Click on the drop-down button next to Add User (1)and select Upload CSV (2).
In the pop-up window, download the sample CSV file (1), add new users (2) to the file in the same format (first name, email), and save the file. Navigate back to the CloudLabs portal, upload the CSV file, and click on the Submit (3) button.
.png "image(353).png")
Once the users are added, you’ll be able to see the new users added in the Users table.
.png "image(354).png")
Add via Activation Code
An alternative way to invite users to the lab is by sharing an activation code. Users can redeem this activation code via the CloudLabs Portal to add themselves as lab users.
To enable users to register for the lab, you must enable the Registration Open toggle button.
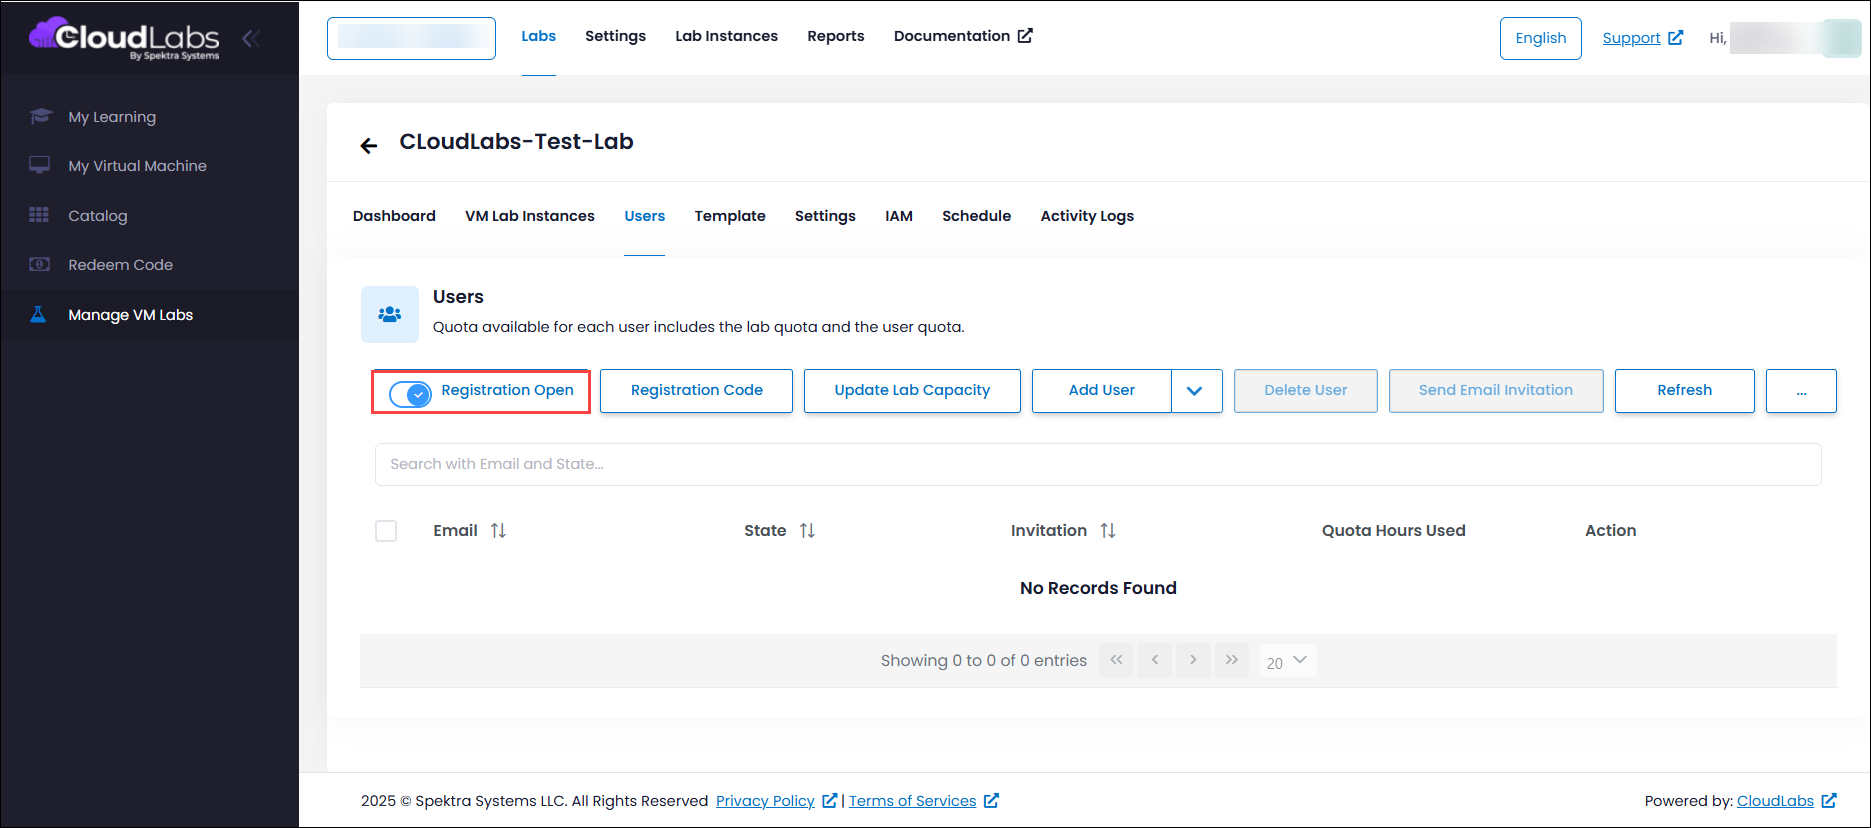
To get the activation code, follow the below steps:
a. Click on the Registration Code button to get the activation code, which can be shared with users via any channel.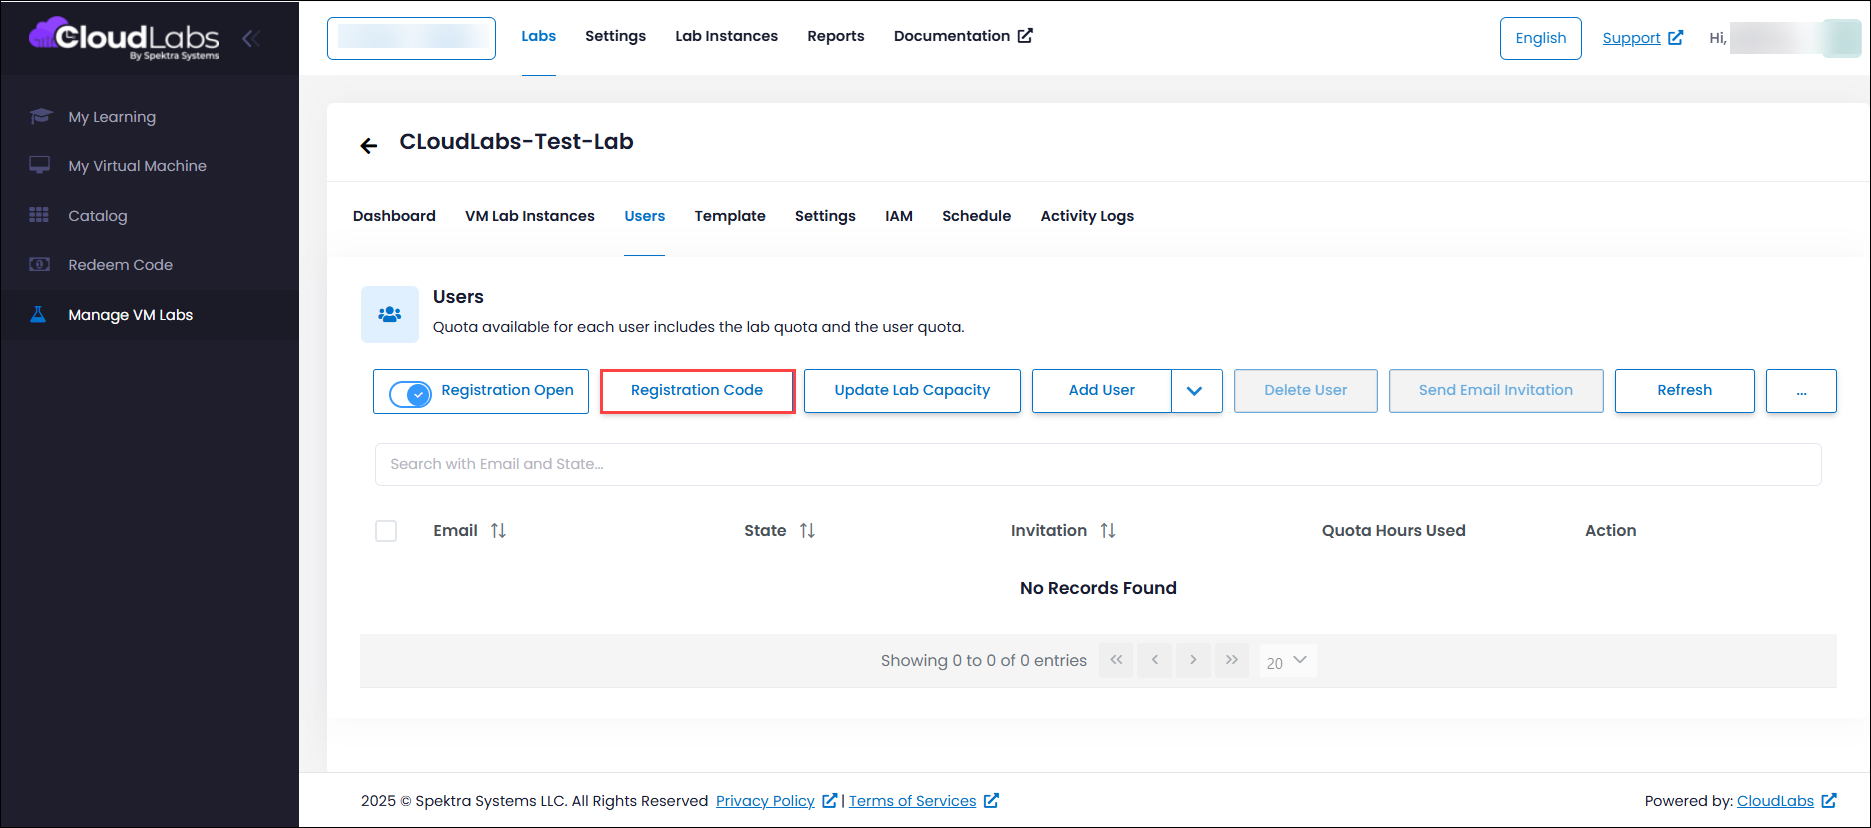
b. You will be able to get the activation code (1), copy the code (2), and click on the OK (3) button. You can share the same code with other users.
.png "image(359).png")
NOTE:
Once the activation code has been redeemed by the user, it is no longer valid for further use, meaning it cannot be redeemed again.
Add Users Using Sync Group Members
Adding users to a lab through Entra ID group synchronization allows you to assign labs to an entire group, giving all group members access to the labs. This feature simplifies user management by automatically syncing group members with the lab. Group members are synchronized every 24 hours, but you can also force a sync to immediately reflect any changes in group membership.
Follow the steps below to add users using the Sync Group Members:
Navigate to the desired lab where you want to add users.

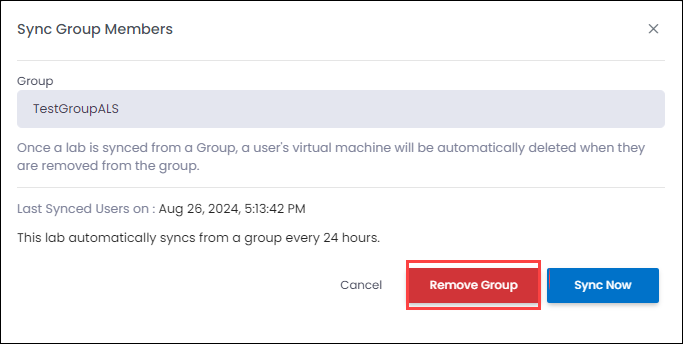
Once on the lab page, select the Users (1) tab to manage user settings and Click on the Sync Group Members (2) button.

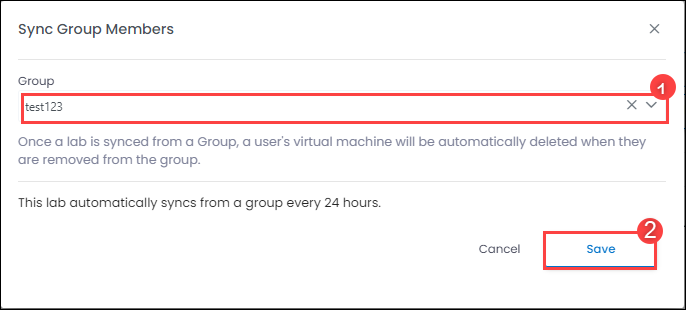
A Pop up appears with a dropdown menu. Select the Group (1) that you want to assign to the lab and click on the Save (2) button to sync the group members with the lab.
Once the group members are synced, they will appear in the users' listing on the lab page. If you want to immediately update the group membership in the lab, click on "Sync Group Members” again to force a sync.

Removing Users Synced from Entra ID Group
If you need to remove users from a lab who were added via Entra ID group synchronization, follow these steps:
Navigate to the lab from which you want to remove the users.
Once on the lab page, select the Users (1) tab to manage user settings and Click on the Sync Group Members (2) button

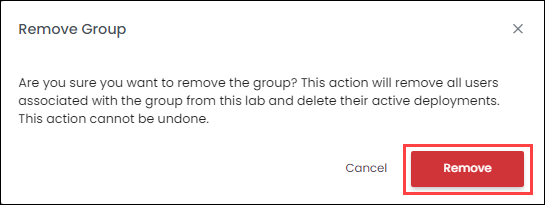
In the pop-up that appears, click on the Remove Group option
A confirmation message will appear, read that carefully and then click on Remove.
Manage Lab Capacity
Using the facility to Manage Lab Capacity, you can set the maximum value to add users, helping to reduce the necessary Azure costs. This will limit the number of users that can be added to the lab. To add the lab capacity, click on Update Lab Capacity option.
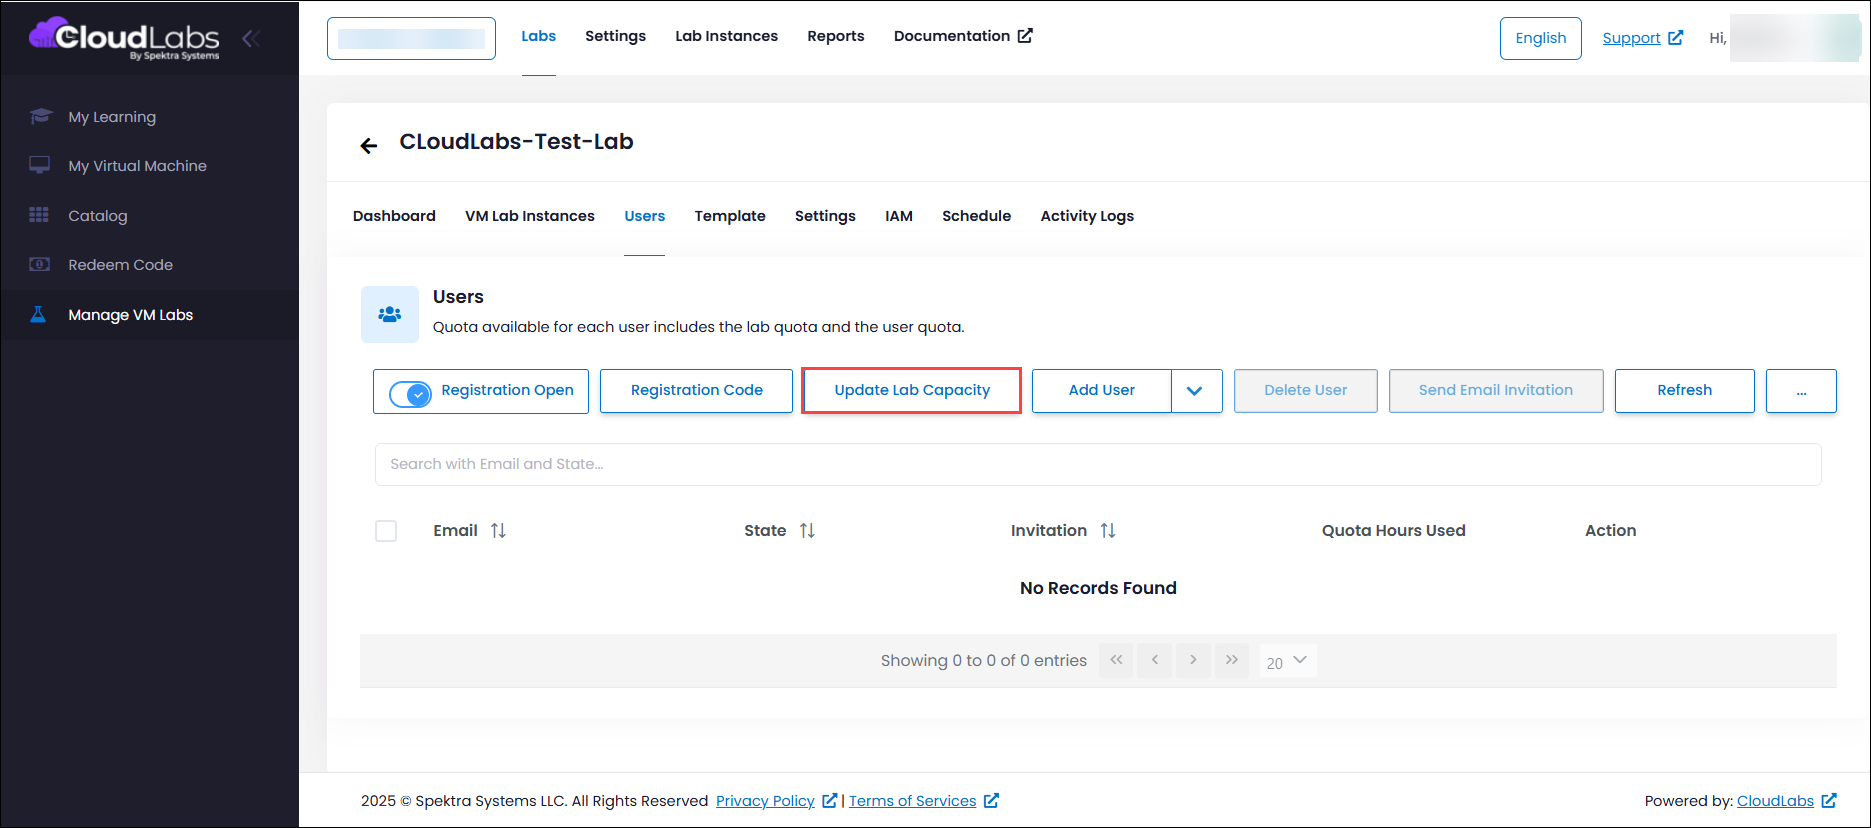
Provide the desired value in the pop-up window, and click on Update.
.png "image(363).png")
Bulk Delete
CloudLabs VM Lab services allow bulk user deletion, which makes the task easier. Follow the below steps to delete users in bulk.
From the Users (1) page, select users’ emails (2) whom you wish to delete and click on Delete User (3).
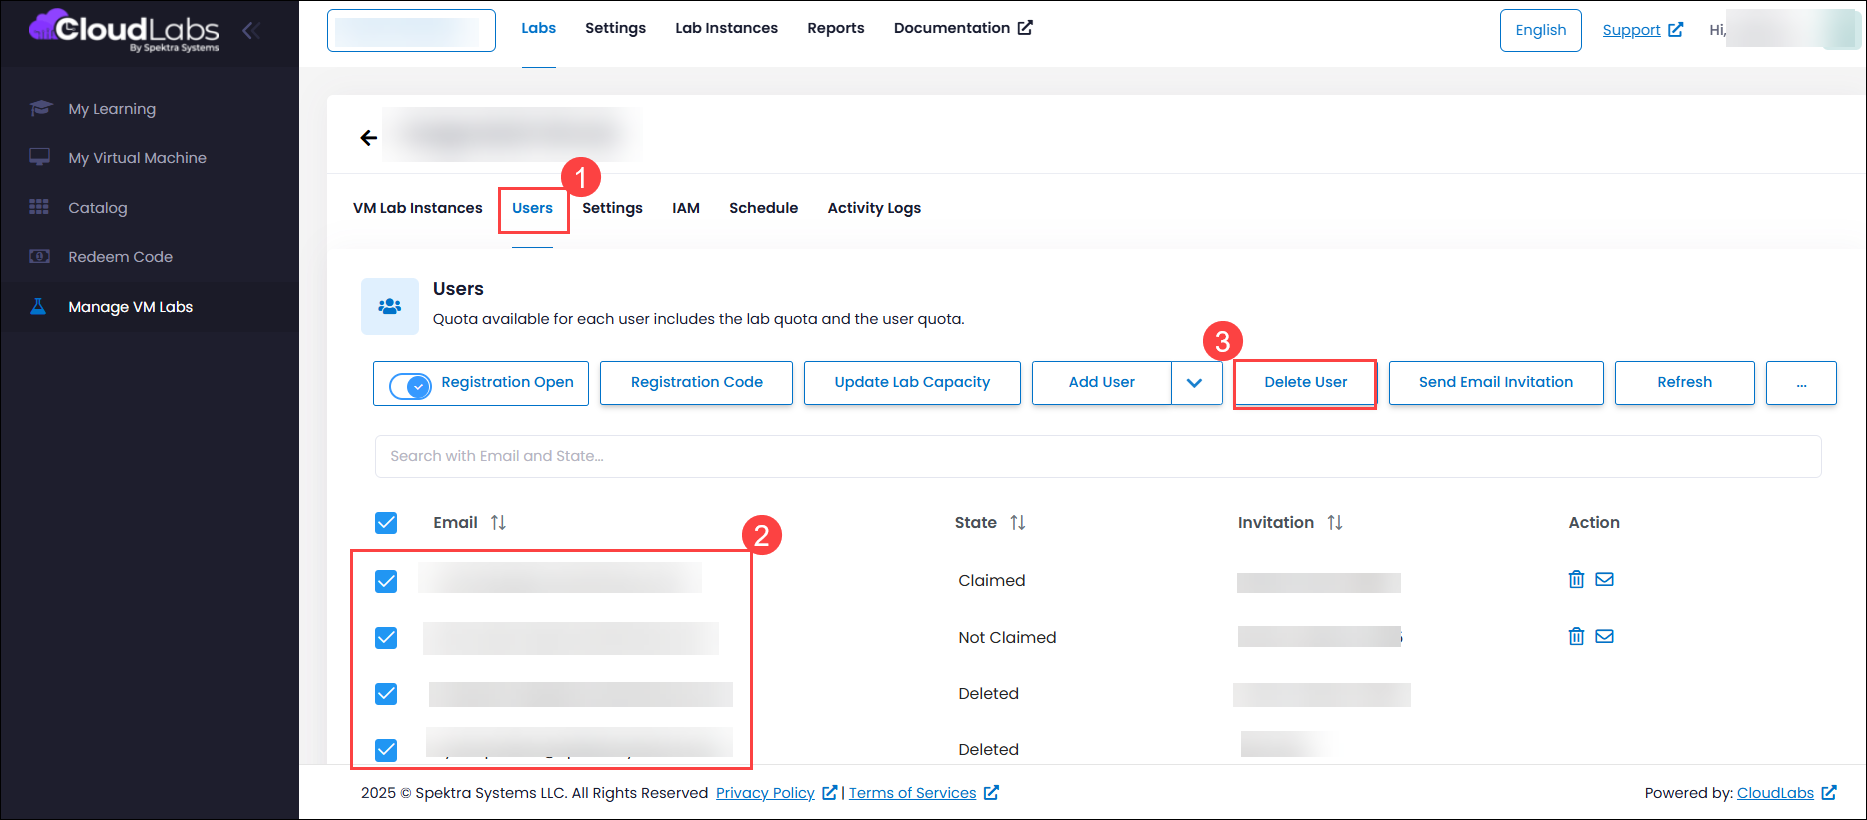
In the Delete Users pop-up box, read the message carefully and click on the Delete button. After the users have been deleted, you will be able to review the list of deleted users.
Note: Users added through Sync Group Members cannot be deleted if they have not claimed any instances. Please ensure that the user has claimed at least one instance before attempting deletion.
Next Steps
In this article, you learned how to add users and manage lab capacity using different available options.
Once the users are added to the lab, they can access the lab by following Manage and Access lab.