Overview
This guide walks through the steps required to create, configure, and distribute VM labs using CloudLabs VM Labs service. It also includes customizing the base VM image for lab users.
Prerequisites
A CloudLabs portal account. If you do not have one, sign up at portal.cloudlabs.ai.
The administrator role is required to create labs. If you do not see the Manage VM Labs section in the CloudLabs portal, it likely means you do not have administrator privileges. Please contact CloudLabs support for assistance with this issue.
Steps
Create a lab.
Customize the base VM image (Optional).
Invite Users.
Organize the first Class/Session.
Organize Subsequent Classes/Sessions.
Create a Lab
A lab in CloudLabs is a structured environment that distributes virtual machine labs to users, allowing them to access a configured and isolated computing environment for training purposes.
The lab creation process involves inputs spread across 3 sections. Following is a breakdown of the lab creation process.
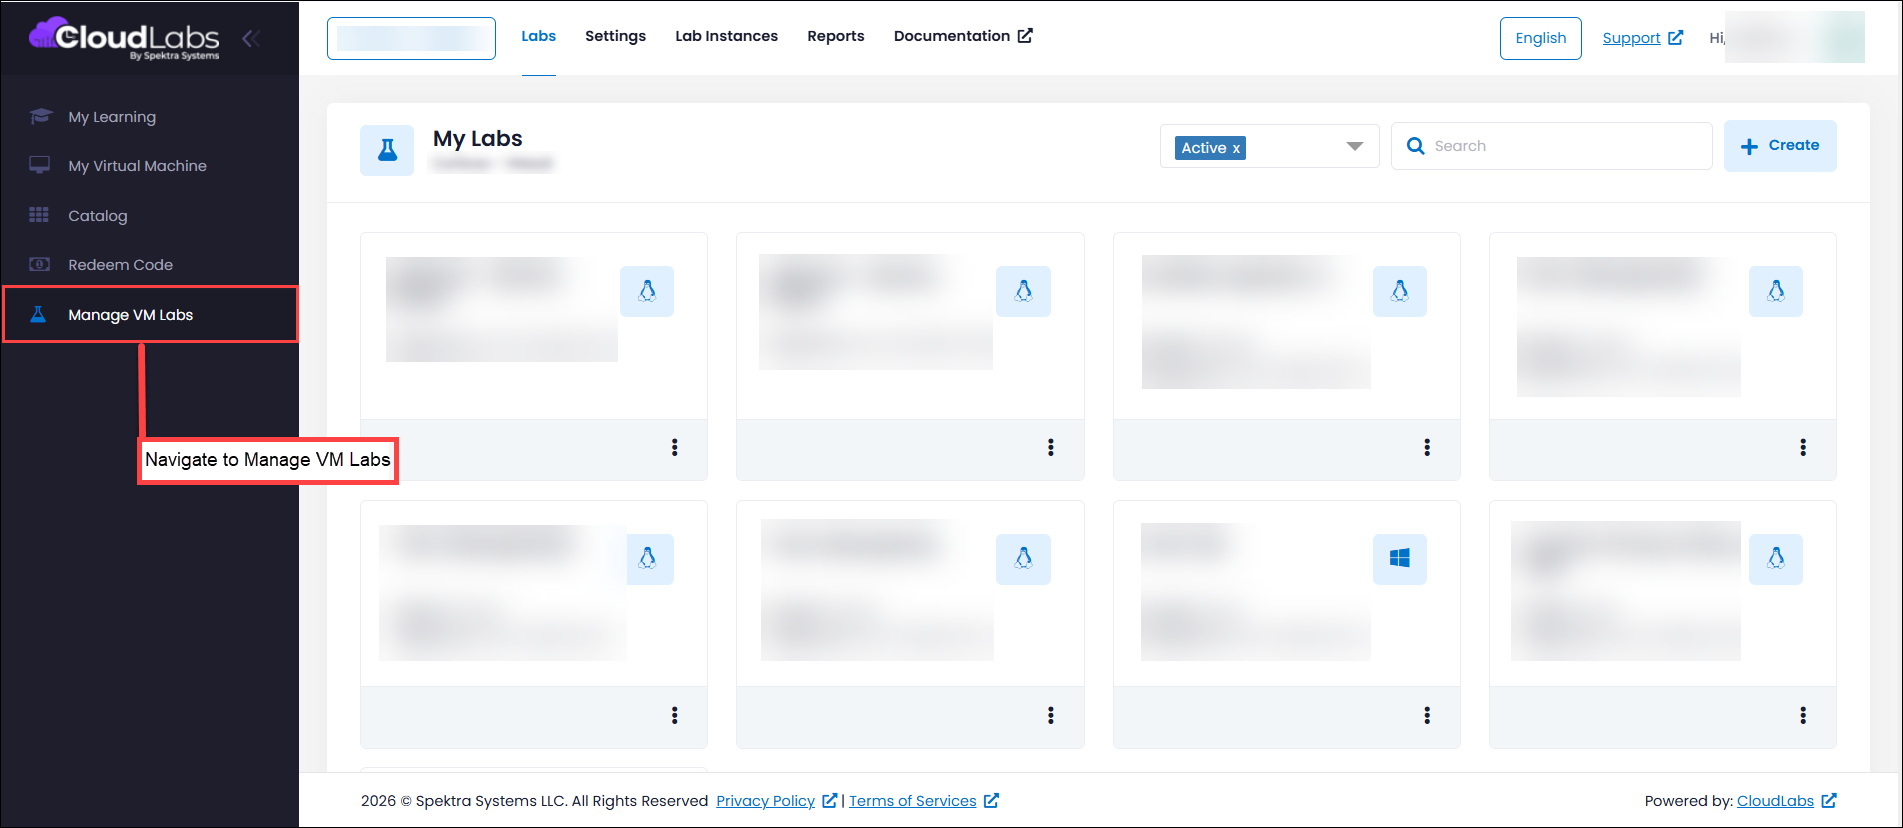
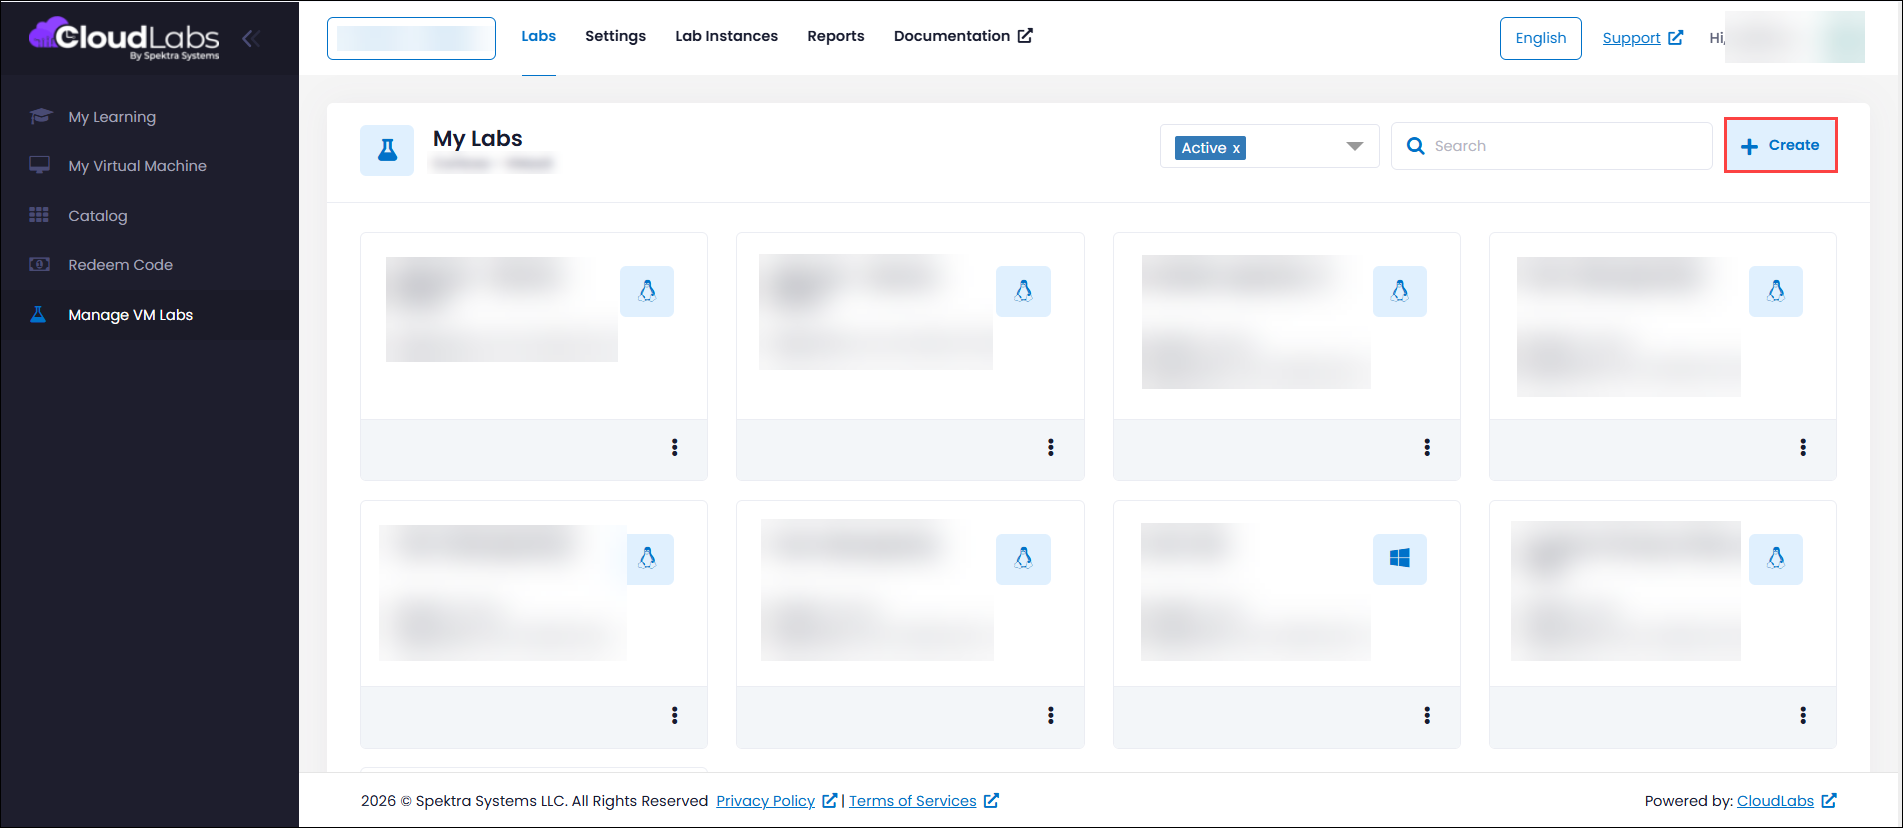
Navigate to the Manage VM Labs section and click on +Create.
On the Basic tab, fill in the following details:
Fields
Value to Input
Name (Title of the lab for your users)
Programming-101
Location (Region to deploy VM)
us-east-1 or default
VM Image (OS image for VM)
Windows 11
VM Size (Configuration of VM)
Small
Proceed to the "Credentials and Connection Type" page. Expect the following fields left as default.
Fields
Value to Input
Username (username to access VM)
labuser-01
Enable CloudLabs Direct Web Connect
Enable
Click on Next and go to the Lab Policies page.
All the Lab Policies settings can be updated later as well in the Settings Section.Fields
Value to Input
Enable Non-Persistent VM
Disabled
Restrict VM Uptime
Enabled
VM Machine Quota Per User
10 hours
Lab Expiration Date
15 days from today
Keep Idle Shutdown Settings to Default.
Click on Create. A lab will be prepared within a minute, and you will be navigated back to the Manage VM Labs section to see the newly created lab.
Customize the Template VM Image (Optional Step)
The selected image in template acts as base VM image for all lab VMs. Customizing this base image is optional and allows you to tailor the virtual environment to meet the specific requirements of your course or training.
Follow the following steps to customize the base VM image:
Navigate to the Template tab in your lab.
Start the Template VM and connect using Direct Connect. You will be redirected to the Direct-Connect VM lab experience.
Install necessary software for classroom training (e.g., Visual Studio Code).
Close VM Direct-Connect.
In the pop-up Enter the Name, select the Image Gallery and choose the required State of image and Click on Export .
Update the Virtual Machine Image with the exported image and Submit.
All lab instances will mirror the Template VM's configuration.
Inviting Users
CloudLabs supports 2 ways to invite users to the lab.
Using an email address.
Using an activation code.
For more information, read the article on Adding Users to the Lab
For this tutorial, we will go through the 1st option, i.e., email address. For detailed steps on the above options, read the article on Add via Activation Code.
Go to the User tab.
Click on Add Bulk Users.
Input the list of users’ emails you want to invite to the lab.
Click on Invite All to send an invitation email to all the added users.
Giving Access to Lab
By default, none of the users have access to their VM lab, even though they received the invitation email and signed up on the CloudLabs portal.
As a cost optimization measure, CloudLabs does not launch/create labs by default. Labs can be launched by invited users on demand, which can take around 5 minutes, or some instances can be pre-created using CloudLabs Hot Instances.
Click on Provision Hot Instances and enter 5 to create 5 Hot Instances.
Click on Enable Lab Access to let the user connect to their VM.
Now, the users will have access to start and connect with their VM Labs until they exhaust their VM Uptime Quota or until the lab expiration date.