Overview
In this article, you will learn about setting up a lab schedule and related functions. CloudLabs VM Labs provides an easy and simple method to create schedules for your lab. You can start, stop, and provision VM labs using the schedule feature.
By the end of this documentation, you should be able to:
Create a lab schedule.
Understand the various schedule options.
Types of Schedules
CloudLabs VM Labs allows you to set up different schedules to make sure it runs at a particular time.
To set up a lab schedule, follow the below steps:
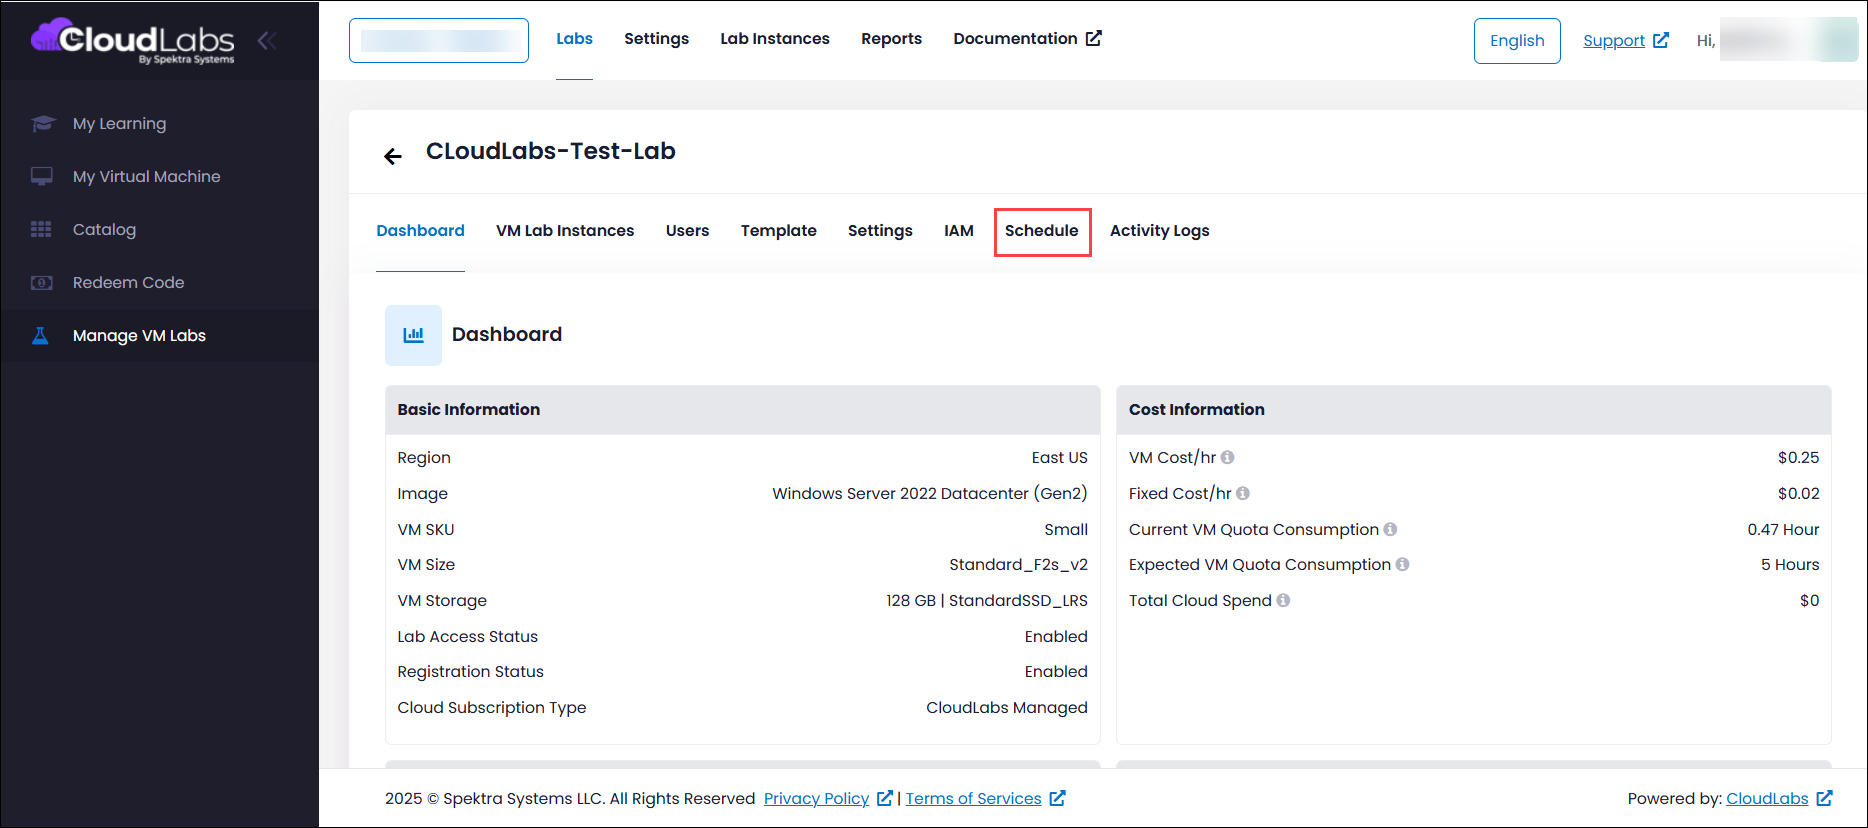
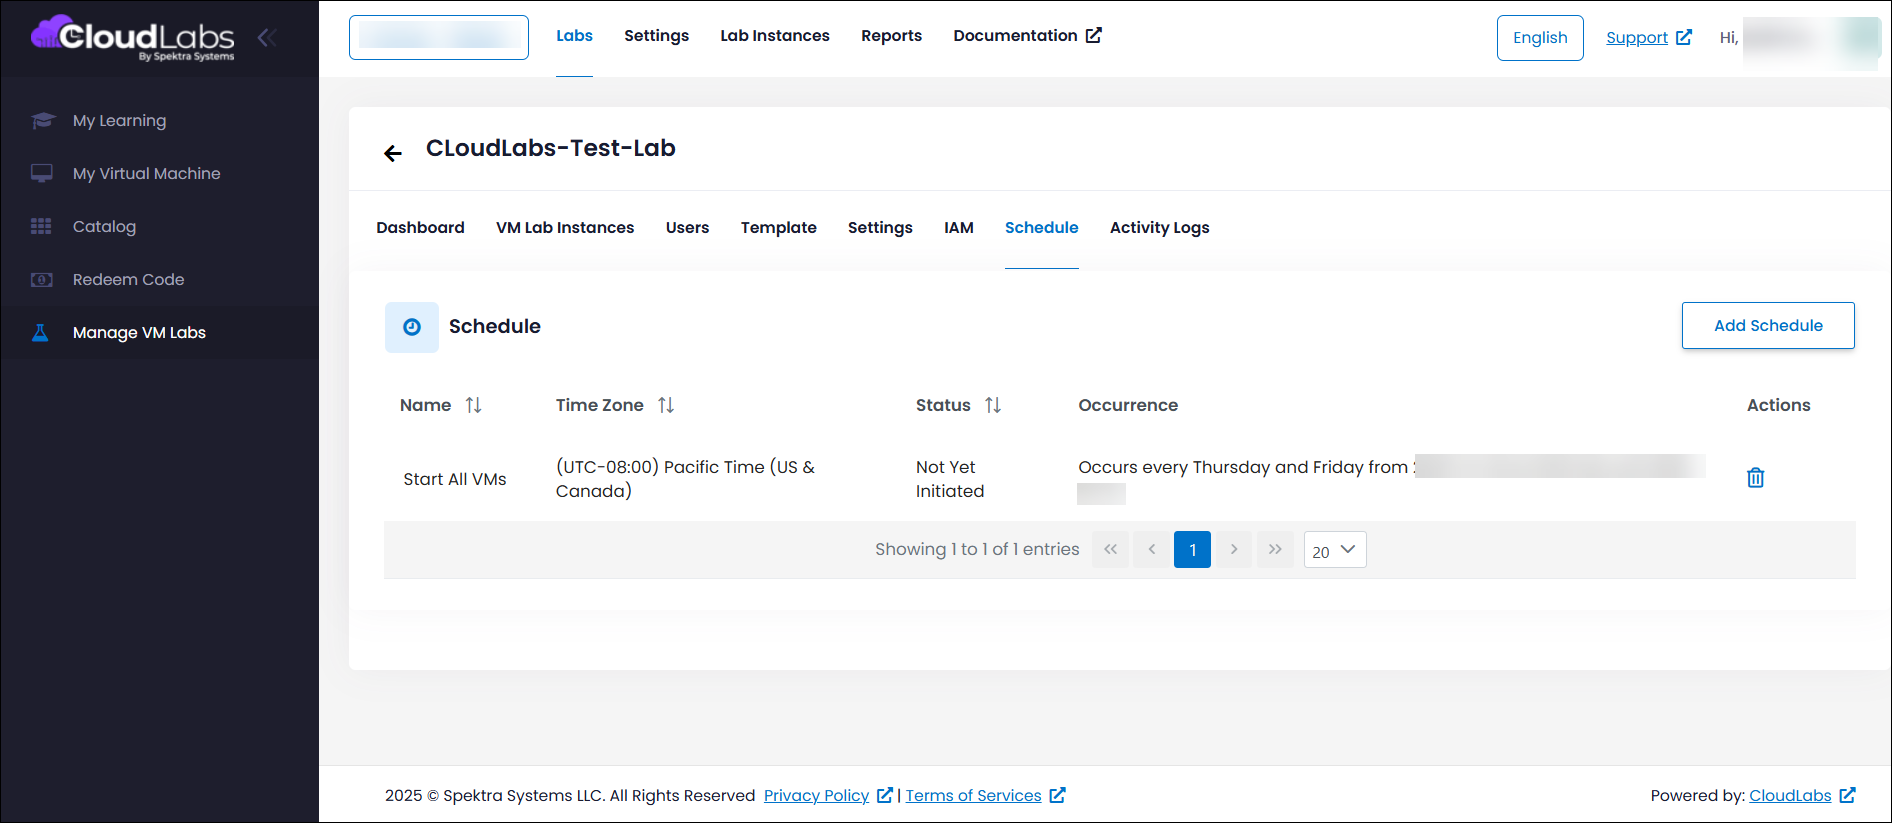
To manage lab schedule, log in to https://portal.cloudlabs.ai/ and navigate to the Schedule tab after clicking on your lab.
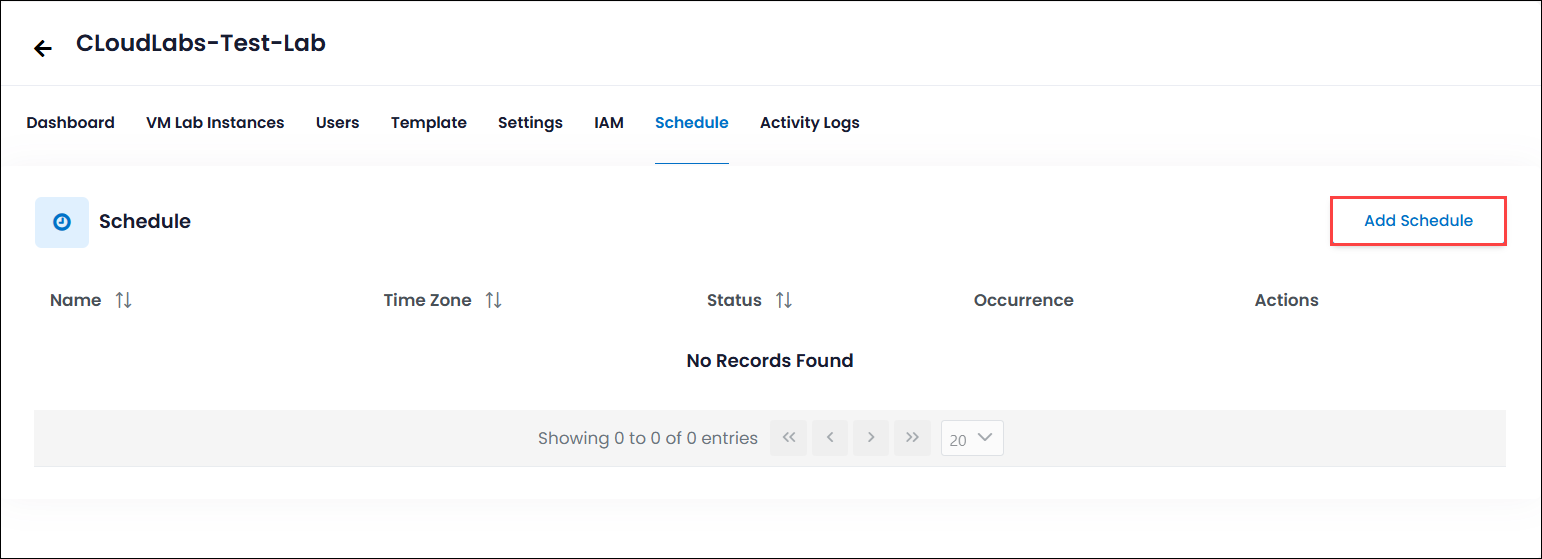
Click on the Add Schedule button.
In the Add Schedule pop-up window, there are many operations that you can achieve by setting up a schedule.
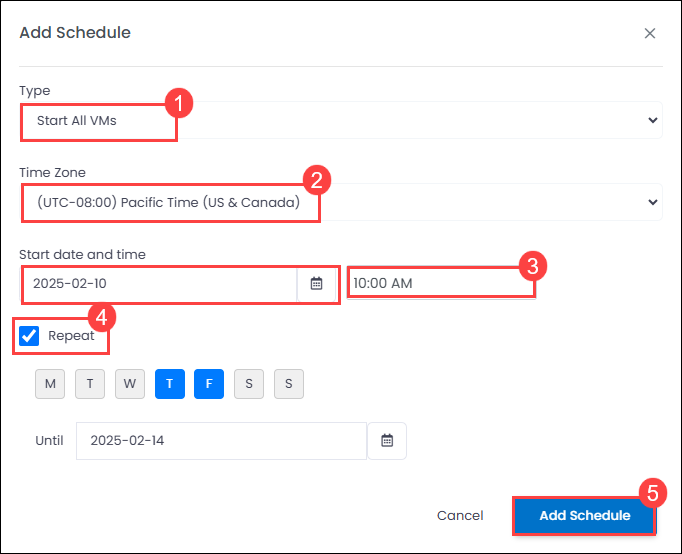
Start All VM Schedule: This action will start all the VM instances at a time as per schedule. To set up a schedule, follow the below steps:
Select the Start VM (1) from the Type drop-down box.
Select the Time Zone (2) and the Start date and time (3) as per your requirements.
If you want to repeat (4) the schedule, select the days and enter the end date.
Click on the Add Schedule (5) button to set up a schedule.
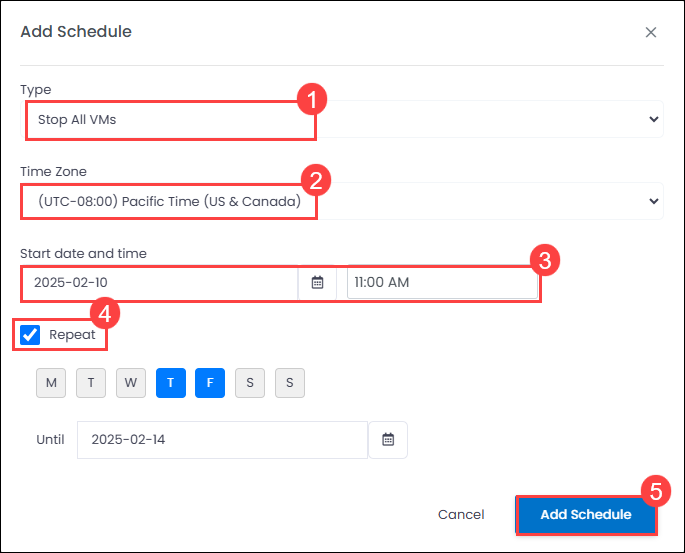
Stop All VM Schedule: This action will stop all the VM instances at a time as per schedule. To set up a schedule, follow the below steps:
Select Stop All VMs (1) from the Type drop-down box.
Select the Time Zone (2) and the Start date and time (3) as per your requirements.
If you want to Repeat (4) the schedule, select the days and enter the end date.
Click on the Add Schedule (5) button to set up a schedule.
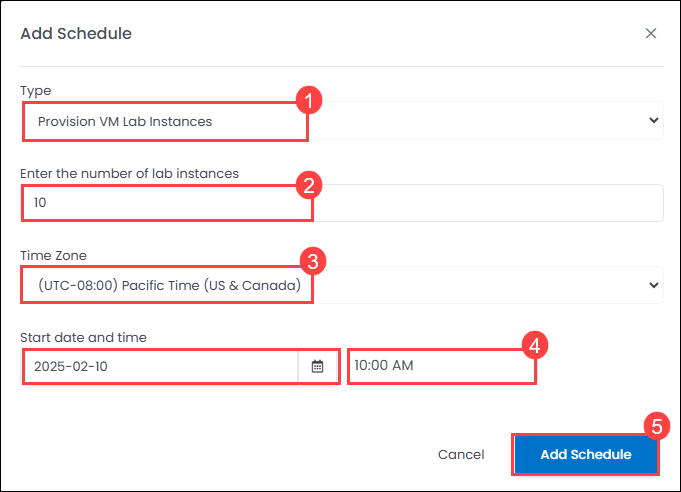
Provision VM Lab instance: Using this action, you can set up the deployment of several VM Lab instances at a time. To set up a schedule, follow the below steps:
Select the Provision VM Lab instance (1) from the Type drop-down box.
Enter the number of lab instances (2) that you want to deploy.
Select the Time Zone (3) and the Start date and time (4) as per your requirements.
Click on the Add Schedule (5) button to set up a schedule.
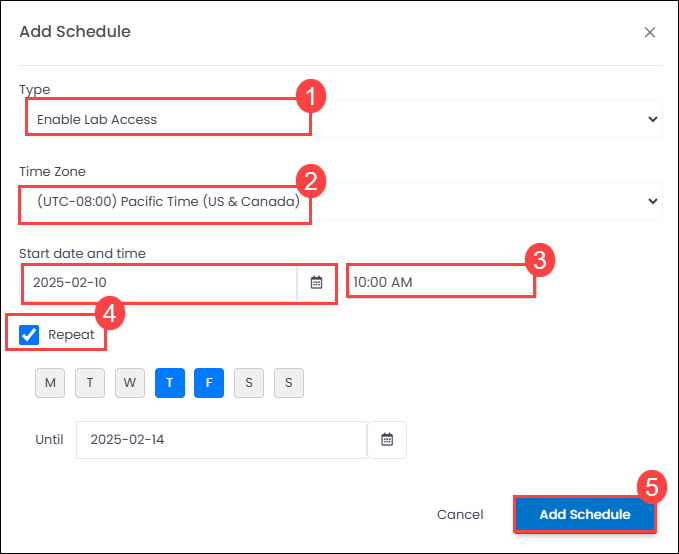
Enable Lab Access Schedule: This action will enable lab access to your lab as per schedule. To set up a schedule, follow the below steps:
Select Enable Lab Access (1) from the Type drop-down box.
Select the Time Zone (2) and the Start date and time (3) as per your requirements.
If you want to Repeat (4) the schedule, select the days and enter the end date.
Click on the Add Schedule (5) button to set up a schedule.
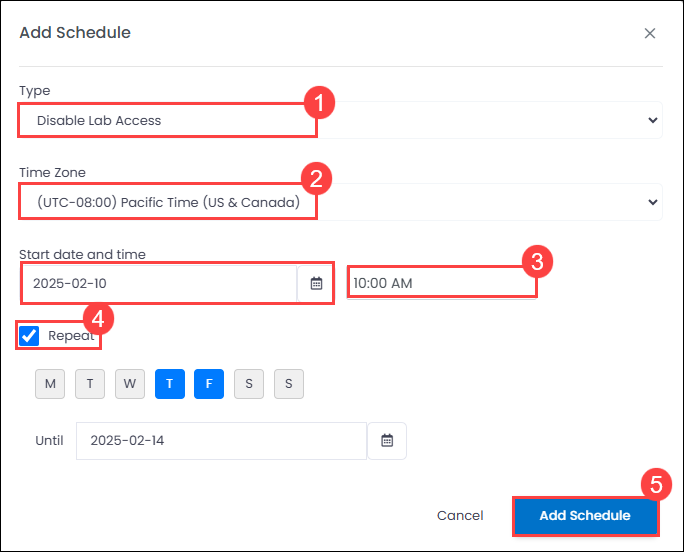
Disable Lab Access Schedule: This action will disable lab access to your lab as per schedule. To set up a schedule, follow the below steps:
Select Disable Lab Access (1) from the Type drop-down box.
Select the Time Zone (2) and the Start date and time (3) as per your requirements.
If you want to Repeat (4) the schedule, select the days and end date.
Click on the Add Schedule (5) button to set up a schedule.
Once you complete adding the schedule, you’ll be able to see the schedule in the list.
Note: When a schedule is set for a lab, it automatically triggers the configured action (Start or Stop) for all virtual machines associated with that lab, including the template VM. Before adding any schedule, it is important to ensure that only the required lab instances are present, as unnecessary VMs may also be started, resulting in unnecessary resource consumption and increased operational expenses. Additionally, if the lab uses an operating system that does not support the Idle Tracker feature, virtual machines may continue running even when not in use, which can result in VM quota exhaustion. Therefore, it is essential to verify OS compatibility and carefully review the lab configuration and schedule to ensure efficient resource usage and cost control.
Next Steps
In this article, you learned about lab schedules and different actions.