Table of Contents
Overview
This guide walks you through the process of purchasing labs on shop.cloudlabs.ai. Explore end-to-end managed hands-on labs, available in self-paced formats, designed to support learners at all levels- beginner, intermediate, and advanced.
How to Sign up at shop.cloudlabs.ai?
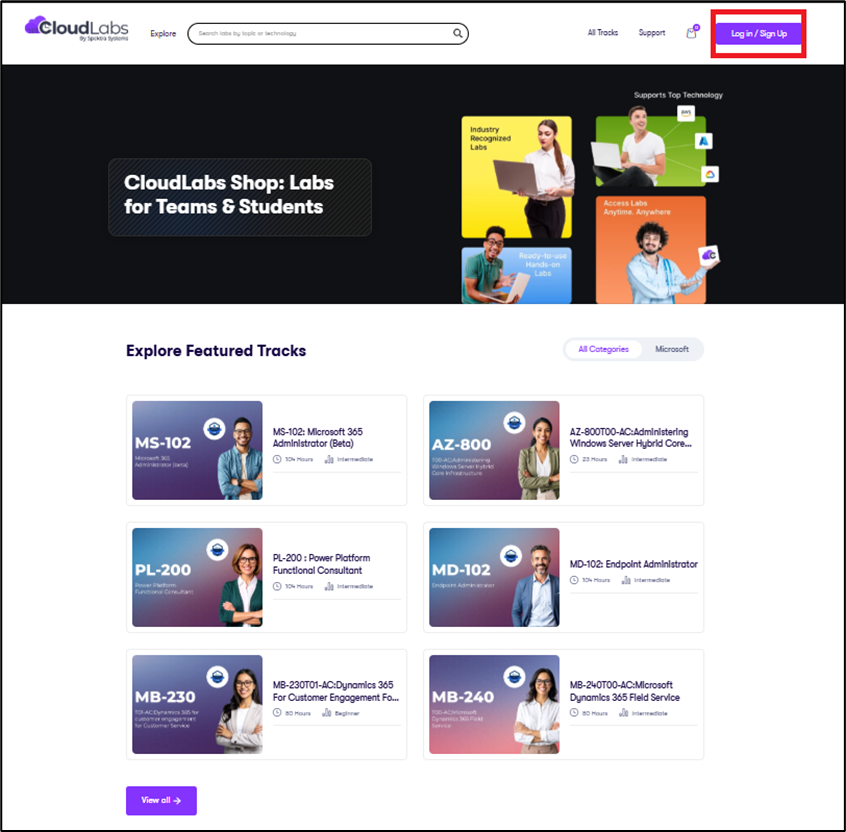
Navigate to https://shop.cloudlabs.ai/. Click on the Login/Sign up button at the top right corner of the page to get started.
You’ll be redirected to the login page. One can sign up using their Microsoft Account, LinkedIn, Google, or Work or School Account. Additionally, you can click the Sign up now option to create an account.
.png)
Complete registration by filling in the mandatory fields. Insert an active Email ID, Password, First Name, Last Name, and Display Name. Make sure to accept the Terms of Use and Privacy Policy before clicking on Create.
.png)
Enter the verification code sent to your registered email ID and click on Verify Code. Once successfully verified, you can click on the Create button and complete the sign-up process.

You’ll be redirected to the shop.cloudlabs.ai home page.
How to Add/Update Personal Information?
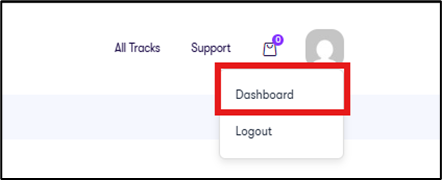
Click on the profile icon at the top right corner of the portal and select the Dashboard option to view and update your personal information.
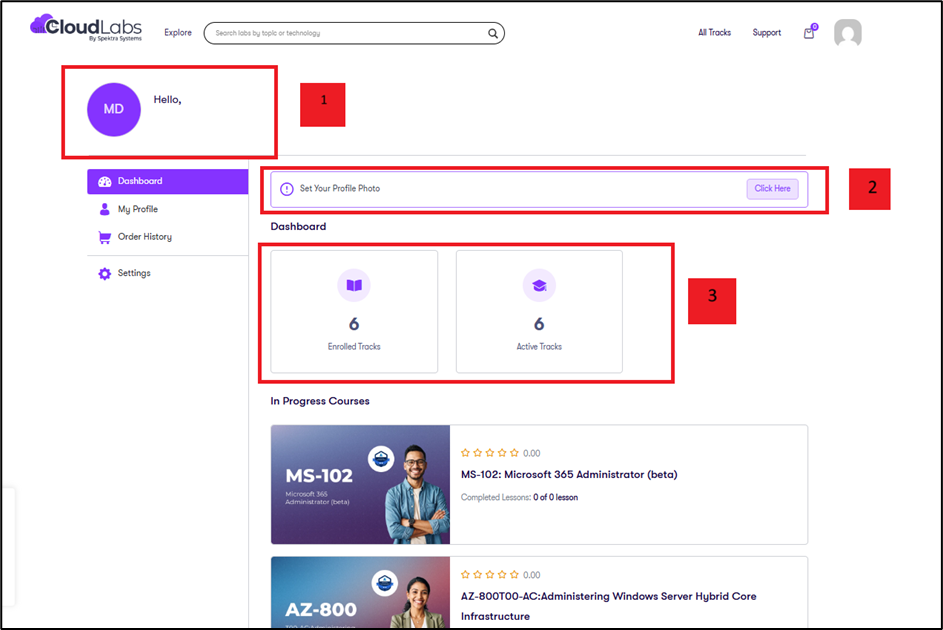
Check out the top left corner (1) of the dashboard for your name. Users can add or edit their profile photo by clicking on the click here (2) option. One can also check for Enrolled Tracks and Active Tracks (3) here.
Click on "My Profile" to view all the details you’ve previously entered.

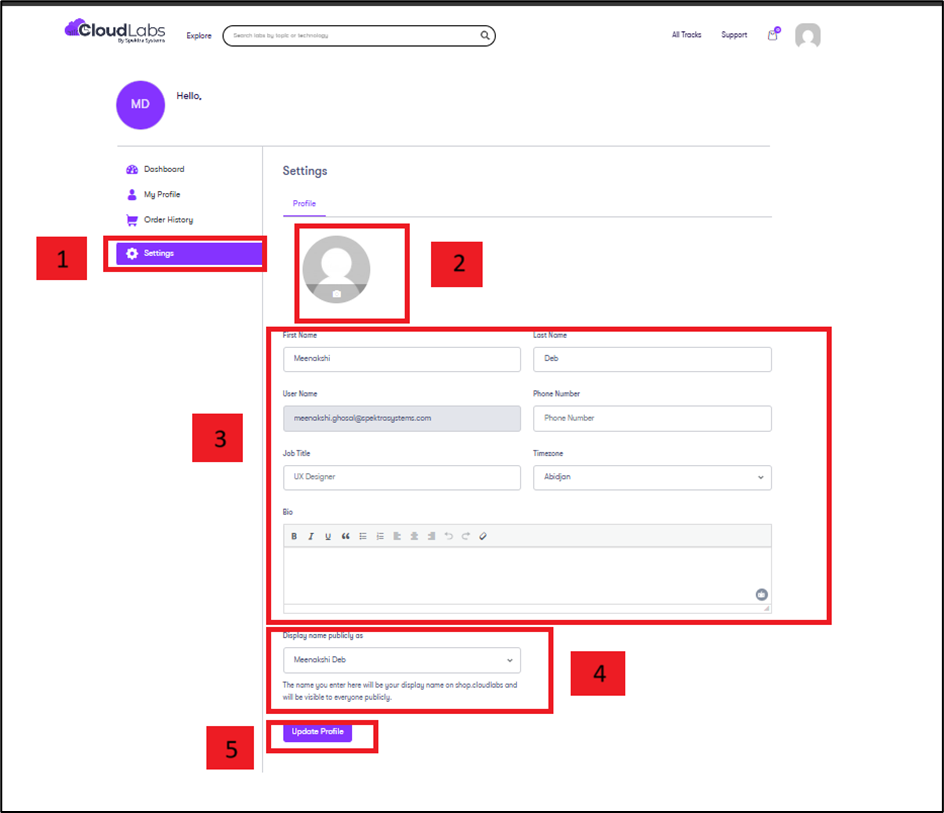
Go to the Settings (1) tab to manage profile-related details. You can change or upload Profile Photo (2), enter or change First name, Last name, Username, Phone number, Job Title, Time Zone, Display Name, and Bio (3), and change Display Name (4). Finally, click Update Profile (5) to save all the implemented changes.
How to Buy Labs?
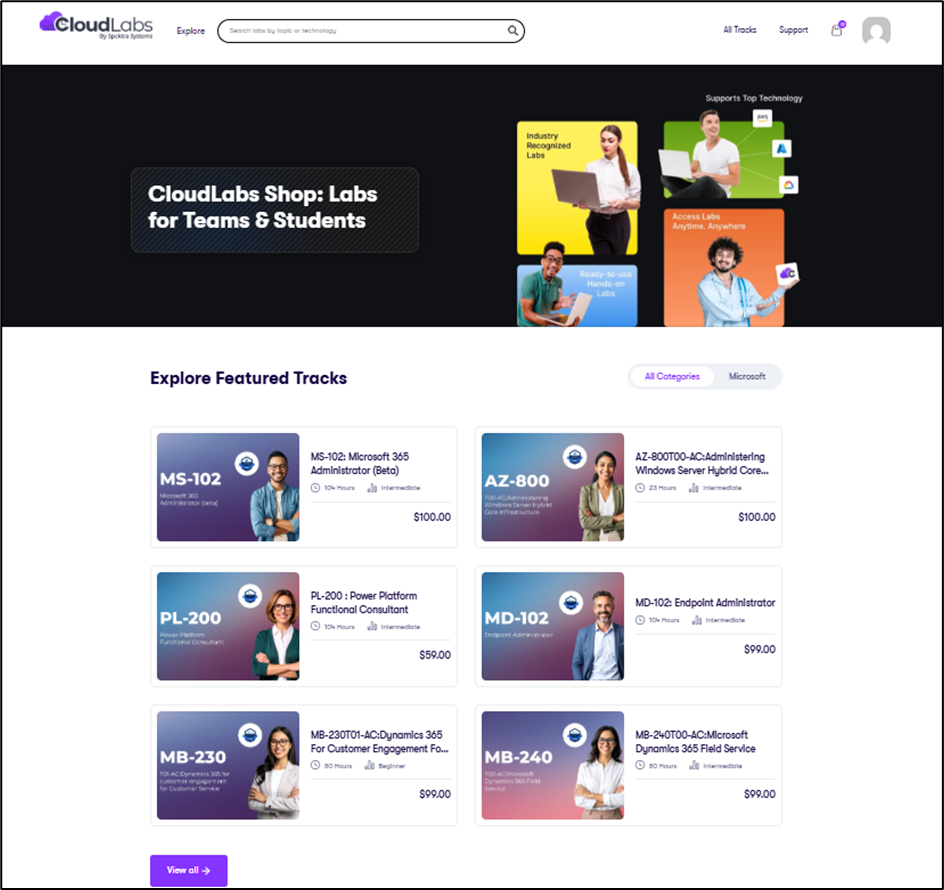
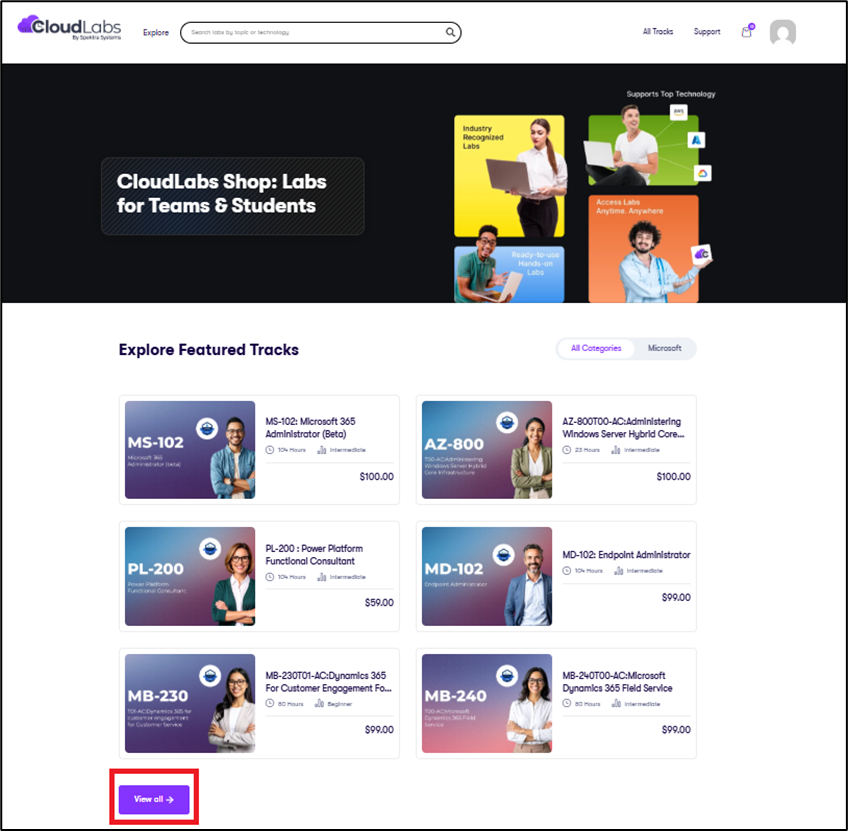
After logging in, you can browse through all the labs available. Click on the View All button to start exploring.
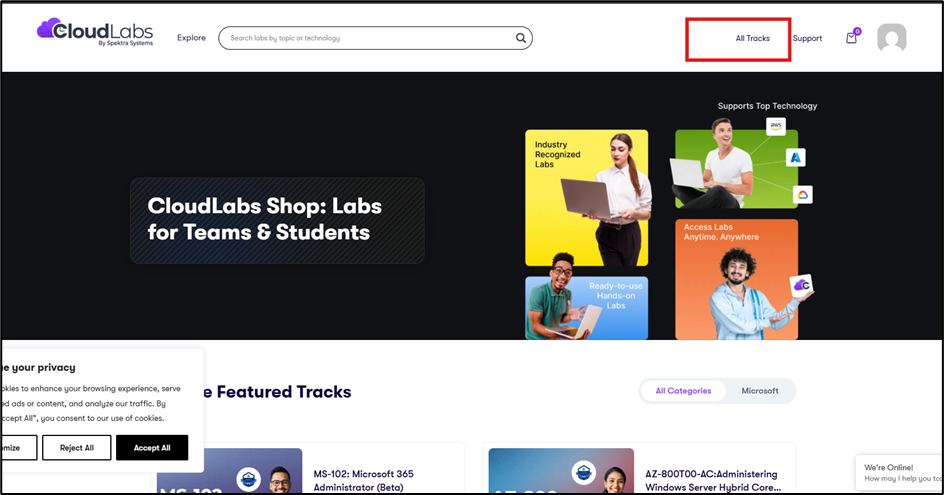
Click on the All Tracks option at the top right corner of the page to start browsing through the whole catalog with every available lab listed.
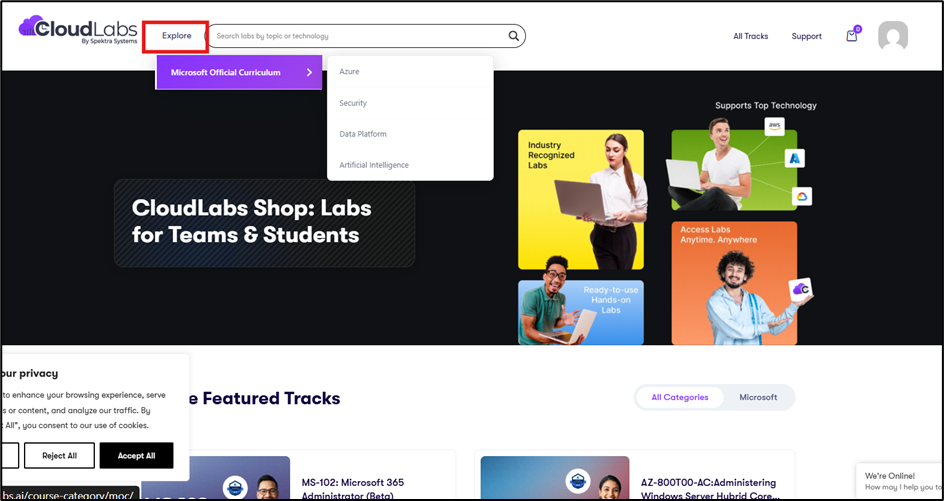
To browse by category, click the Explore option at the top left of the page. For example, choosing Azure will show you all Azure-specific tracks in one place.
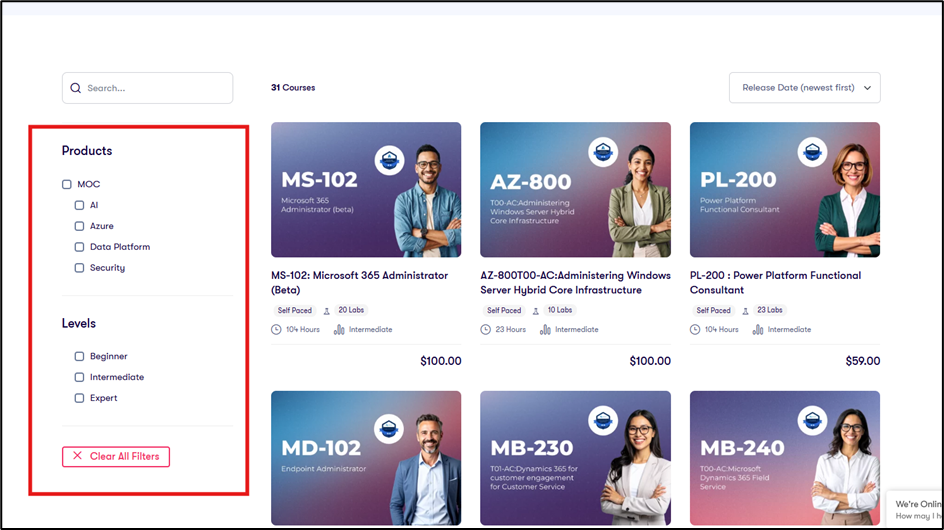
Here, we have proceeded by clicking on the All Tracks option. Use the filters on the left side to narrow down your lab search by Cloud platform, products, lab type, or other options. This helps you quickly find the one that matches your learning needs.
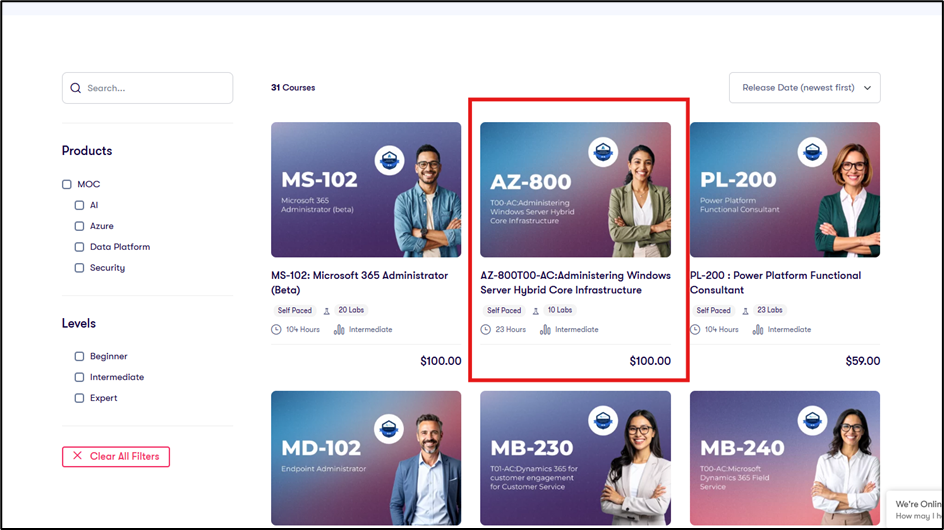
Click on a specific Track to check out related details.
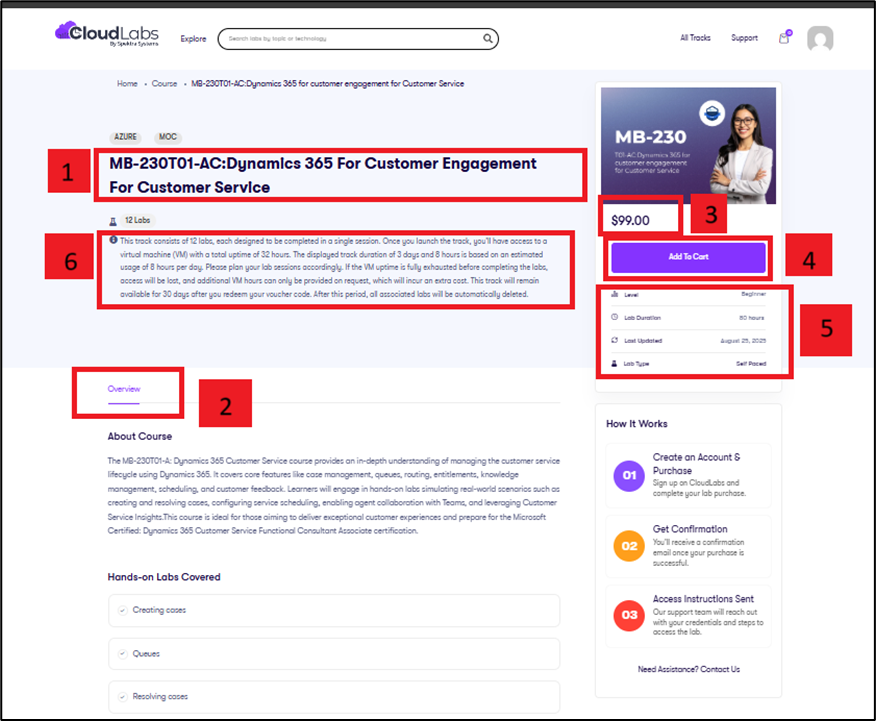
You’ll be redirected to the track page. Review all the track-specific details, including Track Name (1), Overview, Hands-on Labs Covered, and Audience (2), price (3), Level, Duration, and Last Updated (4), before clicking Add To Cart (5). Please check the Disclaimer (6) available with each track to get an overview of lab duration and VM uptime availability.
Click the "View Cart" option to proceed with your purchase.

Or, you can also click on the Cart icon at the top right corner of the page to view all the labs you’ve added.

Your cart will appear like this, displaying all the tracks you’ve added.

In the cart, you can adjust the lab quantity by increasing or decreasing the number under the Quantity (1) option. You need to order a minimum of 3 labs to proceed with the purchase. Remove a particular track by clicking on the x (2) option available beside each track. Once you’re done with all the adjustments, click on Next (3).

Click on Proceed to Checkout.

You’ll be redirected to the billing page. Fill in all the mandatory fields, enter your Name, Country, PIN Code, Contact Number, etc, under Billing Details, along with any Additional Information for the CloudLabs team to consider.

How to View Order History?
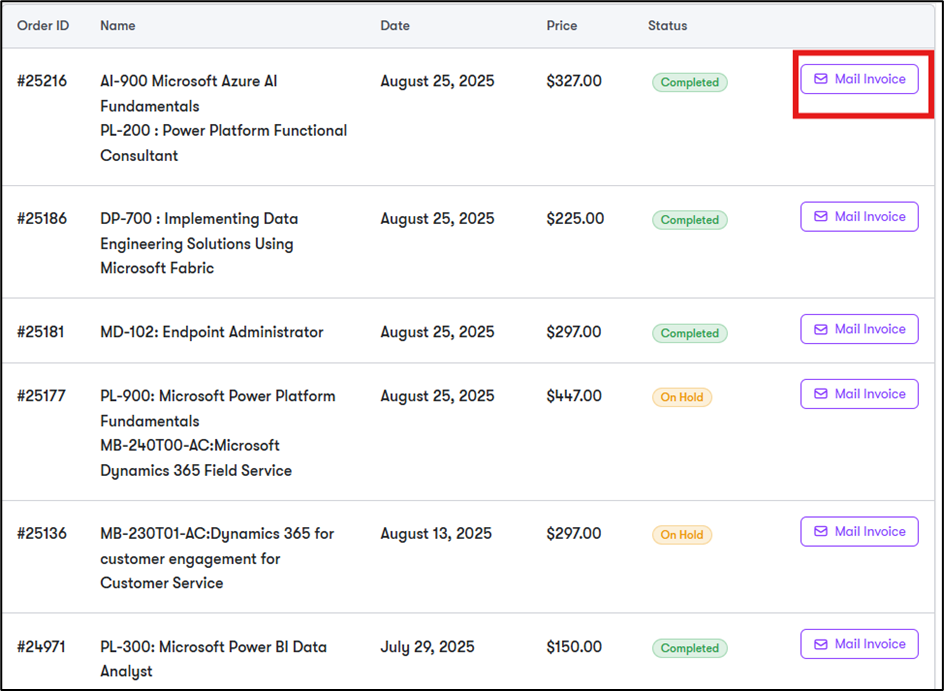
Go to the Order History tab to check out all order-related details.

You can generate separate invoices for each lab order by clicking on the Mail Invoice option beside each Order ID.
What are the Various Purchase Options Available?
You can complete your purchase through Offline Payment (1) or Credit/Debit Card (2).

Offline Payment
i. You can complete the offline payment via Wire Transfer or wait for our sales team to assist.
ii. Upon selecting offline payment, you’ll see the following message.

iii. You’ll receive a confirmation email from CloudLabs at your registered email address. You can complete the purchase by paying via Wire Transfer (request bank details) or wait for our sales team to connect. In case you choose to wait for our sales representative, a team member will contact you within 48 business hours to confirm your preferred payment method, he/she will provide clear payment instructions, and once your payment is verified, you’ll receive a follow-up email within the next 36 business hours containing your lab voucher code and detailed access instructions.
B. Credit/Debit Card Payment
I. Enter Card Number, Expiration Date, and Security Code to place an order. You can also save the payment information for future purchases.

ii. On choosing the credit/debit card payment method, a message similar to the one below will appear on your screen.

iii. You’ll receive the following confirmation email from CloudLabs at your registered email address (with invoice attached), confirming your lab purchase as successful.
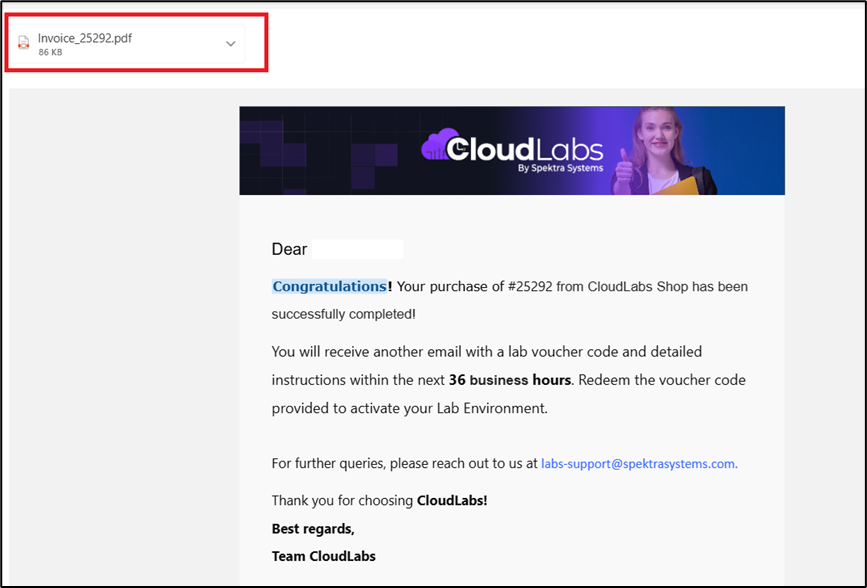
iv. Additionally, you’ll receive another email with a lab voucher code and detailed instructions within the next 36 business hours. Redeem the voucher code provided to activate your purchased lab environment.
How to Contact Support?
Click on the Support option at the top right corner of the screen to access documents or seek help from our experienced support team.

Click on the Documentation option available to access our step-by-step lab purchase guide.
Click on the Need Help Buying option to share specific queries with the CloudLabs team over email.
You can reach out to cloudlabs-sales@spektrasystems.com to book a demo or raise queries regarding pricing. Write to labs-support@spektrasystems.com to get technical assistance with purchased labs.