CloudLabs provides a feature to access the virtual machine over a browser for Azure based labs.
How to Enable RDP/SSH over HTTPS.
A. Follow the below configurations for CloudLabs Azure Template.
Note: Click on the Following URL for a detailed documentation on how to add a CloudLabs Azure template: How to Add a CloudLabs Azure Template
Navigate to CloudLabs Template(1) that you have created then click on edit button under Actions pane(2)
.png)
Once you click on edit option in template you will find the option to Enable VM Access Over Http and mark it as enabled.
.png)
We need to add "Virtual Machine Configuration" as it is required to allow users accessing the VM over HTTPS (over a web browser). CloudLabs will automatically take the below inputs from this VM configuration and will not ask users to enter these details manually. Once the lab is ready, the environment users receive will include a VM on the left side of the browser and the Lab Guide on the right as shown in below image.
.png)
Click on add Virtual Machine Configuration, and then add the following values:
.png)
.png)
Name: Enter the exact name of your VM that is reflecting in your ARM Template output parameter.
.png)
Note: CloudLabs automatically assigns a six-digit Deployment ID (DID) to each deployment. This DID can be declared as a parameter and its value can be obtained using declaring paramete value as a "GET-DEPLOYMENT-ID". Check out the sample arm template and parameters file below for references:
Sample arm template: Arm template
Parameters File: Parameters File
.png)
.png)
Type: Here you have to choose the Type of the protocol that is required for remote access of the virtual machine. There are two type of options - RDP and SSH.
RDP: Choose the protocol as RDP if you are having Windows Virtual Machine or Linux with xrdp support.
.png)
SSH: Choose the protocol as SSH if you are having the Linux Virtual Machine with Command Line Interface.
.png)
Server DNS Name: From your ARM Template, pick up the output parameter that has the VM DNS name stored in it and paste it into the below mentioned field.
.png)
.png)
Server User Name: From your ARM Template, pick up the output parameter that has the VM Username stored in it and paste it into the below mentioned field.
.png)
.png)
Server Password: From your ARM Template, pick up the output parameter that has the VM Password stored in it and paste it into the below mentioned field.
.png)
.png)
Is Hyper-V Vm: If this lab is based on the Hyper-V and you required to access the Hyper-V Guest VMs over HTTPS (from browser) just like Main Host VM then only mark this flag as enabled.
.png)
Enable Audio Input: To enable audio input for virtual machine mark this flag as enabled
Instructor Username: From your ARM Template, pick up the output parameter that has the Instructor UserName stored in it and paste it into the below mentioned field.
.png)
.png)
Instructor Password: From your ARM Template, pick up the output parameter that has the Instructor Password stored in it and paste it into the below mentioned field.
.png)
.png)
Note: If VM shadow is enabled in the template only then you will have to add Instructor Username and Instructor Password. Find the below flag to "Enable VM Shadow" to cross check if the VM Shadow is enabled or not.
.png)
Click on SUBMIT to save the configurations.
.png)
B. Steps to be performed for Configuring in ODL(On Demand Lab).
Note: Click on the Following URL for a detailed documentation on how to add an CloudLabs Azure template: How to create an On Demand Lab
Navigate to the On Demand Lab Page click on the ODL that you have created(1), and then Click on Edit button(2) under the Action pane of the ODL where you can find the flag for ACI Deployment Style and select the value as a Default from the dropdown.
.png)
.png)
C. End-User Experience
After successful registration and launch of the Lab environment, Navigate to the Environment page details tab you will find the Hyper-V Host and Guest VMs
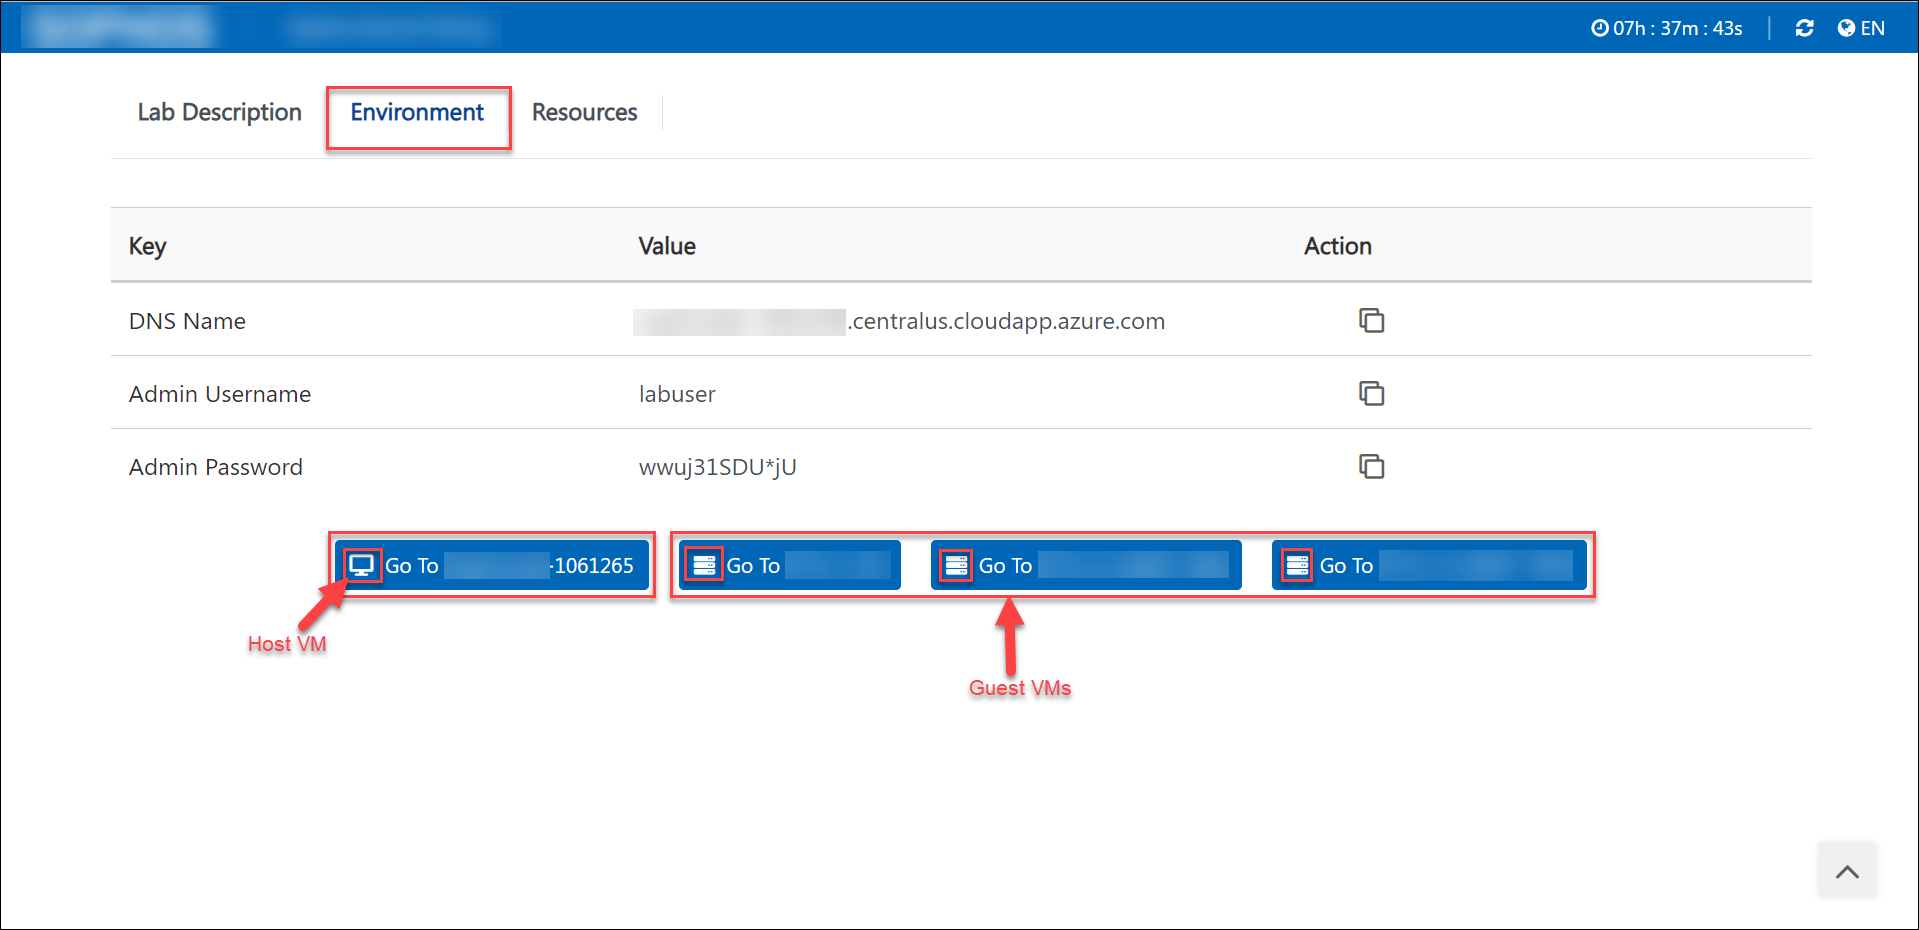
Note: You can identify Hyper-V Host
and Guest-VMs
according to their respective icons
To verify the status of the Host and Guest-Vms you can simply click on the Resources Tab.

How to control the state of the Host VM and Guest VMs
Go to resource tab and click on:
Start button: Click on the button(1) To Start the Virtual Machine if it is in Stopped/Deallocated state.
Restart button: Click on the button(2) to restart the Virtual Machine.
Deallocate button: Click on the button(3) to deallocate the Virtual Machine.
Go to VM button: Click on the button(4) for connecting to required Virtual Machine.

You can connect to Hyper-V Host VM by clicking on Go to VM from Environment details tab or from the Go to VM button on the Resources tab.


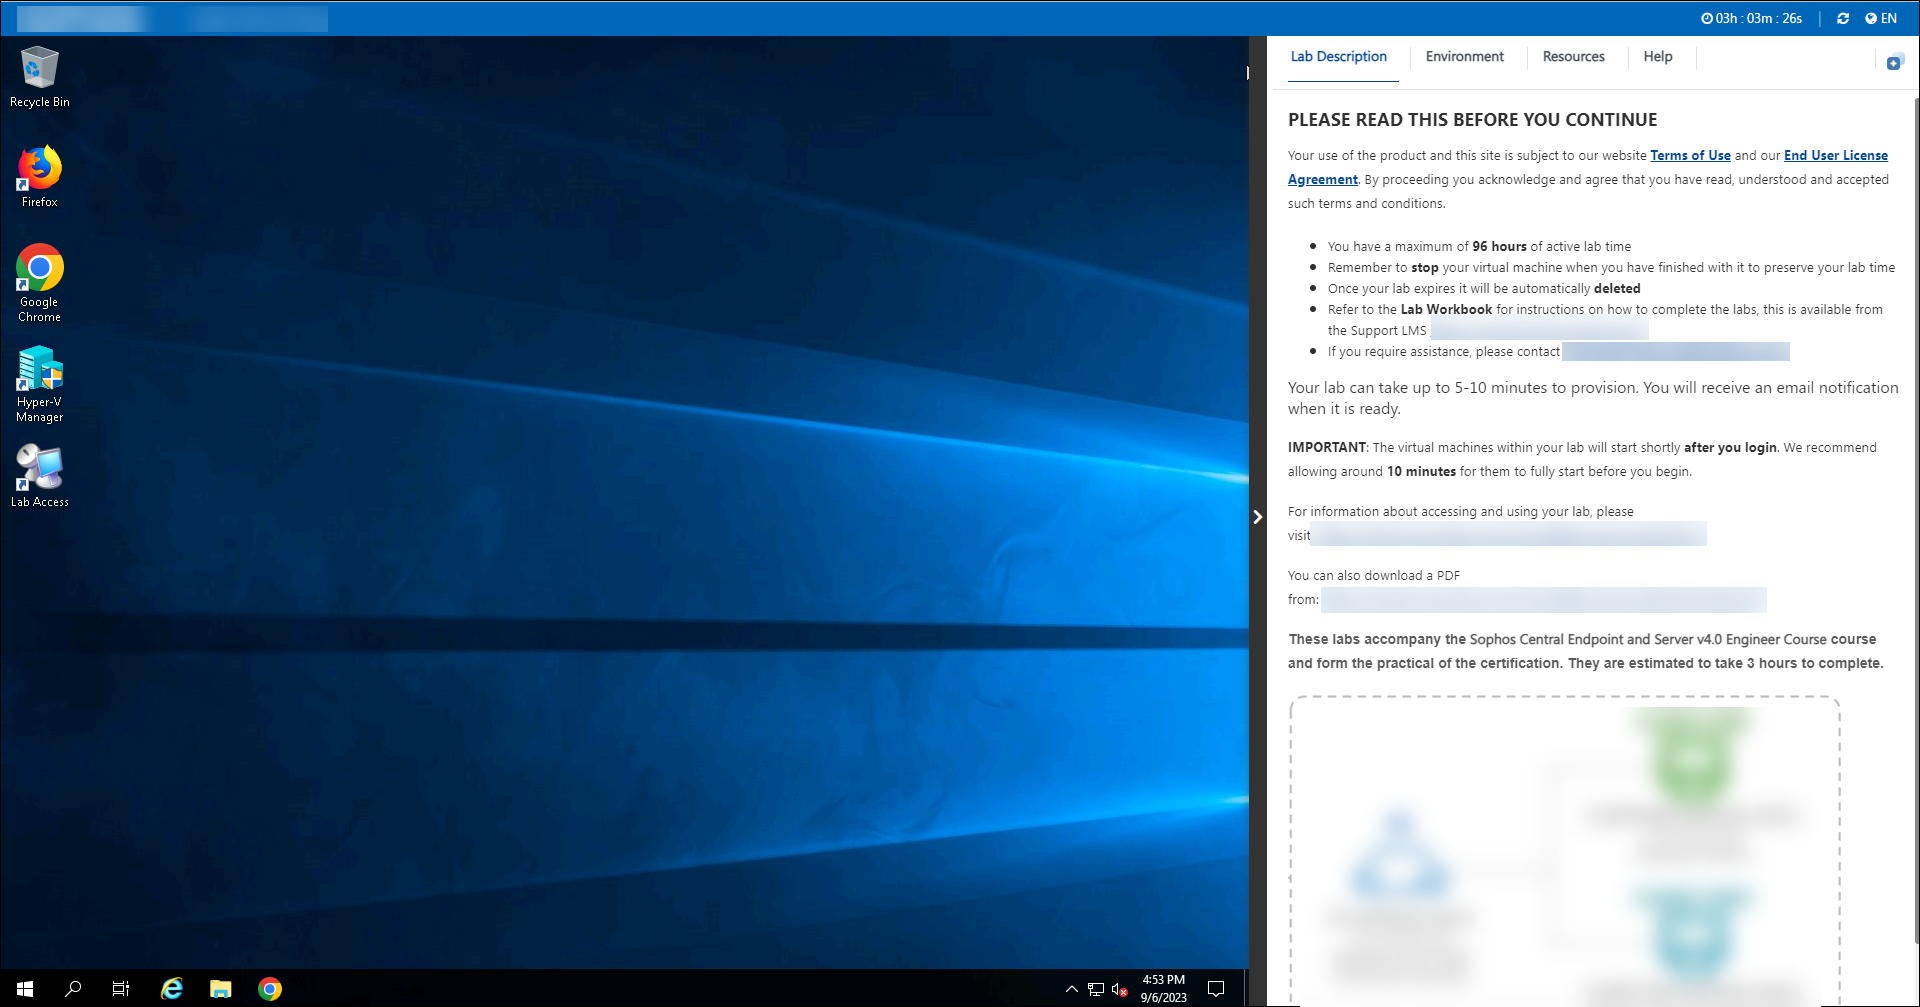
Note: For connecting to Hyper-V Host VM, "Host VM should be in running state(to verify the status of the VMs click on the resources tab as shown in step 2)."
If Hyper-V Host and Guest-VM both are in running state then you can directly go to Guest VM by clicking on the Go to VM button at resources tab.
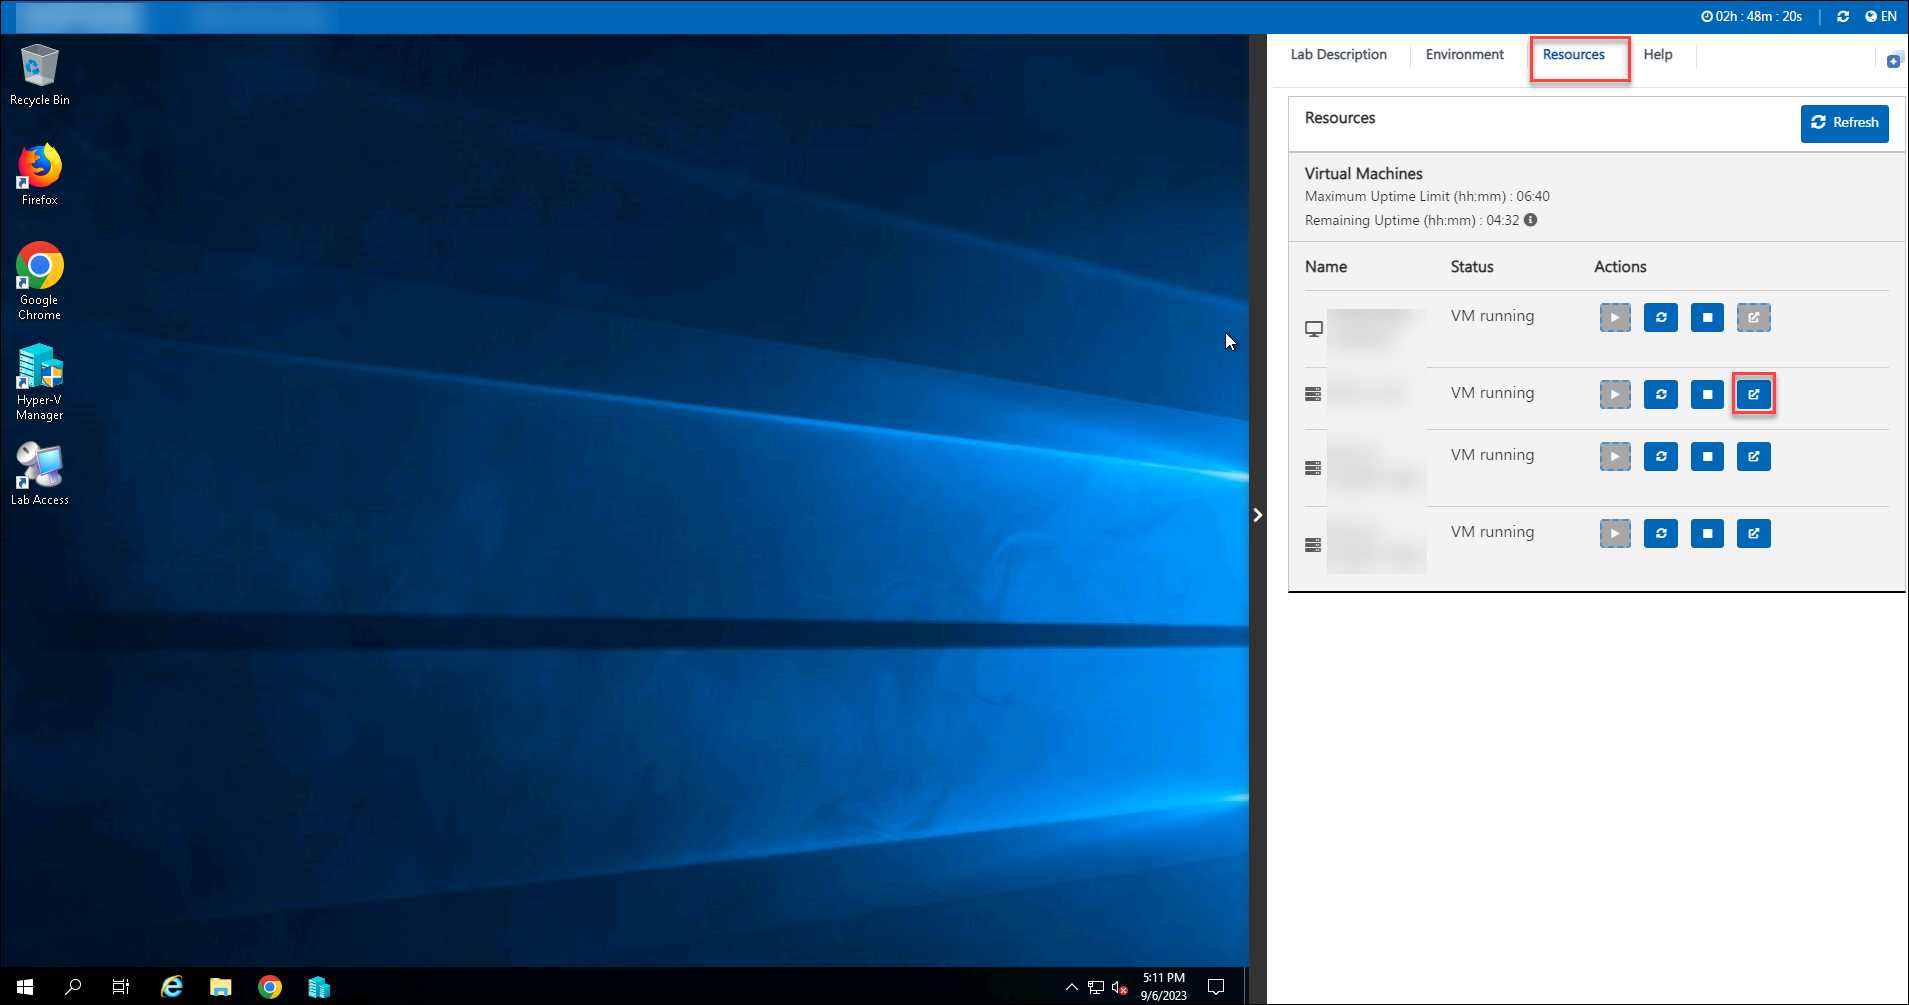
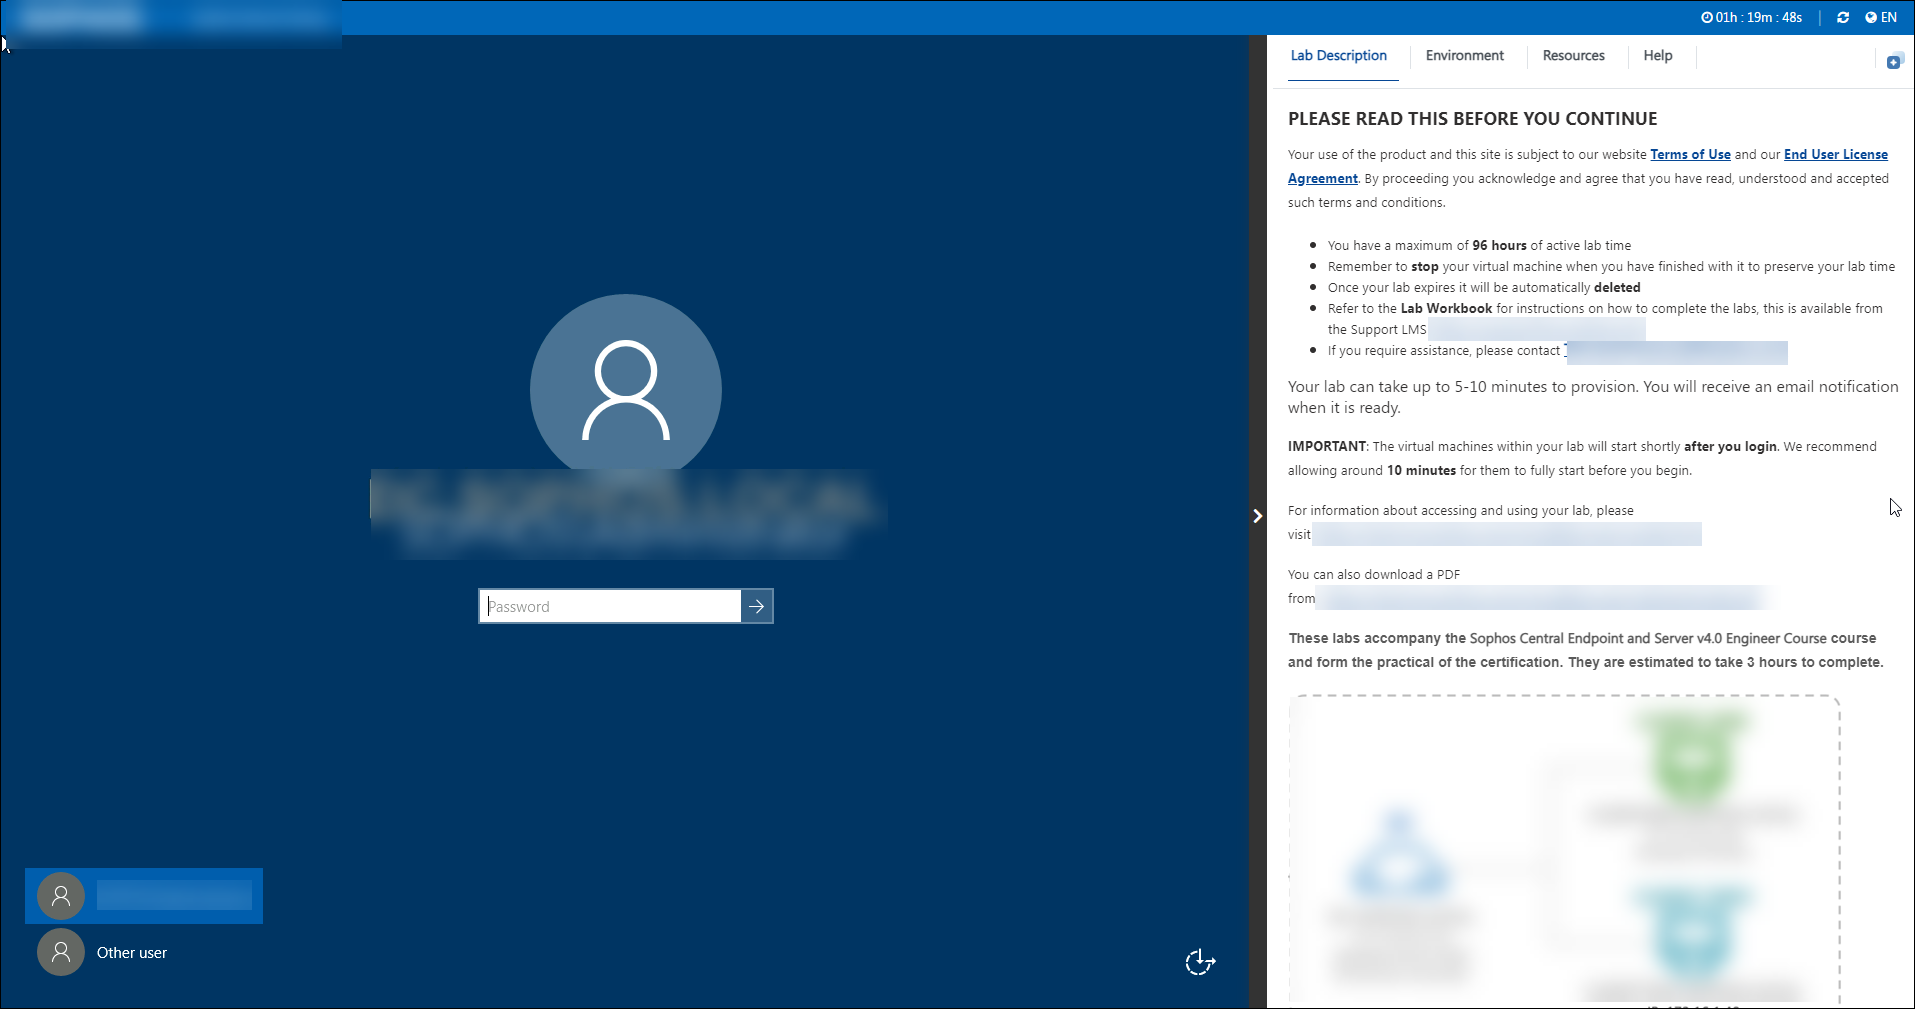
Note: If you have not configured the automatic start/stop action for Hyper-V Guest VMs from Hyper-V manager settings then you can manage that from the Resources tab as shown in step 3.
D. How to Manage VMs from ODL Control Panel
Navigate to On Demand Lab page(1) and then click on the control panel button(2) under the Action pane of the ODL.

Click on the Manage VMs.
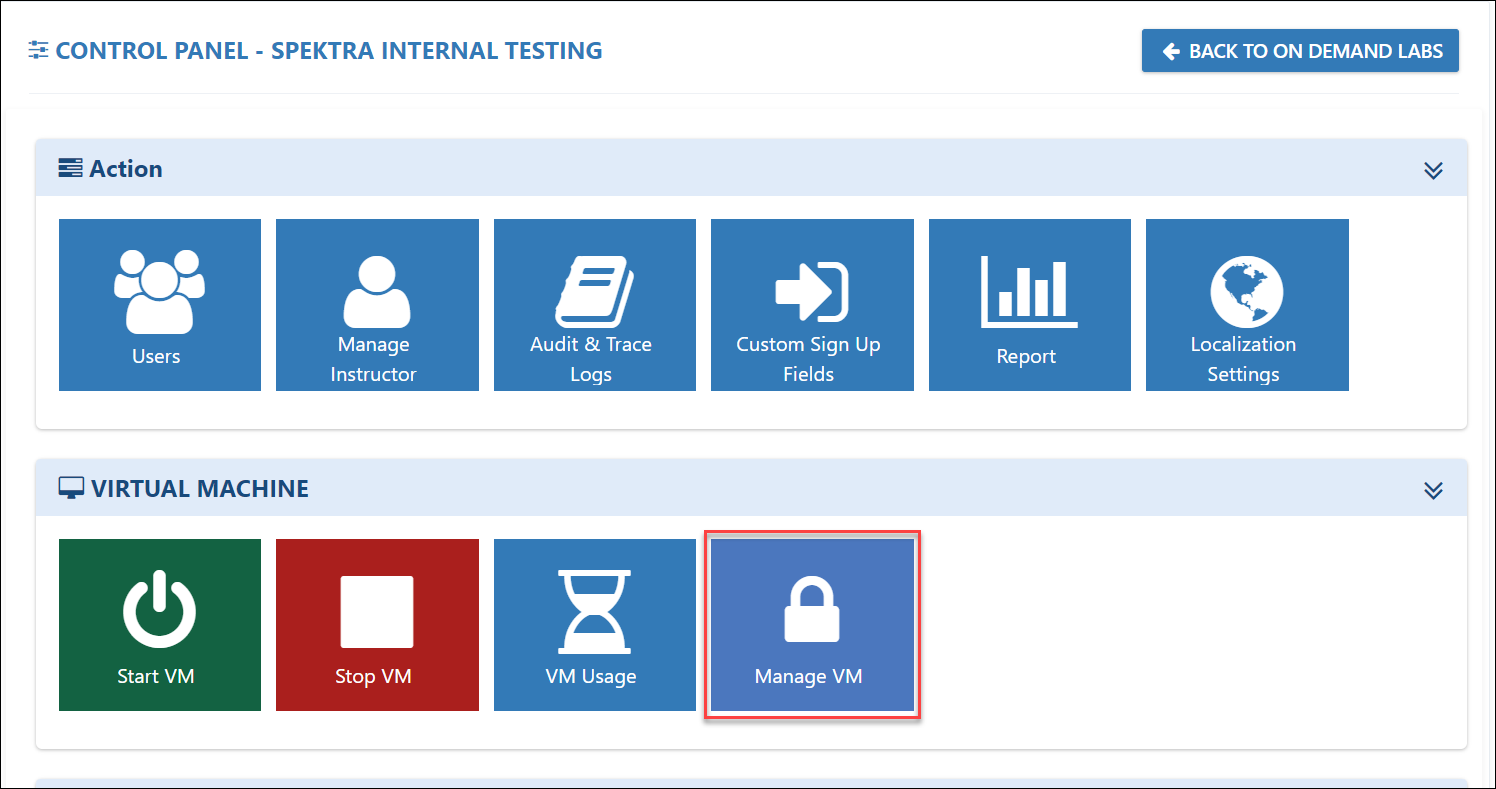
You can see the status of Hyper-V Host from Status pane under the Manage VMs Panel.

How to Control the state of the Hyper-V Host:

Start button: Click on the button(1) To Start the Virtual Machine if it is in Stopped/Deallocated state.
Restart button: Click on the button(2) to restart the Virtual Machine.
Stop button: Click on the button(3) to stop the Virtual Machine.
syncHyperV: Click on the button(4) for syncing the status of the Guest VMs with Hyper-V.
To verify the status of the Hyper-V Guest VMs click on Drop down icon besides DID pane it will open a new pane which will show information about the Hyper-V Guest VMs:

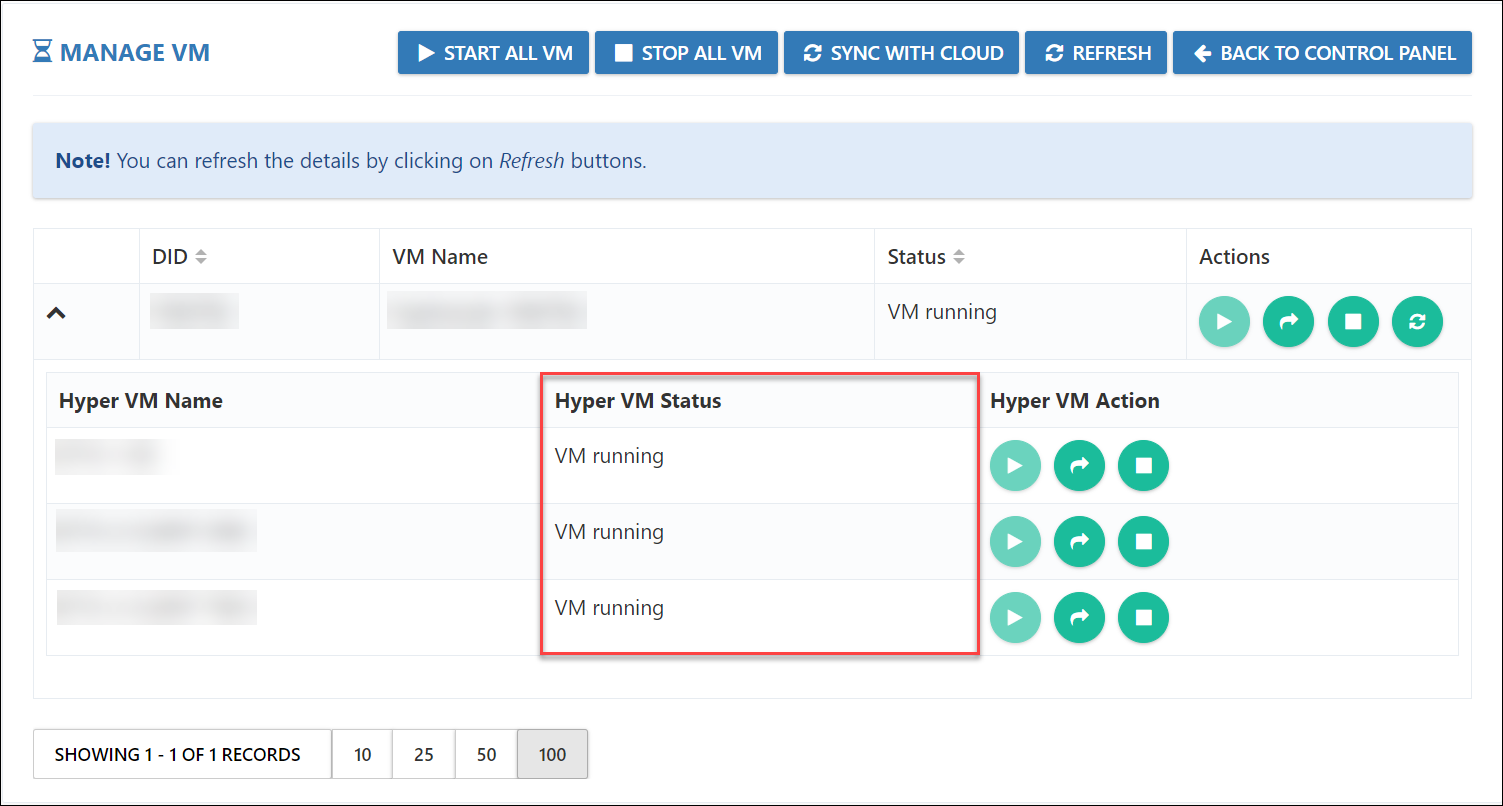
How to control the state of the Guest VMs:

Start button: Click on the button(1) To Start the Guest VM if it is in Stopped/Deallocated state.
Restart button: Click on the button(2) to restart the Guest VM.
Stop button: Click on the button(3) to stop the Guest VM.
Note:: To start the Guest VMs Host VM must be in running state.